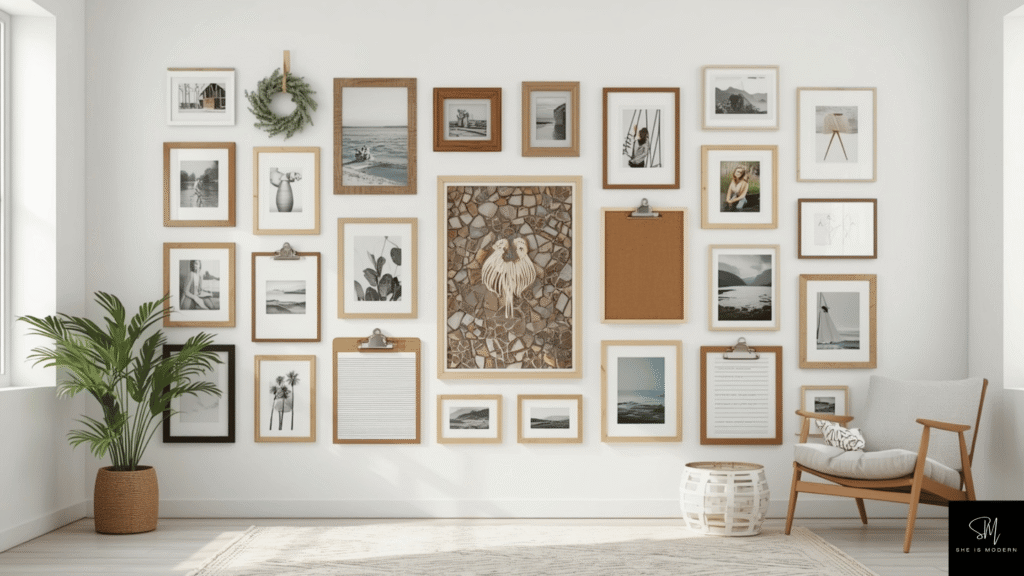
A DIY picture frame should do two jobs: hold a photo securely and look right in the place where it will live. Start with the photo size, the wall or shelf space, and the material you can work with. A paper border is quick and easy to replace. Tile, wood, or resin takes more preparation and may be heavier. The fourteen ideas below range from changeable displays to more permanent projects, with a practical choice to make before each one.
The images show visual directions for the ideas, not documented instructions for a completed project. Where an image shows a related arrangement rather than the exact material described, use the written steps and your product instructions to plan the build. Do not glue an irreplaceable original photo into a frame or expose it to wet adhesive.
Before you start
Measure the photo first, then decide whether you want its edges covered by a mat. For example, an illustrative 5 by 7 inch print can sit behind an 8 by 10 inch outer mat opening only if the mat opening and overlap actually fit that print. Check the clear opening, backing and hanging hardware before cutting any decorative material. Make a paper template if the border has curves or multiple layers.
Choose a display method before choosing the finish. A frequently changed family photo needs a removable backing or clip, not permanent glue. A heavy tile frame needs a suitable base and hardware rated for the finished piece and wall. In a rental, get permission before making holes and test any removable product as directed; do not promise that tape or adhesive will leave paint untouched.
1. Plan a Simple Frame Layout, Then Add Washi Tape
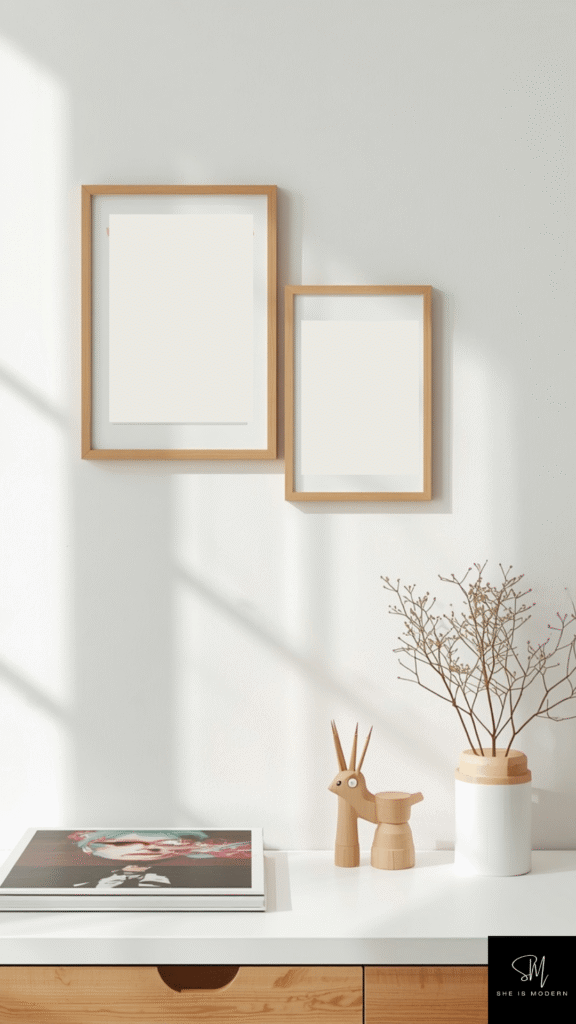
The two plain frames in the image show how a pair can be spaced above a console; they do not show a finished tape frame. To try the tape idea, begin with a lightweight paper mat or inexpensive frame insert. Mark a straight border in pencil, then apply washi tape on the removable paper surface, not across the photo itself. Cut the corners neatly and place the photo behind the opening.
This is best for a temporary color change or a child’s rotating art display. Try a small test on the backing first, because tape can lift paper fibers or leave residue. If you want to outline a photo directly on a painted wall, check the wall finish and the tape instructions instead of assuming the paint is damage proof.
2. Layer a Cardboard Mat
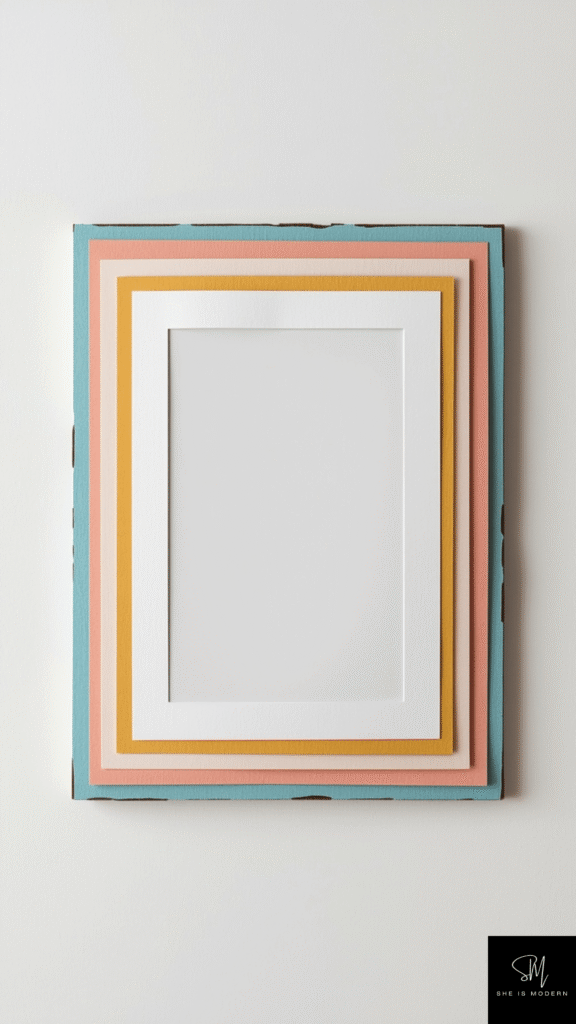
Cut one backing piece and two border layers from clean, rigid cardboard. Mark the same center opening on both borders and cut slowly on a protected work surface. Dry fit all layers around the print before attaching them; the opening should overlap the photo edge enough to hide the cut line while leaving the subject visible. Paint or wrap the outer border only after the proportions look right.
Use a separate photo sleeve or removable corners so adhesive never touches a valued original. Cardboard is a light display choice, not a good moisture barrier for archival keepsakes. The pictured colorful frame is a palette example; its exact construction is not documented.
3. Wrap a Plain Frame With Fabric
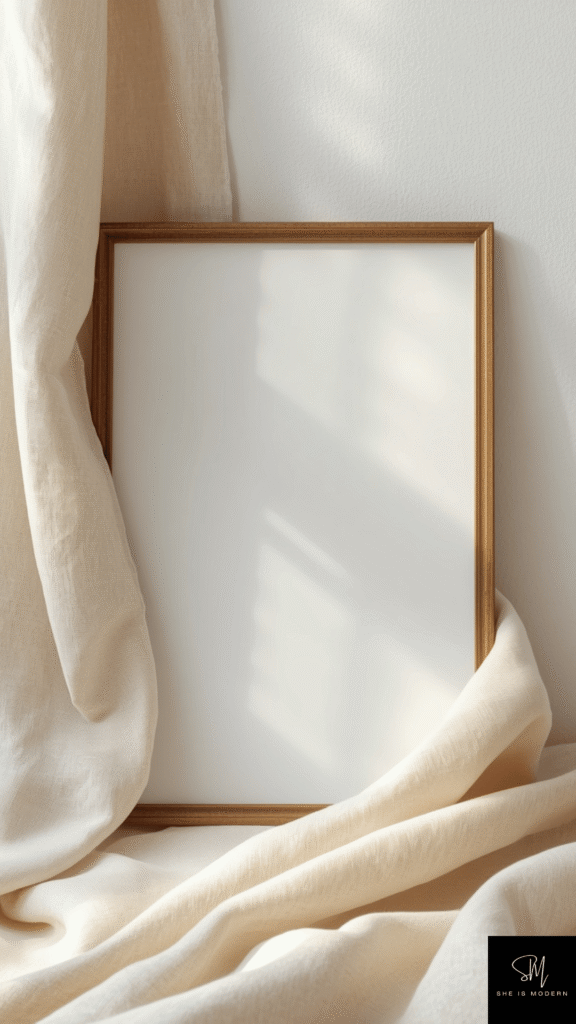
Choose a thin, tightly woven fabric, then check that the frame has a removable back. Cut fabric larger than each rail, wrap it around the front edge, and secure it at the back where the backing can still close. Keep folds away from the inner photo opening and from hanging hardware. A small swatch test will show whether the fabric frays or its pattern looks crowded around a small print.
The photo shows fabric beside a plain wood frame as a color and texture reference, not a finished wrapped frame. If you change pictures often, keep the backing accessible. Avoid putting wet glue or paint near the print; let the decorated frame fully dry before inserting it.
4. Make a Twine Wrapped Border
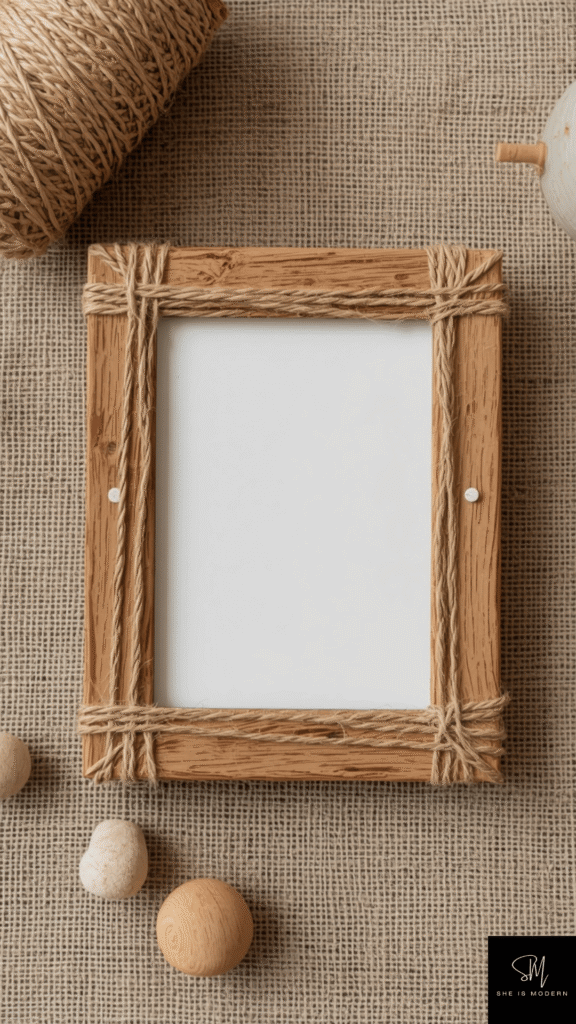
Choose a wide, sturdy frame with enough front surface for several turns of twine. Wrap a short test section first to check the thickness, then work from one corner around the outside edge. Secure the twine at the back with an adhesive suitable for the frame material, following its label. Stop before the inner opening so the backing and photo still fit.
A textured border can be harder to dust, so use this where it will not be handled daily. The image shows a coarse natural border as an inspiration for texture. If the frame is going on a wall, verify that the hanger supports the total finished weight.
5. Paint a Border With a Clean Edge
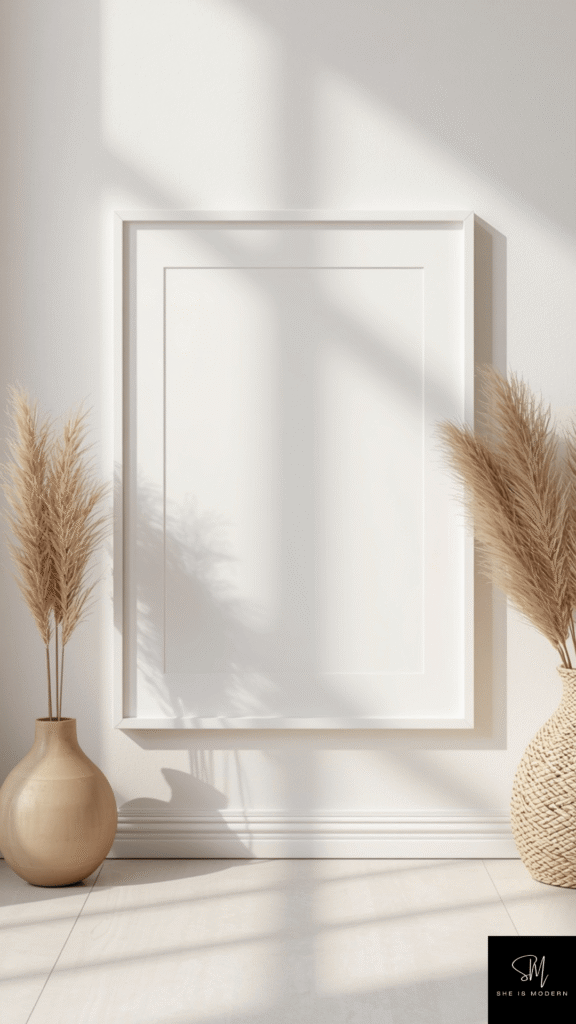
Remove the glass, photo and backing before painting a reusable frame. Lightly prepare the frame surface according to the paint manufacturer, mask the edge of the opening, and apply thin coats rather than trying to cover it all at once. Let the finish cure as directed before reassembling. The white frame in the image shows how a quiet border can let the artwork take priority.
For a narrow frame, a subtle color shift is often enough. Test the paint on a hidden area to check adhesion, especially on slick plastic or sealed metal. Keep paint off the glazing and away from the part of the mat that touches a valued photo.
6. Use Precut Mosaic Pieces on a Sturdy Base
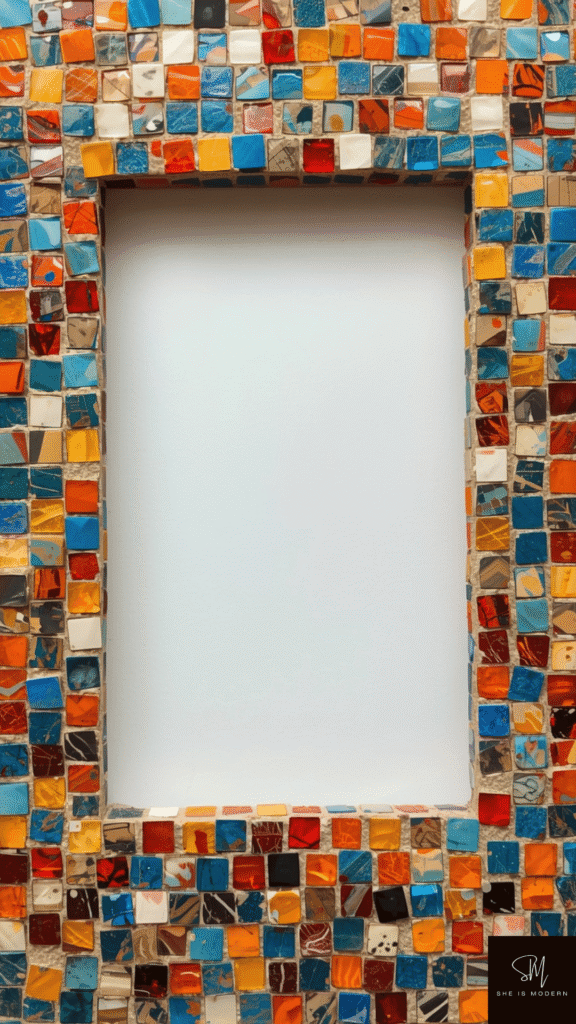
Lay out precut mosaic pieces on a rigid frame before opening adhesive. Keep the center opening, removable backing and hanger clear. Use an adhesive and, if appropriate, grout that the manufacturer says will work with the chosen tile and frame material. Check the combined weight before committing to a wall display. The image shows a brightly colored mosaic border, not a verified construction sequence.
Do not casually break glass or ceramics to make small shards. Cut edges and uncured adhesive can injure skin or eyes, so use suitable protection and follow the specific product directions. If you prefer a smaller, lighter project first, compare the material options in these glass mosaic craft ideas.
7. Build a Changeable Clipboard Display
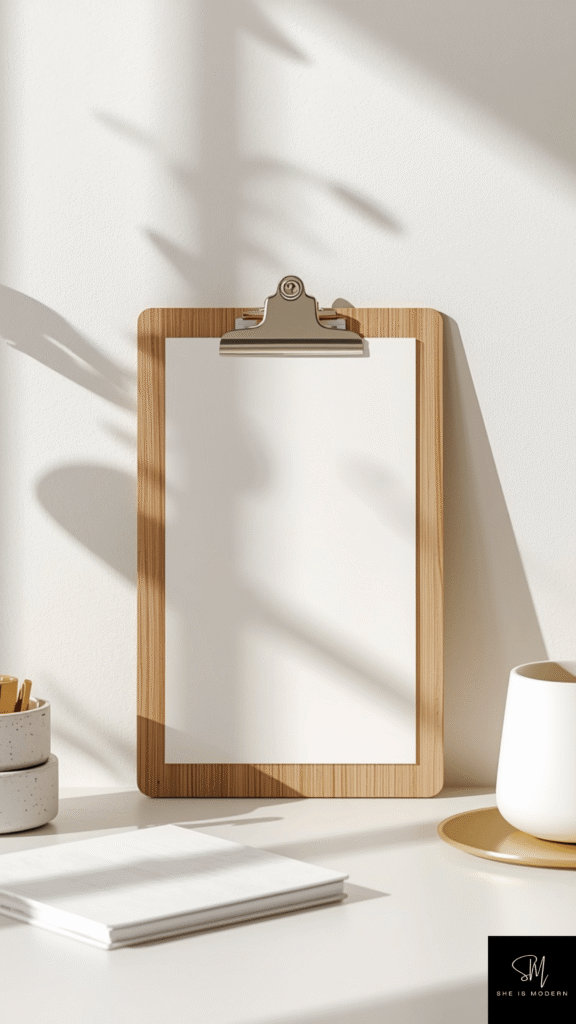
Start with a smooth board wider than the print and a clip that grips paper without tearing it. Mark the top center, attach the clip using hardware appropriate for the board, and test it with a spare sheet before displaying an original photo. A removable sleeve adds protection if the picture will be handled often. The image shows the simple board-and-clip arrangement.
This option works for rotating children’s art or a weekly photo because there is no glazing to remove. If it hangs on a wall, choose hanging hardware for the board’s weight, not only the paper. Keep loose small hardware away from young children.
8. Use an Embroidery Hoop as a Round Display
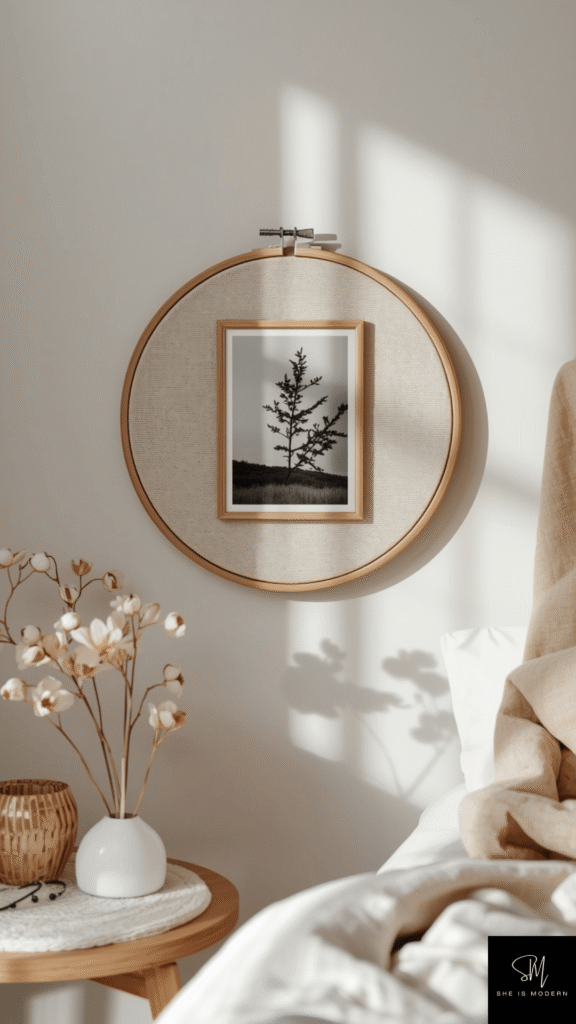
Pick a hoop large enough to show the entire photo plus an edge of backing fabric. Stretch the fabric evenly, then attach photo corners or a removable sleeve to the fabric surface. The photo should sit flat rather than be squeezed directly under the hoop ring. Test the layout with a paper copy before using a favorite print.
The pictured hoop holds a small black and white print. Hang the hoop from its secure top fitting and check that the fabric remains taut. This is a light decorative display, not protective framing for a delicate or irreplaceable photograph.
9. Create a Keepsake Shadow Box
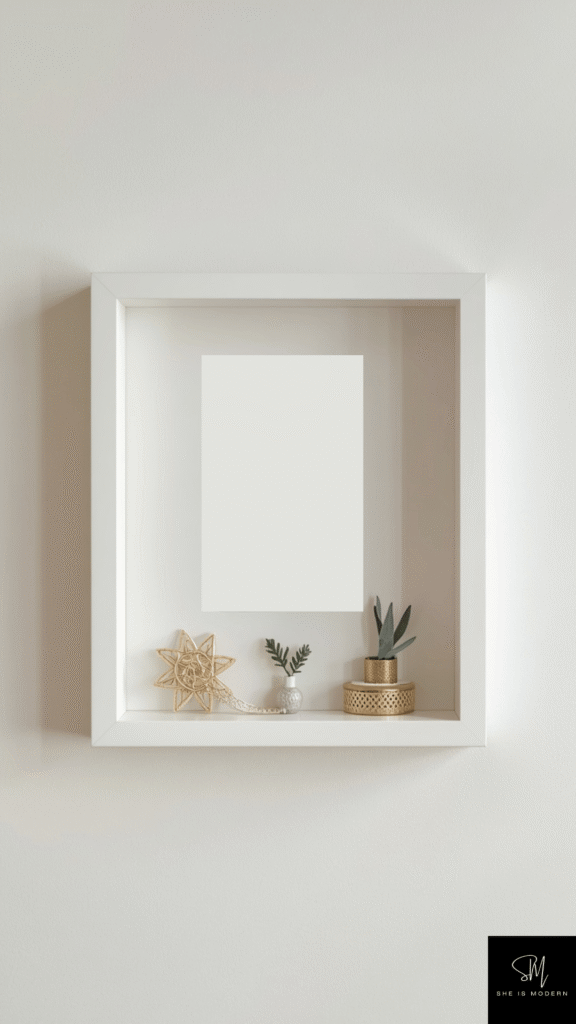
A shadow box needs depth for its contents as well as a way to open the back. Lay the photo, ticket or small keepsake on the backing first. Close the box temporarily to confirm that nothing touches the front glazing and that every item stays in place. Use removable mounts for memorabilia you may want to preserve. The image shows a recessed display niche as inspiration, not the exact box to build.
Avoid heavy objects on a fragile backing; choose an enclosure and hardware suited to the load. If direct sun could fade your photo or paper keepsake, choose a less exposed location. This option makes sense when the object tells a story that a flat print alone cannot.
10. Arrange Driftwood on an Existing Frame
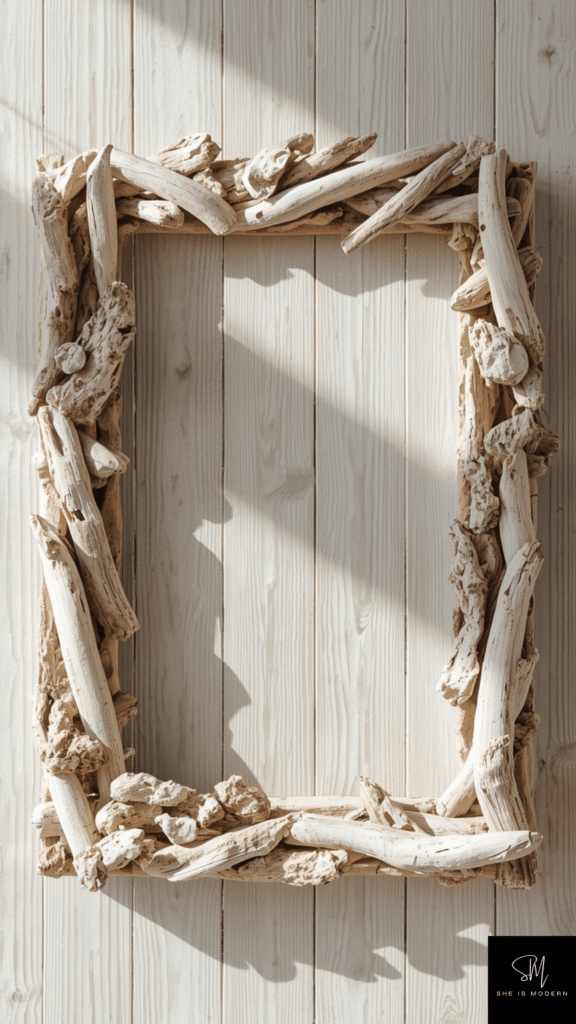
Dry fit collected or purchased wood pieces around an inexpensive frame before gluing anything. Select pieces that are clean, dry and free of sharp splinters. Trim or sand rough spots using appropriate eye and dust protection, then use an adhesive compatible with the frame material. Keep the opening, back access and hanger unobstructed.
The image shows irregular pale wood pieces around a frame. That texture can work with a coastal room, but bulky pieces add weight and make cleaning harder. For a lighter result, use fewer pieces at the corners rather than covering every inch.
11. Make a Paper Quilling Accent
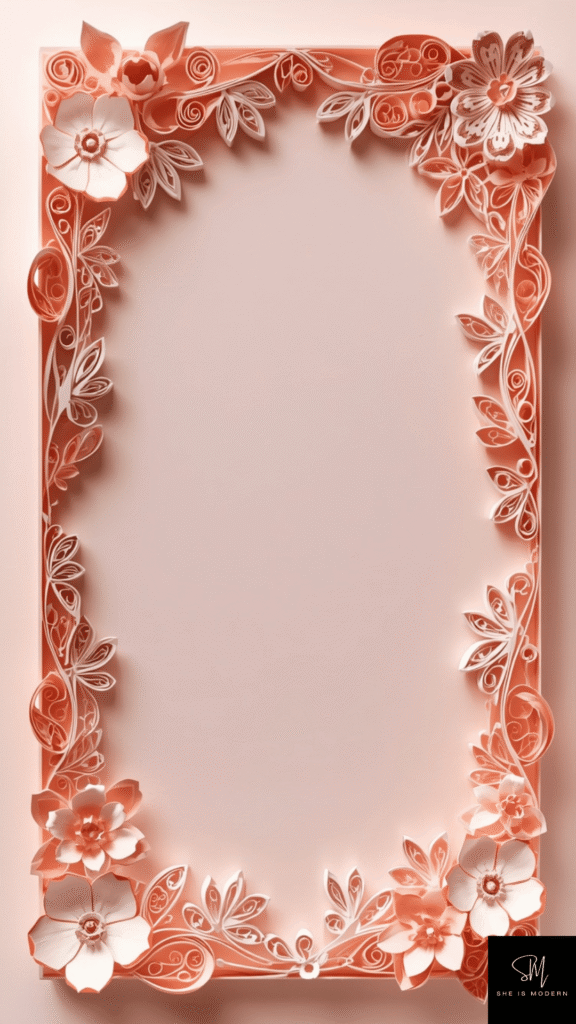
Cut narrow paper strips or use prepared quilling strips. Roll a few test coils, arrange them on one corner of a plain frame, and photograph the layout before attaching them. Work in small groups so the photo opening and backing are not blocked. Keep the display away from moisture and frequent handling, because raised paper details can bend or collect dust.
The pink floral frame shown here demonstrates a layered paper look; it does not prove the pictured flowers were made by quilling. Use that image for placement and color, then choose coils or petal forms that you can make consistently. A small accent is easier to maintain than a full border.
12. Try a Pinboard Photo Display
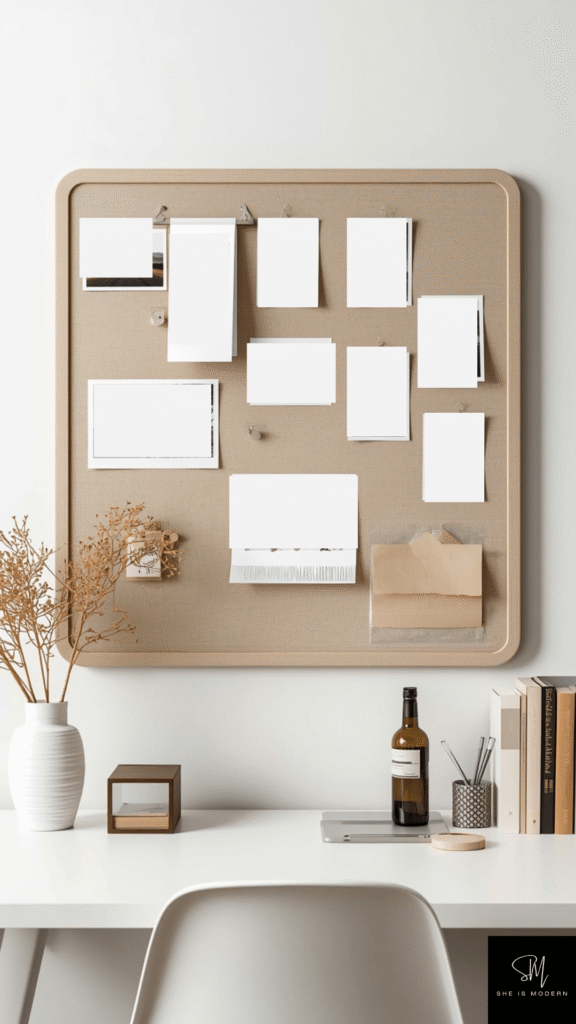
The pictured board uses clips and pins, not visible magnets. If you want this look, choose a cork or fabric-covered board, place the photos in sleeves, and clip or pin only the sleeve or backing. Move the pieces around on the board before fixing a pattern. A small set of matching clips makes frequent changes quick without puncturing the pictures.
A magnetic version needs an actual magnetic metal base and compatible magnets; it is a different build from the image. For either version, keep small pins and magnets away from young children and secure the board according to its weight and the wall surface.
13. Consider a Resin Finish Only if You Can Work Safely
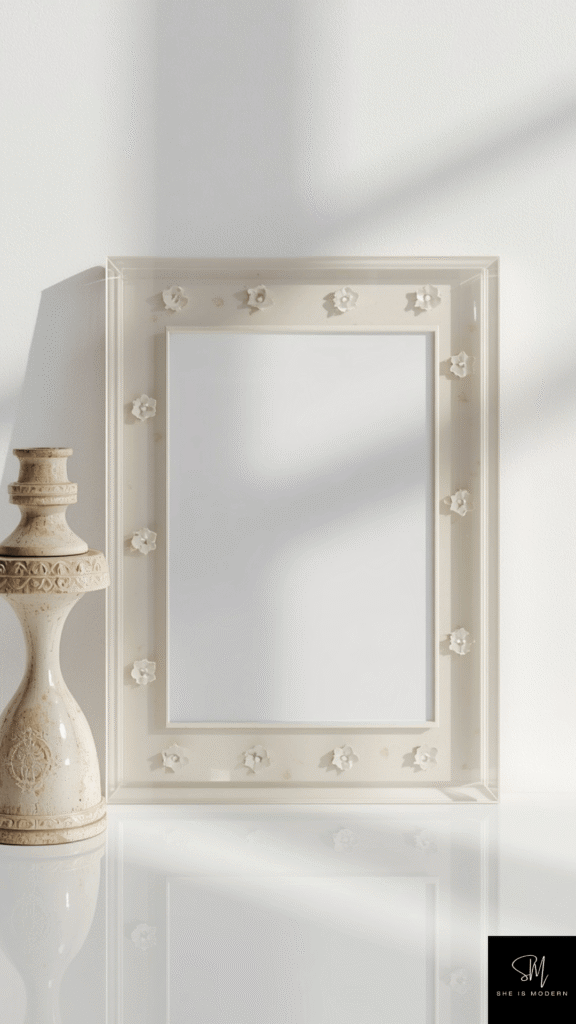
The image suggests a pale glossy frame with small embedded-looking details, but it is not a resin tutorial or proof of the material. If you choose resin, use a product specified for your frame substrate and make a small off-frame test first. Remove the photograph and glazing before applying any finish; follow the product’s exact mix, cure, temperature, ventilation and protective-equipment directions.
Uncured resin is not a casual indoor craft around children or pets. If you cannot meet the maker’s handling requirements, a premade glossy frame or painted finish gives a similar visual direction without a resin pour. Do not reassemble the frame until the finish is fully cured as the product directs.
14. Make a Pegboard Photo Grid
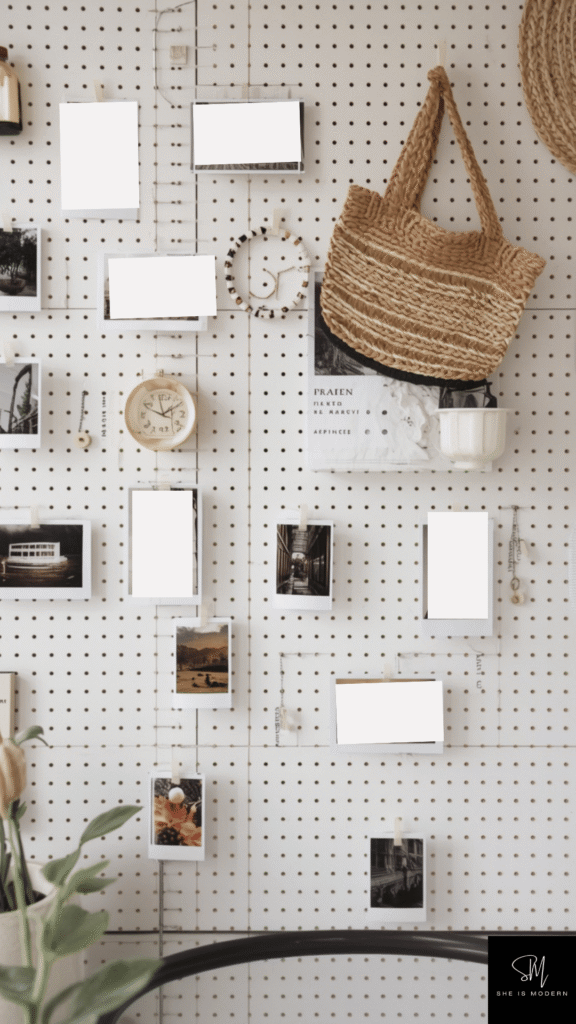
A pegboard lets you move clips, shelves and small photos without rebuilding the display. Pick a board size for the available wall, sketch where the larger pieces will go, and use compatible hooks that sit securely in the holes. Mount the board and its spacers according to the manufacturer’s instructions and wall type. Use photo sleeves or clips rather than punching the print.
The image shows a pegboard with photos and everyday items. Keep heavier objects off small or lightly mounted boards, and leave some holes empty so it does not become cluttered. If you would rather hang finished frames in a fixed arrangement, these gallery wall layouts are a more direct next step.
Choose the idea that fits your room
For a first project, choose the build by how often the photo changes: a clip or pinboard for weekly swaps, a painted or fabric frame for a stable print, and a shadow box for a keepsake with depth. Check the opening, total finished weight, wall or shelf location and product instructions before you buy materials. The best result is a frame you can actually use, maintain and open again.