
DIY picture frames are a simple way to add personality to your home decor. Instead of buying ready made frames, you can create designs that match your style and space. These ideas help you turn basic materials into something creative and meaningful. A good frame not only holds a photo but also enhances the overall look of your room. Small details like texture, color, and layout can make a big difference.
In this guide, you’ll find DIY picture frame ideas that are easy, stylish, and practical. Each idea focuses on creativity while keeping the process simple. Whether you like modern, rustic, or minimal decor, these frames will help you display your memories in a unique way.
1. Washi Tape Frame Design
Washi tape is one of the easiest ways to create a DIY picture frame. You can use colorful or patterned tape to outline your photo directly on the wall or paper. It does not damage surfaces, so you can change the design anytime. This makes it perfect for quick and flexible decor updates.
You can create clean borders or experiment with layered patterns. Mixing different tape styles adds a fun and creative look. Keep the layout simple if you want a neat design, or go bold with colors for a playful feel. This idea works well for kids’ rooms or creative corners.
This frame style is lightweight and very easy to update. It allows you to refresh your decor without much effort. A simple tape frame can make your photos stand out in a fresh and modern way.
2. Cardboard Layered Frame
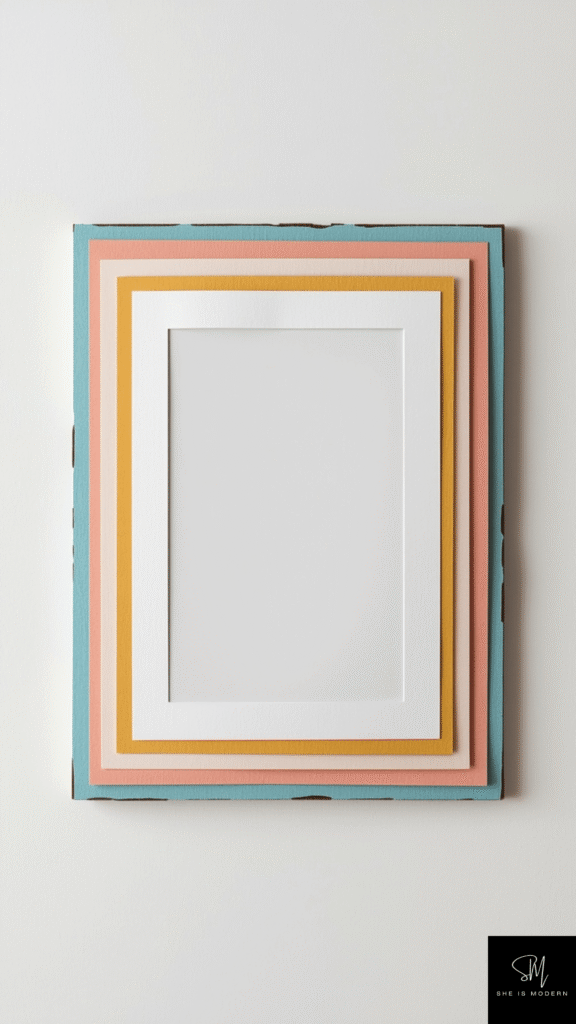
A layered cardboard frame is a budget friendly and creative option. You can cut multiple layers of cardboard and stack them to create depth. Paint each layer in soft or bold colors to match your room style. This adds a unique 3D effect that looks more detailed than a basic frame.
You can shape the layers in simple rectangles or try curved edges for a softer look. Adding texture with light brush strokes or paper details can improve the design. Keep the center area clean so the photo remains the focus.
This idea is perfect for recycling materials while creating something stylish. It turns simple cardboard into a decorative piece. A layered frame adds depth and makes your photos feel more special.
3. Fabric Covered Frame

Covering a frame with fabric adds softness and warmth to your decor. Choose fabric like cotton or linen in colors that match your room. Wrap the fabric smoothly around a basic frame and secure it neatly at the back. This creates a clean and cozy finish.
You can use plain fabric for a calm look or subtle patterns for added interest. Keep the design balanced so it does not overpower the photo. Adding a thin border or trim can give it a more polished look.
This frame style works well in bedrooms and living spaces. It adds texture and makes your decor feel more comfortable. A fabric frame is simple but gives a soft and elegant touch.
4. Twine Wrapped Frame
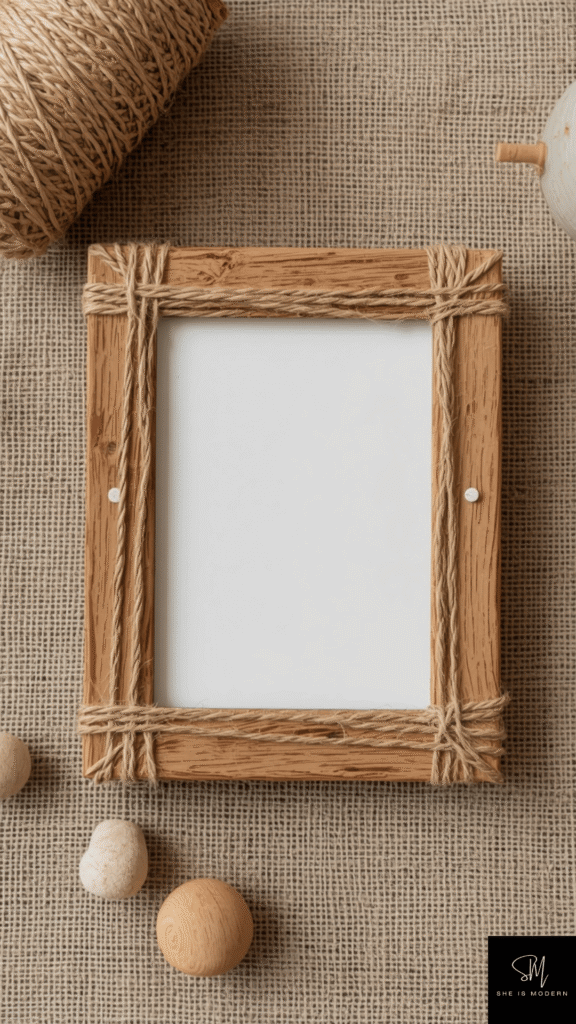
A twine wrapped frame brings a natural and rustic feel to your space. Wrap twine evenly around a basic frame using adhesive to hold it in place. The texture adds warmth and depth without using bright colors.
You can keep the design simple or add small details like knots or patterns. Pair it with neutral decor to maintain a balanced look. The natural tone of twine works well with wood and soft color palettes.
This idea is great for creating a relaxed and earthy style. It turns a plain frame into something more textured and interesting. A twine frame adds a handmade touch that feels warm and inviting.
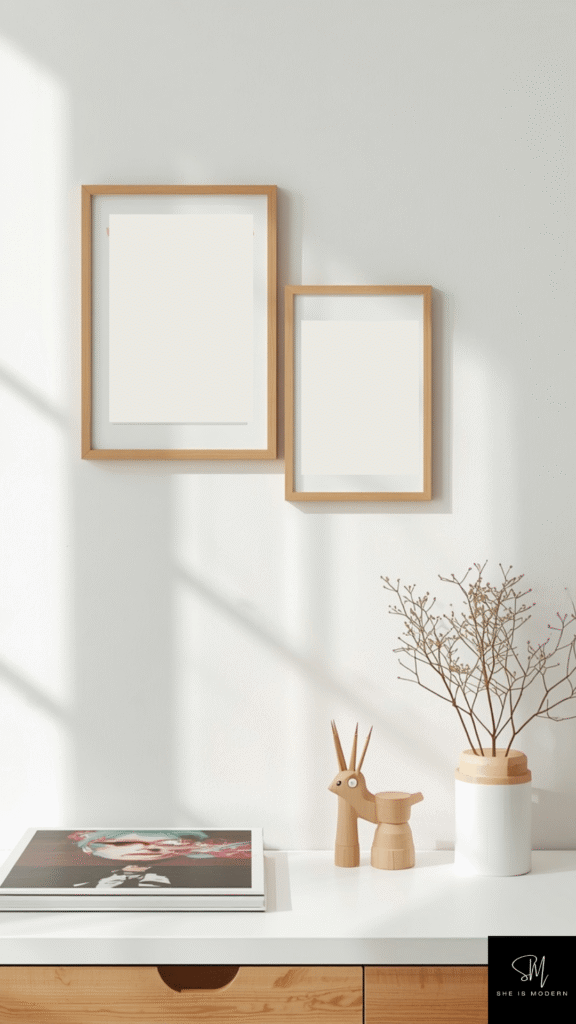
5. Painted Border Frame

A painted border frame is a clean and modern option. Start with a plain frame and add a painted border around the edges. You can use soft neutral tones or subtle contrast colors depending on your decor style.
Keep the lines neat and simple for a polished look. You can create a thin border for a minimal design or a thicker edge for more impact. Matte finishes work well to keep the look soft and modern.
This idea is easy to customize and works in any room. It adds a fresh update without changing the whole frame. A simple painted border can make your photos stand out in a stylish way.
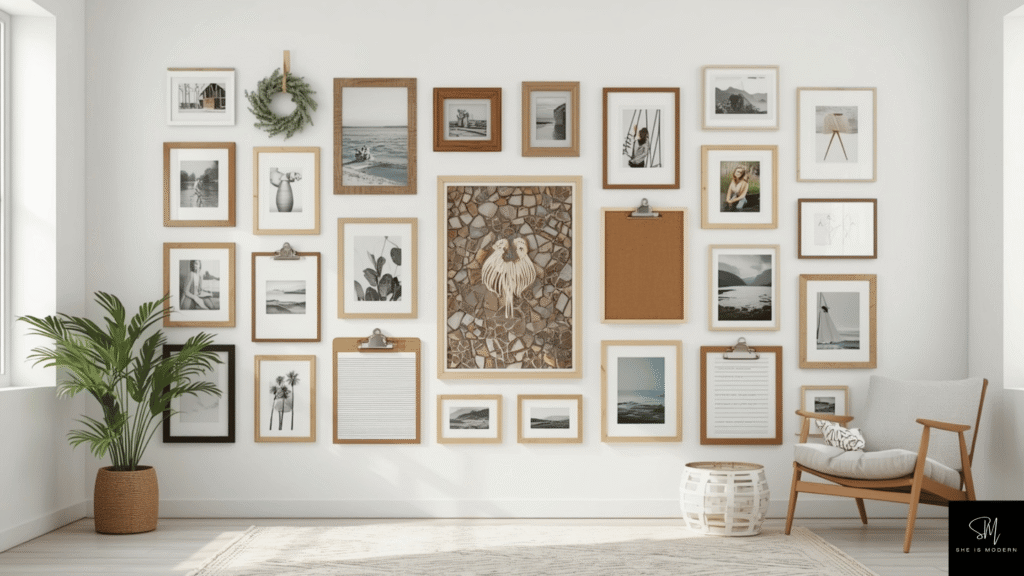
6. Mosaic Tile Frame

A mosaic tile frame adds color and texture in a unique way. You can use small tile pieces, broken ceramics, or even colored glass to decorate a plain frame. Arrange the pieces in a simple pattern or a random layout, depending on your style. Once placed, secure them with strong adhesive and let everything set properly. This creates a detailed surface that feels creative and handcrafted.
Choose colors that match your room so the frame blends well with your decor. Soft tones give a calm look, while mixed shades add energy. Keep the center area clean so the photo remains the focus. Light grout between tiles can enhance the pattern and give a finished look.
This idea turns a basic frame into a bold decor piece. It works well in living rooms or creative spaces. A mosaic frame adds texture, color, and a unique artistic touch.
7. Clipboard Style Frame
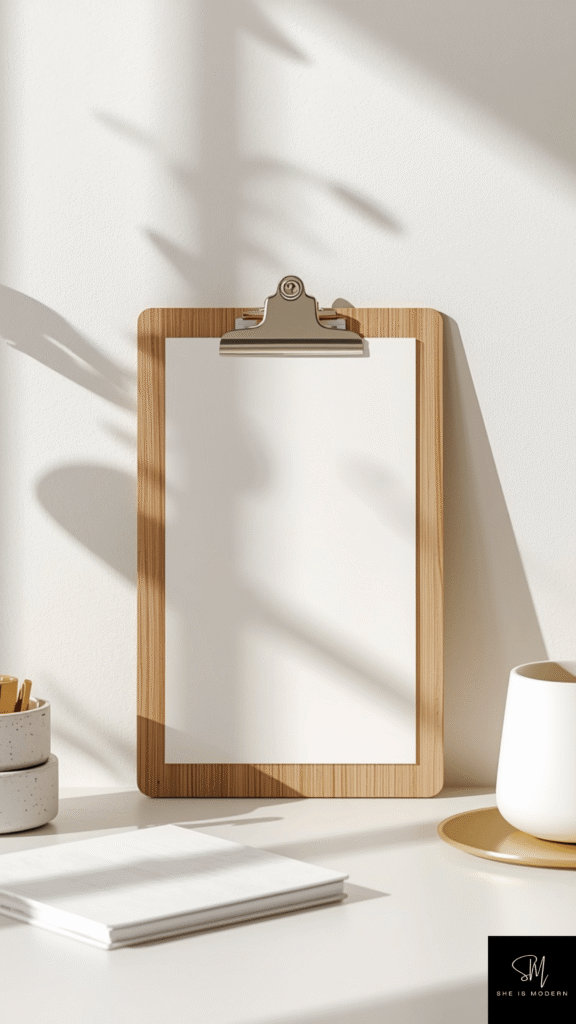
A clipboard frame is a simple and flexible way to display photos. Attach a metal clip or small clamp to a wooden board or base. This allows you to change photos easily without removing the entire setup. It is perfect for people who like to update their decor often.
You can paint or stain the board to match your room style. Keeping the design simple makes it look modern and clean. Add a small hook or string if you want to hang it on the wall. This setup works well in workspaces or casual living areas.
This idea is both functional and stylish. It keeps your display fresh and easy to update. A clipboard frame gives a relaxed and creative look without much effort.
8. Embroidery Hoop Frame

An embroidery hoop frame gives a soft and round design that feels different from traditional frames. Place your photo inside the hoop and secure it with fabric backing. The wooden ring creates a natural border that looks simple and elegant.
You can use fabric behind the photo for added texture. Choose soft colors or subtle patterns to keep the look balanced. Hanging multiple hoops together can create a beautiful wall display. Keep spacing even for a clean arrangement.
This idea works well in bedrooms or cozy corners. It adds a gentle and creative touch to your decor. A hoop frame is easy to make and brings a unique shape to your photo display.
9. Shadow Box Frame
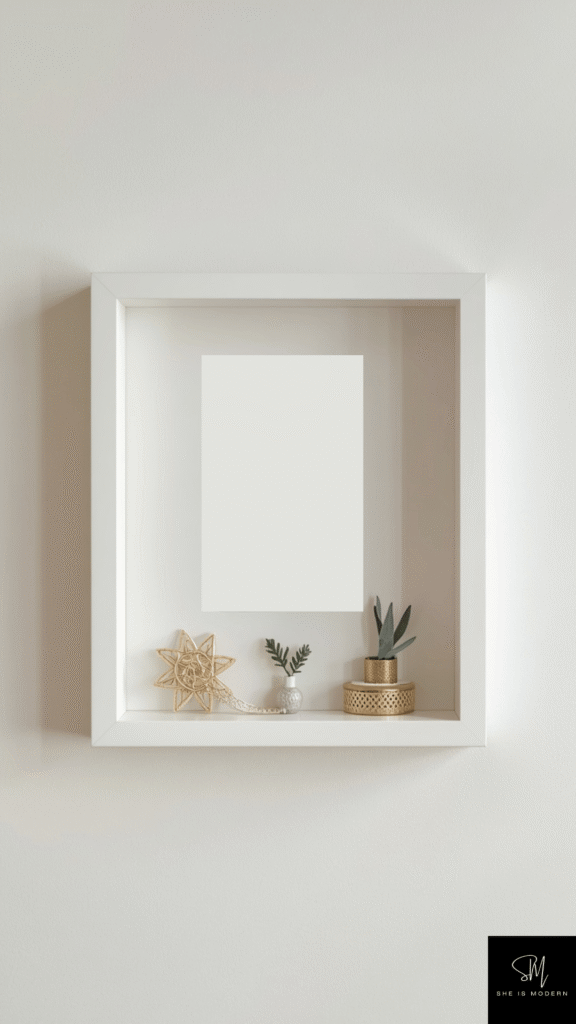
A shadow box frame adds depth by allowing you to display more than just a flat photo. You can include small objects, notes, or decorative elements along with the picture. This creates a layered and meaningful display that tells a story.
Keep the layout simple so it does not feel crowded. Use neutral colors or soft backgrounds to highlight the items inside. Arrange everything carefully to maintain balance and focus on the main photo.
This idea is perfect for special memories or keepsakes. It turns a simple frame into a personal display piece. A shadow box adds depth, detail, and a more meaningful visual experience.
10. Driftwood Frame Design
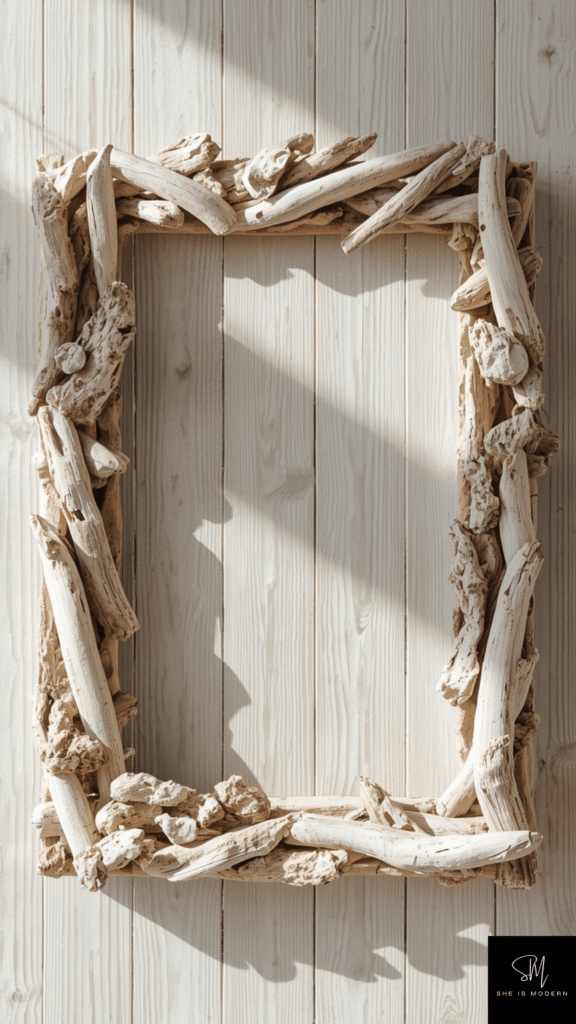
A driftwood frame brings a calm, coastal feel into your home. Collect small, smooth wood pieces and attach them around a basic frame. Keep the layout simple so the natural texture stands out. Light sanding can smooth sharp edges and give a clean finish. This idea works well with neutral walls and soft decor.
Use pieces with similar tones for a balanced look. You can place them in a straight pattern or slightly overlap for more texture. Keep the center clean so the photo remains the focus. A matte seal can protect the wood while keeping its natural look.
This frame style adds warmth without heavy color. It works well in living rooms, bedrooms, or entryways. A driftwood frame feels relaxed, natural, and easy to style.
11. Paper Quilling Frame
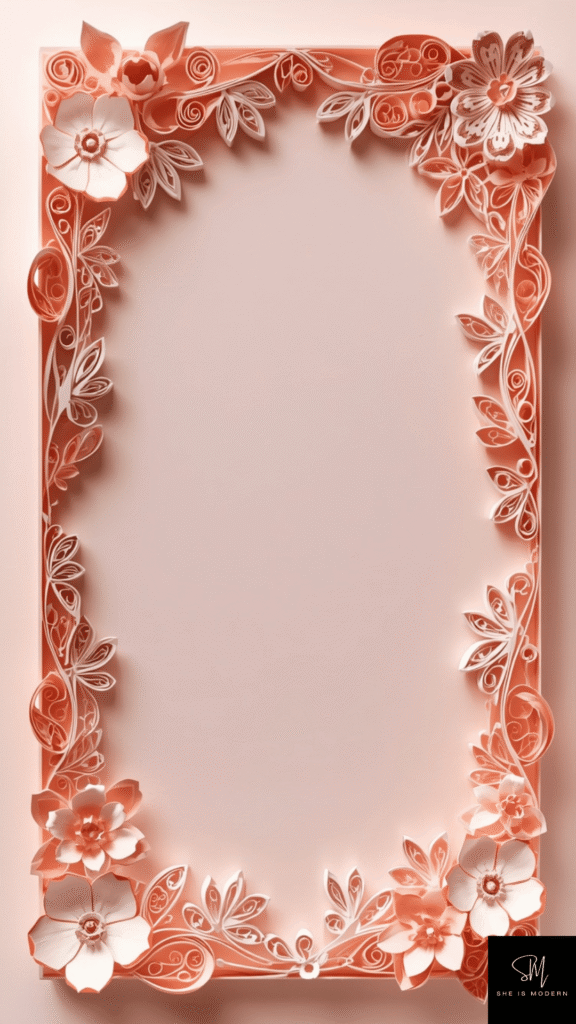
A paper quilling frame adds delicate detail using rolled paper shapes. Create small coils, curves, and lines, then arrange them around the frame edges. This gives a soft, decorative border that looks unique and handmade. Choose simple patterns to keep the design neat.
Use a limited color palette for a clean finish. Soft tones create a calm feel, while two tone designs add gentle contrast. Secure each piece carefully so the pattern stays in place. Keep spacing even for a balanced layout.
This idea is great for adding fine detail without heavy materials. It works well for small frames and gift items. A quilling frame brings a light, artistic touch to your decor.
12. Magnetic Frame Board
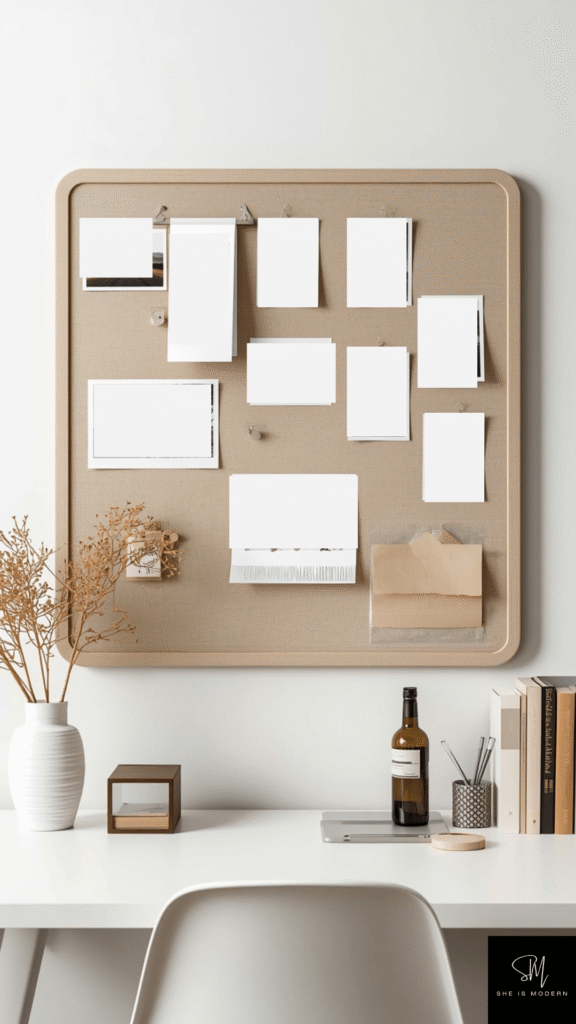
A magnetic frame board is a modern and flexible way to display photos. Use a metal sheet or magnetic board as the base. Attach photos using small magnets, which makes it easy to change layouts anytime. This keeps the display fresh and organized.
You can paint the board in a neutral tone or leave it simple for a clean look. Use matching magnets to keep the design consistent. Arrange photos in a grid or casual layout based on your style.
This idea is perfect for workspaces or family areas. It combines function with style. A magnetic board keeps your photo display easy to update and visually neat.
13. Resin Coated Frame
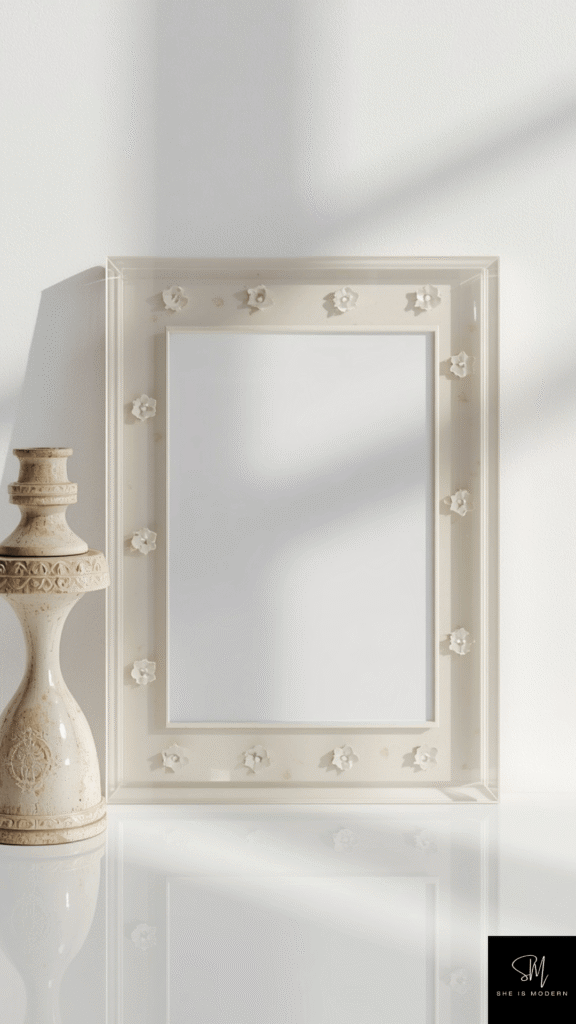
A resin coated frame gives a smooth and glossy finish. Apply a thin layer of clear resin over the frame surface to create a polished look. You can also add small elements like dried leaves or subtle color pigments before it sets.
Keep the design simple so it does not overpower the photo. Soft tones and natural elements work best for a balanced look. Make sure the resin is applied evenly for a clean finish.
This idea adds a modern and refined touch. It works well in living rooms or display areas. A resin frame feels sleek, durable, and visually striking.
14. Pegboard Photo Frame
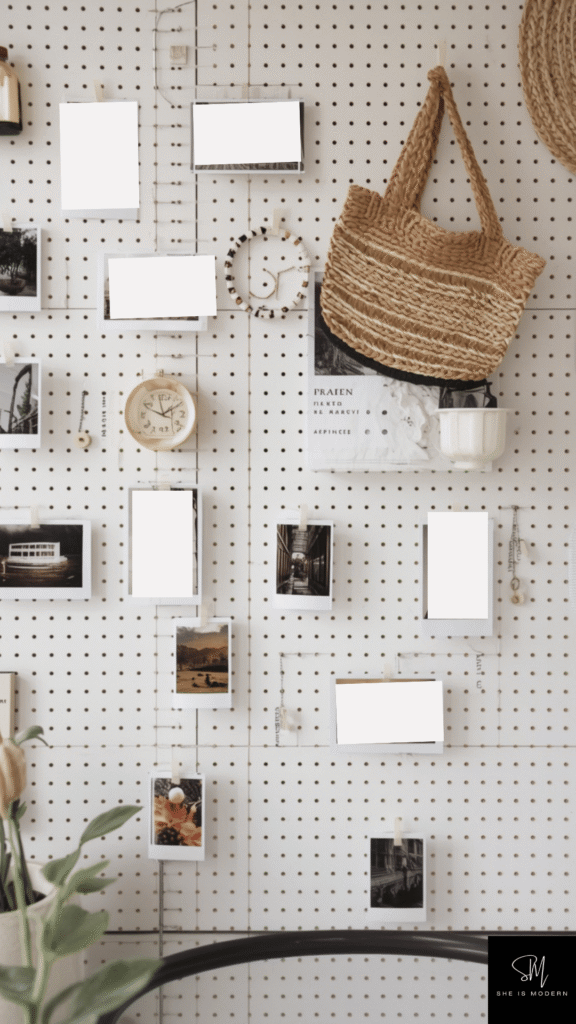
A pegboard frame is a creative and flexible display option. Use a small pegboard and insert hooks or clips to hold photos. This allows you to move and rearrange items easily. It also adds a structured and organized look.
You can paint the board in soft colors or keep it natural. Add small shelves or hooks for extra decor items. Keep spacing even to maintain a clean layout.
This idea works well for creative spaces or bedrooms. It gives you freedom to update your display anytime. A pegboard frame combines storage, style, and flexibility in one setup.