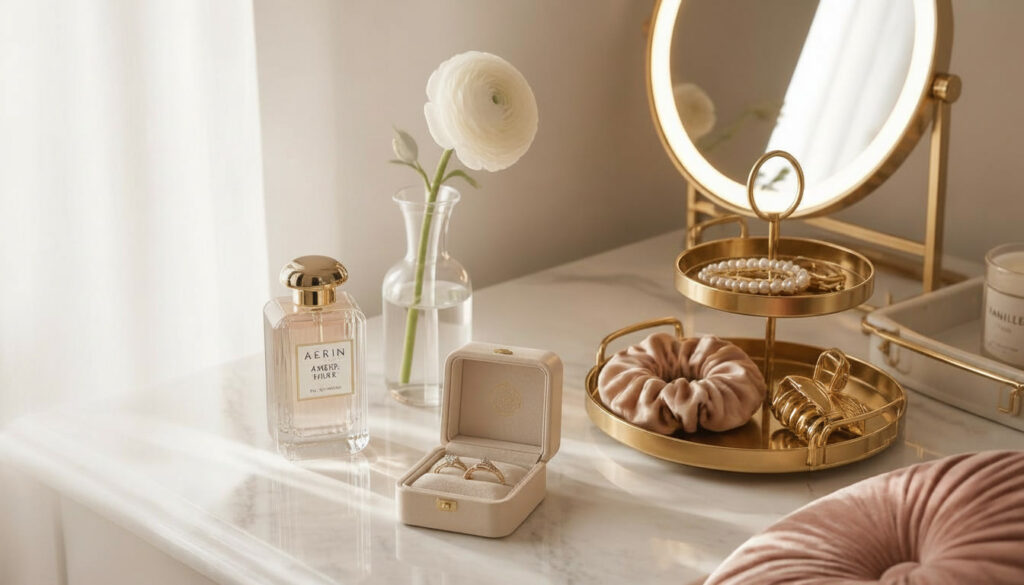
A bedroom vanity is one of those spaces that quietly earns its keep every single day. It’s not just a pretty corner for photos. It’s where you actually get ready, wind down, and spend a few quiet minutes that bookend your whole day. I’ve designed vanity setups in everything from sprawling primary suites to tight studio corners, and the ones that work best always balance real function with genuine personality.
What I love about vanity styling specifically is how forgiving it is. You don’t need a huge bedroom or a big budget to build one that feels intentional and genuinely useful. These 12 ideas come from vanities I’ve actually built and used myself, with the lighting, storage, and layout details that separate a corner that gets used daily from one that just collects dust after the first week.
1. Choose a Vanity with Built In Drawer Storage
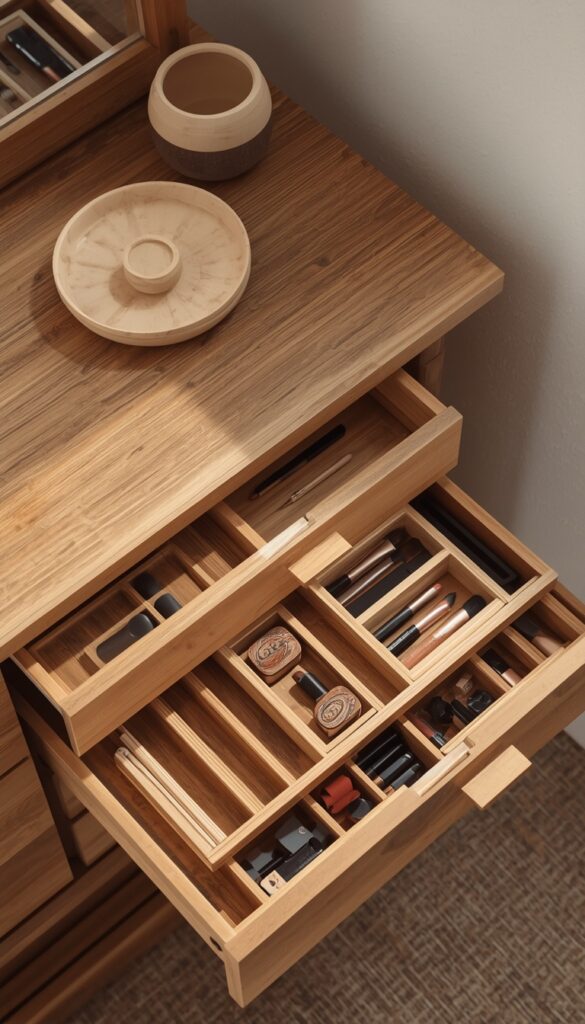
A vanity table with built in drawers solves the single biggest problem most bedroom vanities face: visible clutter. Skincare bottles, makeup palettes, and hair tools all need somewhere to live when they’re not actively in use, and a few dedicated drawers keep the surface itself clear and genuinely usable for actual getting ready time rather than becoming a dumping ground.
I always check drawer depth before buying, since shallow drawers under two inches can’t hold much beyond flat items like brushes or jewelry. Two to three inches of clearance handles most standard bottles and palettes comfortably. A vanity with at least two drawers, one shallow for daily items and one deeper for bulkier tools, covers most people’s actual storage needs without requiring extra furniture elsewhere in the room.
Drawer organizers make the real difference here, more than the drawers themselves. Small acrylic or bamboo dividers keep lipsticks, brushes, and skincare from sliding into one chaotic pile every time the drawer opens and closes. I install these immediately after buying any vanity, since an unorganized drawer defeats the entire purpose of hiding clutter in the first place.
2. Add a Lighted Mirror for Accurate, Flattering Makeup Application
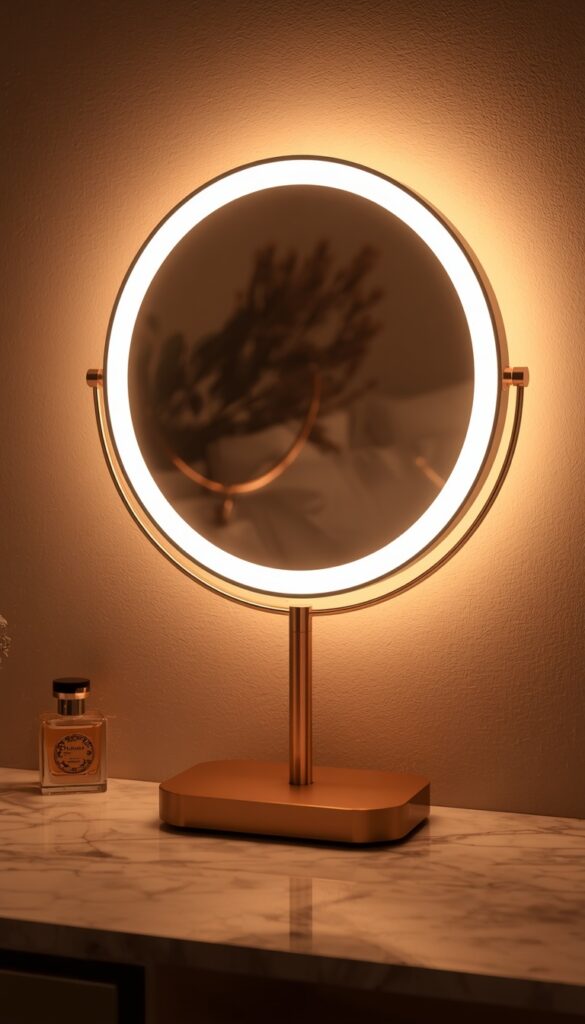
Overhead bedroom lighting almost never flatters skin the way dedicated vanity lighting does, which is exactly why a lighted mirror matters so much for anyone actually applying makeup at this spot daily. I look for mirrors with LED bulbs surrounding the frame rather than a single light source above or beside it, since surrounding light eliminates the harsh shadows a one directional lamp tends to create.
Color temperature adjustability is the detail most people skip and later regret. A mirror with a dial or touch control letting you shift between warm, cool, and daylight settings lets you check how makeup will actually look under different lighting conditions, office fluorescents, evening candlelight, before you ever leave the house. This single feature has saved me from mismatched foundations more times than I can count.
Brightness control matters just as much as color temperature for daily comfort. A dimmable lighted mirror lets you soften the glow for evening skincare routines versus full brightness for detailed daytime makeup work. I avoid fixed brightness mirrors entirely now, since the harsh, unchangeable light eventually becomes genuinely uncomfortable to sit in front of every single morning.
3. Use a Tiered Tray for Visible, Organized Product Display
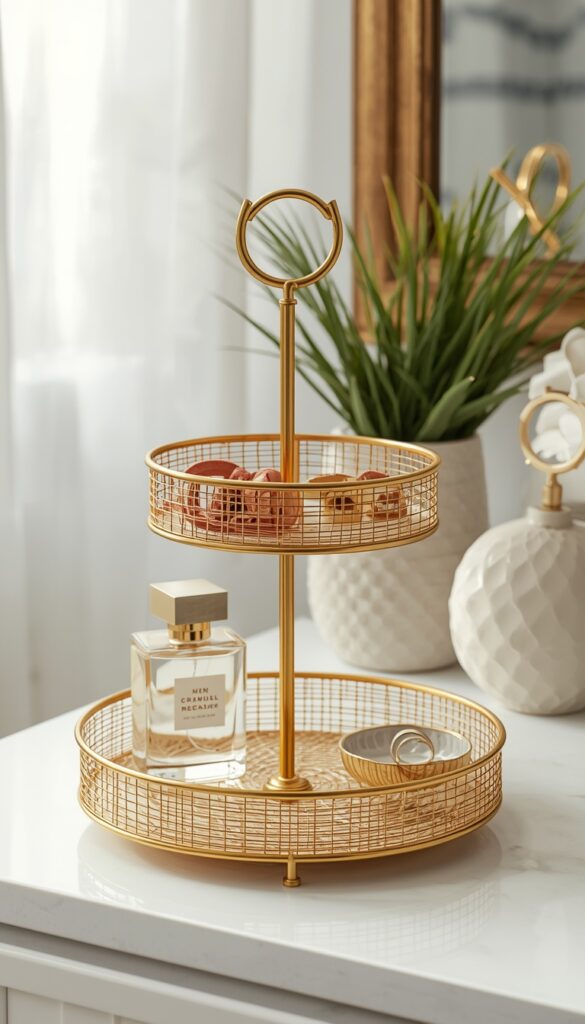
A tiered tray solves the storage problem differently than drawers do, keeping frequently used items visible and within easy reach rather than tucked away out of sight. I use these specifically for products I reach for daily, perfume, a favorite moisturizer, hair ties, since hiding genuinely daily use items in a drawer just adds an extra step every single morning.
Material choice affects both function and styling cohesion here. A metal tiered tray with a thin gold or black frame reads as more current than the bulkier wood versions popular a few years back, and the open wire design lets you see every item clearly without anything blocking another tier. I avoid solid, closed tiers, since they create the same hidden clutter problem drawers already solve elsewhere.
Grouping by height and function makes the tray look intentional rather than randomly stacked. I place taller items, perfume bottles, a small vase, toward the back of each tier, with shorter items like lip balms or rings toward the front. This simple layering trick keeps everything visible at a glance instead of taller pieces blocking shorter ones behind them.
4. Create a Vanity Nook Using an Existing Closet Space
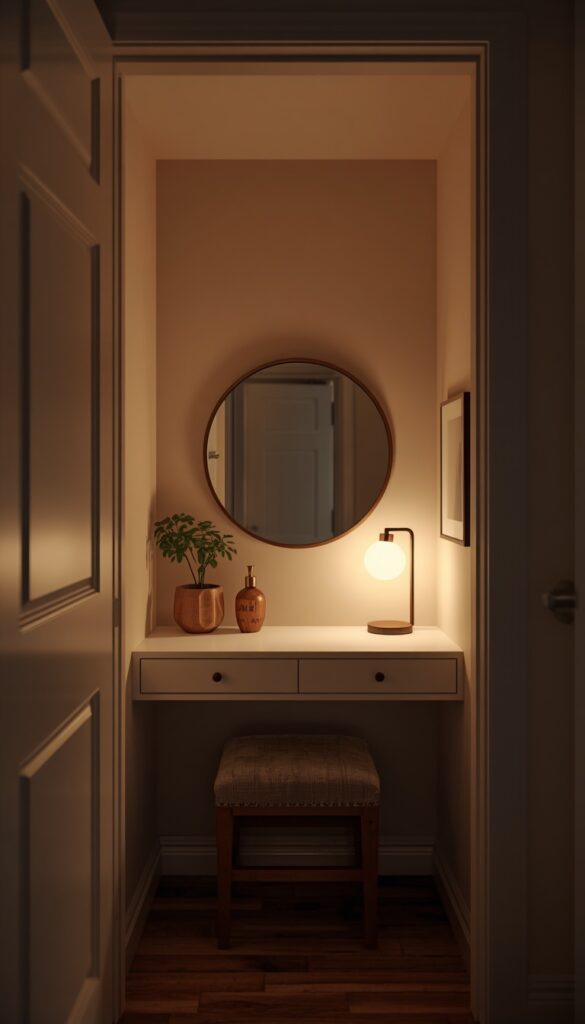
A closet vanity nook makes genuine sense for smaller bedrooms that can’t spare floor space for a standalone vanity table. Removing the closet doors, adding a small desk surface inside, and mounting a mirror directly on the back wall turns dead closet space into a fully functional vanity corner without sacrificing an inch of your actual bedroom floor plan.
I always measure the closet’s interior width carefully before committing to this layout, since most reach-in closets run between 24 and 30 inches deep, which comfortably fits a slim desk surface and a chair tucked partially inside. Wider walk in closets offer even more flexibility, sometimes allowing a small bench seat alongside the vanity surface itself.
Lighting becomes especially important in this setup, since closets rarely have adequate built in lighting designed for actual tasks like makeup application. I always add a dedicated lighted mirror or wall sconces directly beside the mirror, rather than relying on a single closet light fixture mounted on the ceiling, which tends to cast unflattering shadows across the face from directly above.
5. Add a Cushioned Stool or Bench for Comfortable Seating
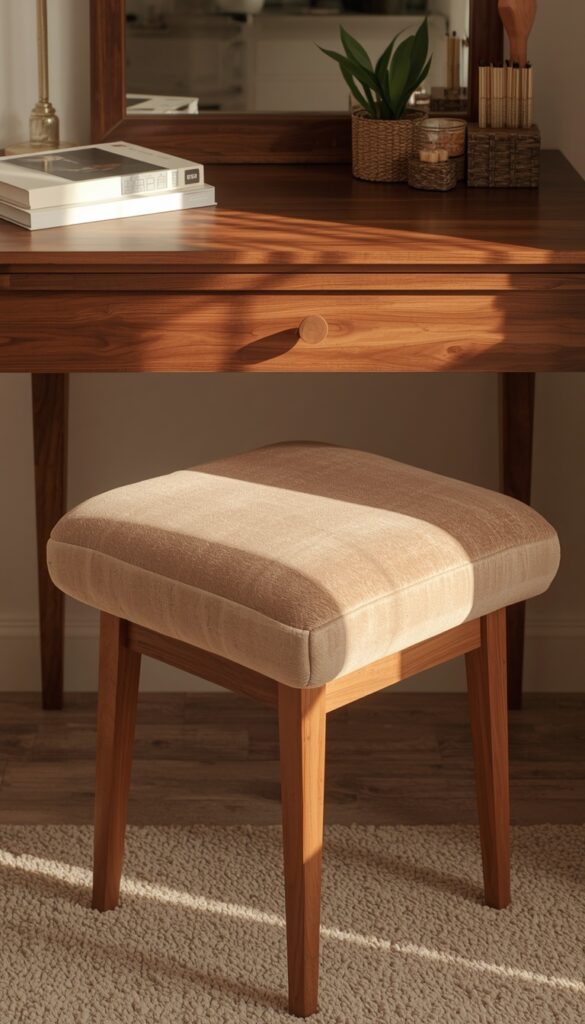
Seating gets overlooked constantly in vanity planning, yet it genuinely determines whether you’ll actually sit and use the space daily or avoid it because the chair is uncomfortable. A cushioned stool or small upholstered bench, sized to tuck fully underneath the vanity surface when not in use, keeps the area looking clean while still being comfortable enough for a real morning routine.
Height matching matters more than people initially realize when shopping separately for a vanity table and seating. I measure the vanity’s underside clearance first, then choose seating that allows knees to fit comfortably without hitting the surface above. A stool that’s even two inches too tall makes the whole setup awkward and uncomfortable to actually sit at regularly.
Upholstery fabric should hold up to daily contact, especially if you’re applying lotions or oils right before sitting down. A performance velvet or a tightly woven cotton blend wipes clean far more easily than a delicate silk or loosely woven linen, which can stain or snag with repeated daily use over months and years of actual sitting and getting up.
6. Build a Floating Vanity Shelf for a Minimal, Space Saving Look
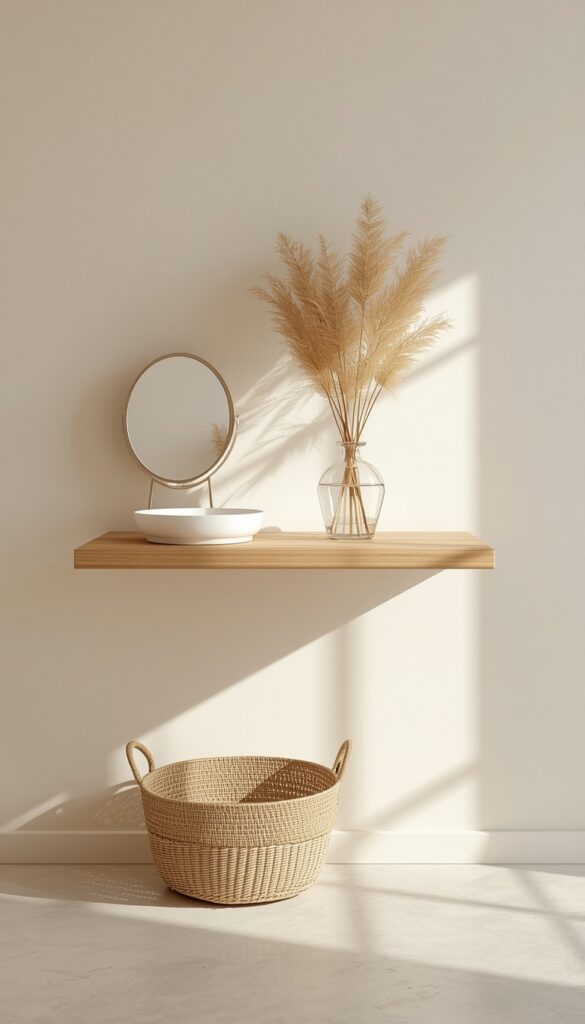
A floating vanity shelf, mounted directly to the wall without traditional legs or a bulky base, genuinely opens up floor space in a smaller bedroom while still providing a real, usable surface for getting ready. I install these specifically in rooms where every square foot of visible floor matters, since the open space beneath the shelf keeps the whole room feeling larger than a traditional vanity table would allow.
Bracket strength is critical here, more than with most furniture, since the entire weight of everything on the shelf, plus your arms resting on it daily, relies entirely on the wall mounting itself. I always anchor floating vanity shelves into wall studs with brackets rated for at least fifty pounds, never relying on drywall anchors alone for a surface this frequently used.
Storage beneath a floating shelf needs a separate solution, since there’s no built in drawer space the way a traditional vanity table provides. I generally pair this setup with a small woven basket or a slim rolling cart tucked underneath, holding the items that would otherwise live in drawers, keeping the minimal, airy look while still solving genuine storage needs.
7. Use a Vintage Dresser Repurposed as a Vanity
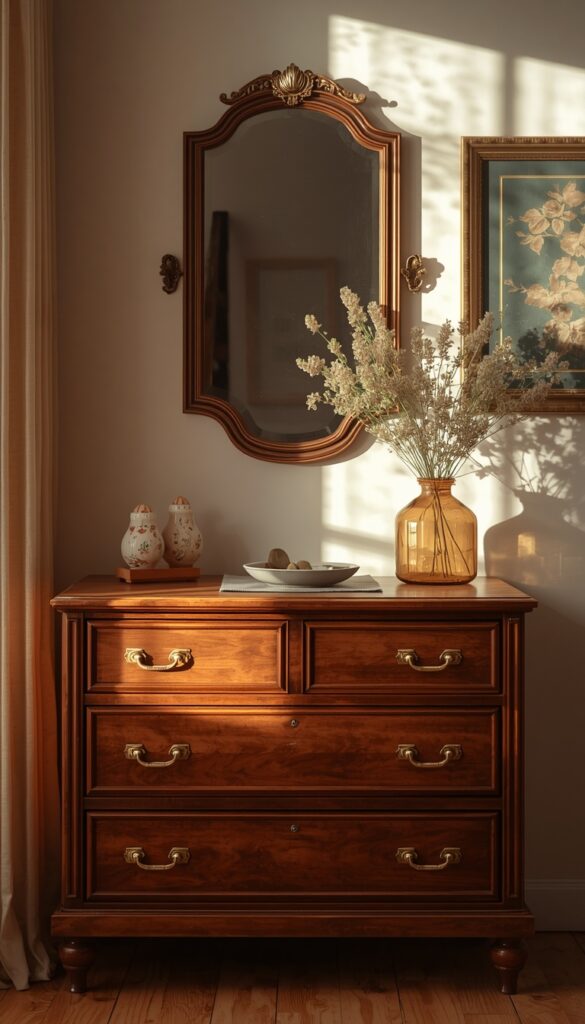
Repurposing a vintage dresser into a vanity gives you genuine drawer storage plus real character that new furniture often lacks. I look specifically for dressers with a slightly lower profile, around 30 inches tall, which sits at a comfortable seated height without needing a stool that’s awkwardly tall to compensate for an overly high surface.
Hardware updates make a significant difference in how intentional this repurposed piece feels within a bedroom’s overall styling. Swapping dated, mismatched pulls for cohesive brass or matte black hardware instantly modernizes a vintage find without touching the wood finish itself. I always do this hardware swap before adding a mirror, since it changes the entire visual impression of the piece immediately.
Adding a mirror to a dresser turned vanity requires choosing between a wall mounted option above it or a tabletop standing mirror placed directly on the surface. I generally prefer wall mounted for cleaner sightlines and more usable surface space, though a standing mirror works better in rentals where wall mounting isn’t an easy option for every tenant.
8. Add a Vanity with an Integrated Mirror and Lighting System
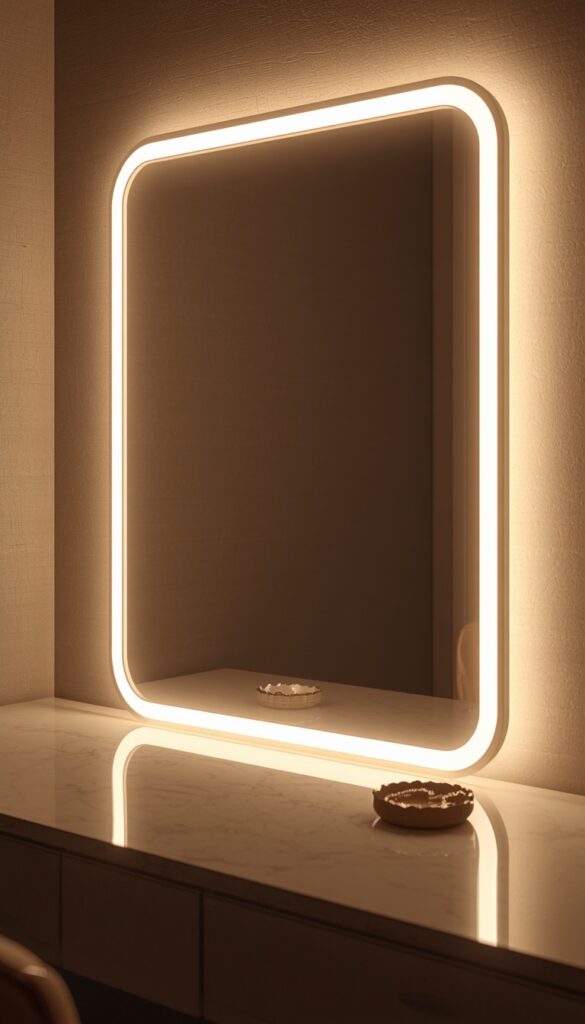
An all in one vanity, built with the mirror and lighting fully integrated into the table itself, solves the coordination headache of matching separate pieces that don’t quite work together. These setups typically include a frameless or thin framed mirror with LED strips built directly into the perimeter, eliminating the need to source and install lighting separately after the fact.
I recommend this integrated approach specifically for anyone setting up a vanity from scratch without existing pieces to incorporate, since it removes a significant amount of decision fatigue and installation work compared to building a vanity setup piece by piece. The trade off is less customization later, since the mirror and lighting can’t easily be swapped independently if your style evolves.
Power management deserves real attention with these integrated units, since most require a nearby outlet for the built in lighting to function at all. I always plan vanity placement around existing outlet locations first, or budget for a licensed electrician to add one, rather than discovering after delivery that an extension cord is your only functional option.
9. Incorporate Glass or Acrylic for a Light, Airy Vanity Feel
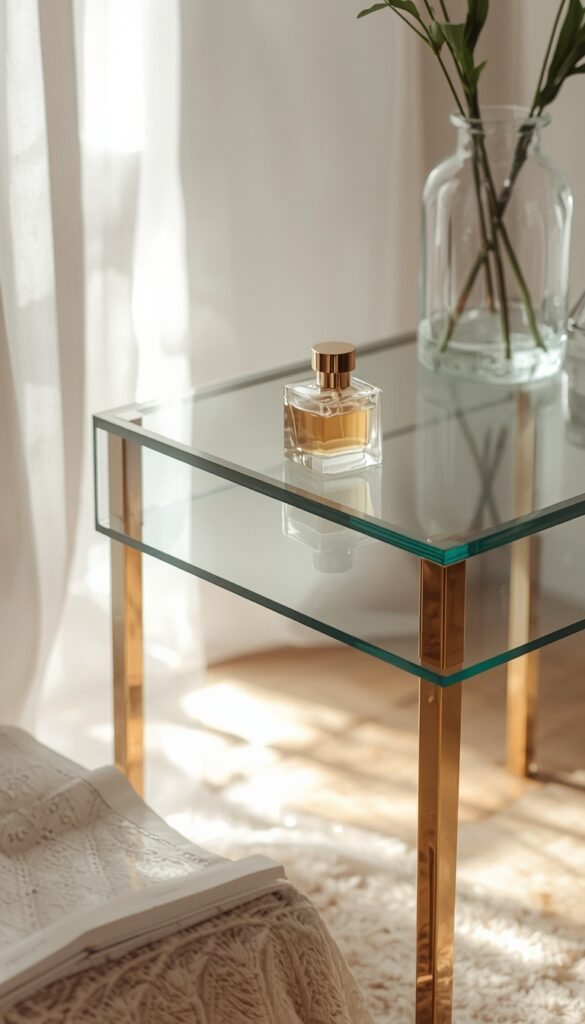
Glass or acrylic vanity furniture reads as visually lighter than solid wood, which genuinely matters in smaller bedrooms where a bulky vanity table can make the whole room feel more cramped than it actually is. A glass top vanity table with slim metal legs lets light and sightlines pass through, keeping the space feeling open even with a full vanity setup in place.
I generally recommend tempered glass specifically for the tabletop surface, since standard glass can shatter dangerously under impact from a dropped perfume bottle or a heavier styling tool. Acrylic offers similar visual lightness with less shatter risk, though it scratches more easily over time and shows fine surface wear sooner than tempered glass under daily use.
Styling on a glass or acrylic surface requires slightly more intention than a solid wood top, since every item placed on top is visible from underneath as well as above. I keep the items on these vanities deliberately minimal and well arranged, since clutter looks messier on a transparent surface than it would on an opaque one where you can’t see underneath.
10. Create a Window Side Vanity for Natural Light
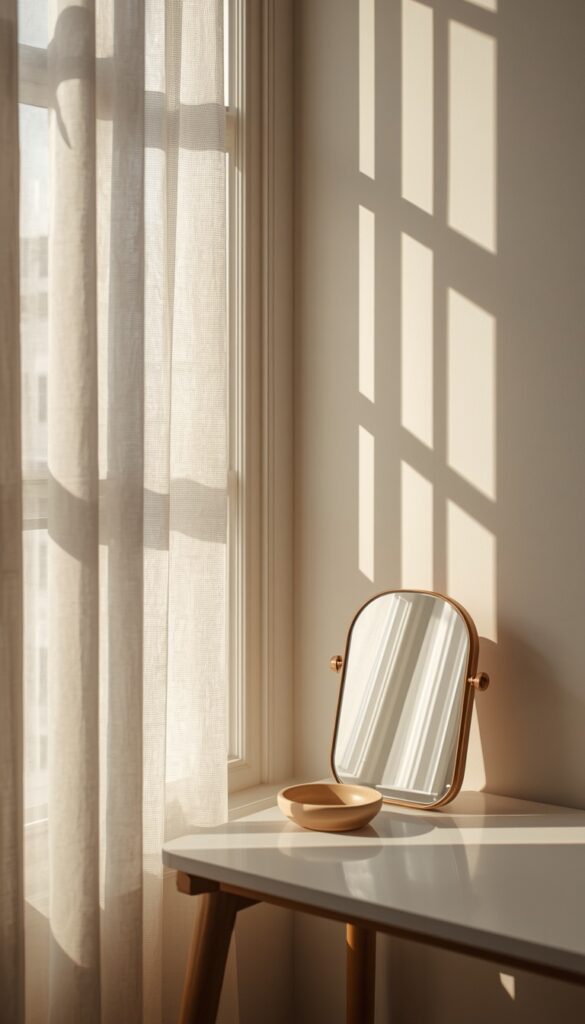
Positioning your vanity directly beside or facing a window gives you the most accurate, flattering light available for makeup application, far better than any artificial bulb can replicate consistently throughout the day. I always recommend this placement over alternatives whenever a bedroom’s layout genuinely allows it, since natural daylight remains the gold standard professional makeup artists use for accurate color matching.
Glare management becomes important with this setup, since direct, harsh sunlight at certain times of day can actually wash out your reflection rather than flattering it. I add a sheer curtain specifically at this window, letting you diffuse harsh midday sun into soft, even light rather than blocking the window entirely just to manage occasional glare throughout the day.
Evening use requires a backup lighting plan, since natural light disappears entirely after dark regardless of how well positioned your vanity is during daytime hours. I pair window side vanities with a secondary lighted mirror or a small lamp specifically for evening skincare routines, ensuring the spot remains fully functional even once the sun goes down.
11. Add Decorative Storage Boxes for Jewelry and Small Items
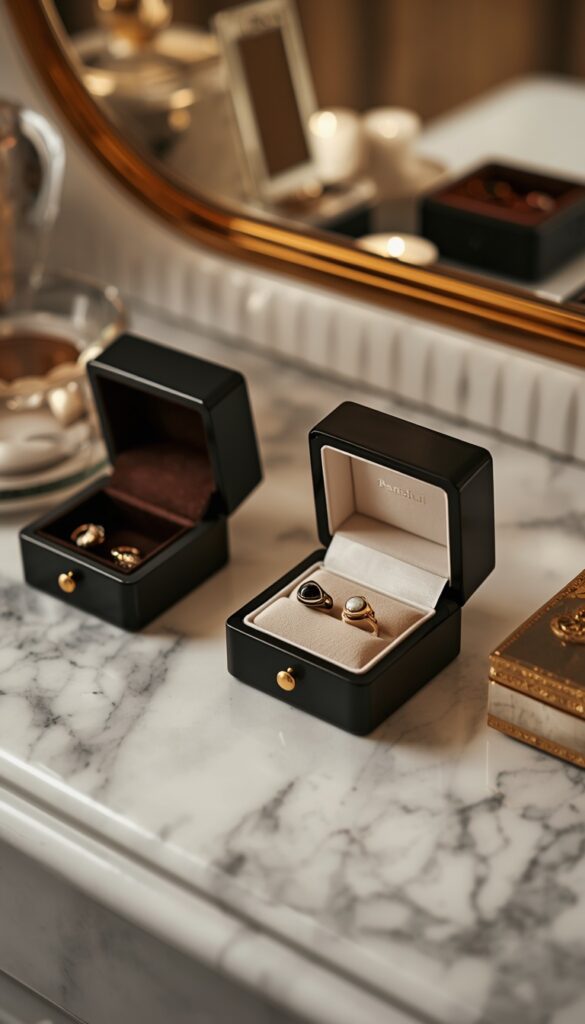
Loose jewelry tangles and scatters across a vanity surface faster than almost any other category of item, which is exactly why dedicated decorative boxes matter so much here. I use a few small lidded boxes, sorted by category, earrings in one, rings and bracelets in another, rather than one large catchall box where everything tangles together into a frustrating daily mess.
Material and finish should echo your vanity’s broader styling rather than introducing a mismatched element. A small lacquered wood box or a ceramic trinket dish in a glaze matching your room’s color palette feels intentional, while a plain plastic organizer undercuts the cohesive look you’ve built everywhere else on the surface. I avoid plastic here specifically for this reason.
Velvet lined interiors genuinely protect delicate jewelry better than bare wood or plastic linings, preventing fine scratches on softer metals like gold or rose gold over months of repeated daily use. I check for this detail specifically when buying jewelry storage, since the lining matters more for long term protection than the box’s exterior appearance, even though the exterior gets all the visual attention.
12. Style the Vanity Surface with a Curated, Minimal Display
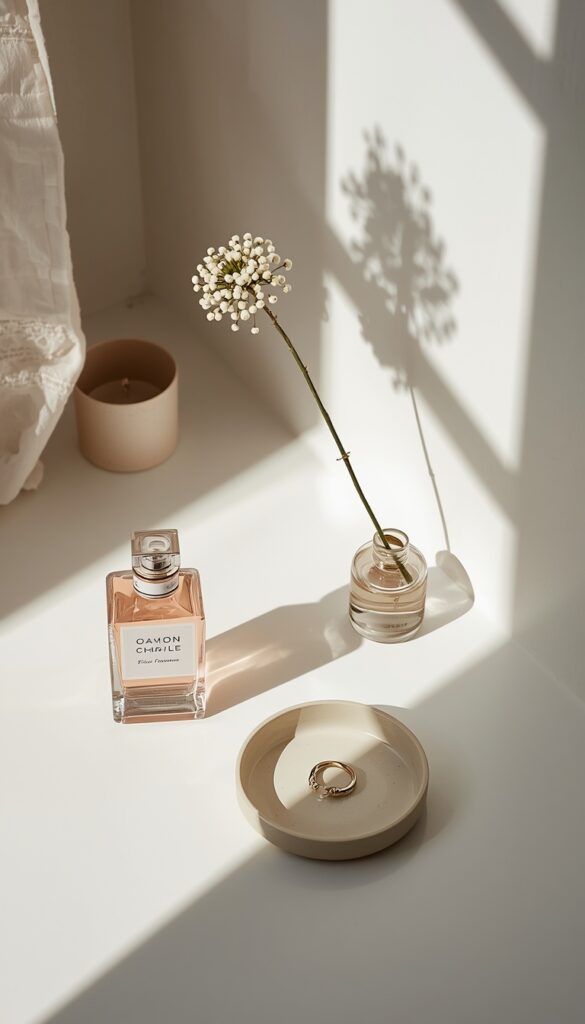
The items you choose to leave out on display say as much about your vanity’s overall feel as the furniture itself. I recommend limiting visible surface items to roughly five to seven pieces maximum, a perfume bottle, a small candle, a single plant, a jewelry dish, rather than letting every product you own crowd the actual usable surface space.
Height variation among displayed items creates visual interest that a row of same sized bottles simply can’t achieve. I place one taller item, a perfume bottle or a small vase, alongside shorter pieces like a ring dish or compact mirror, creating a more dynamic, considered arrangement rather than a flat, uniform line of products across the surface.
Rotating seasonal items keeps a vanity feeling fresh without requiring a full restyle every few months. I swap a candle scent, switch out a small seasonal flower in a bud vase, or change a single decorative tray liner color, small, low cost updates that keep the space feeling current while the actual furniture and major styling pieces stay exactly the same.
Bringing It All Together
A bedroom vanity earns its place in a room through daily use, not just good looks in a photo. The best setups balance real storage, genuinely flattering lighting, and a seating arrangement comfortable enough to actually sit at every morning and night. Every idea here comes from vanities I’ve personally built, used, and adjusted over time once the initial styling met the reality of daily life. You don’t need a huge bedroom or an unlimited budget to create one that works. Choose one or two ideas that fit your actual space, and build a vanity corner you’ll genuinely want to use every single day.
Frequently Asked Questions
Q: What is the best lighting for a bedroom vanity? A: A lighted mirror with adjustable color temperature gives the most accurate, flattering light for makeup application, since it lets you preview how products will look under different real world lighting conditions. Natural window light is the gold standard during the day, paired with a dimmable lamp for evening use.
Q: How much space do I need for a small bedroom vanity? A: A floating shelf or a slim glass top table can work in as little as two to three feet of wall space, especially when paired with a stool that tucks fully underneath when not in use. Closet nooks also repurpose existing space without requiring any additional floor footprint at all.
Q: Can I turn a regular desk into a vanity? A: Absolutely, and many people do exactly this successfully. Add a lighted mirror, a tray for daily products, and a comfortable stool, and a standard desk functions just as well as furniture marketed specifically as a vanity. The styling and lighting matter far more than the furniture’s original intended purpose.
Q: What height should a bedroom vanity be? A: Most vanity tables sit between 28 and 30 inches tall, comfortable for seated use with a properly matched stool or chair. Always measure your seating height against the vanity’s underside clearance before buying separately, since even a small mismatch makes the whole setup awkward to use daily.
Q: How do I organize vanity drawers so they stay tidy? A: Small acrylic or bamboo drawer dividers prevent products from sliding into one chaotic pile every time the drawer opens. Group items by category, skincare together, makeup together, rather than by size alone, and you’ll find what you need faster during your actual daily routine.
Q: Do I need a stool specifically made for a vanity? A: Not necessarily, but comfort and height matching matter more than the stool’s marketed purpose. Any cushioned stool or small bench that fits comfortably under your vanity’s surface and allows your knees clearance works well, as long as the upholstery can handle daily contact with lotions and oils.
Q: What’s the difference between a vanity table and a regular dressing table? A: The terms are largely interchangeable today, though “vanity” more often implies an integrated or attached mirror and dedicated lighting, while “dressing table” sometimes refers to a simpler surface without those built in features. Functionally, both serve the same daily getting ready purpose in a bedroom.