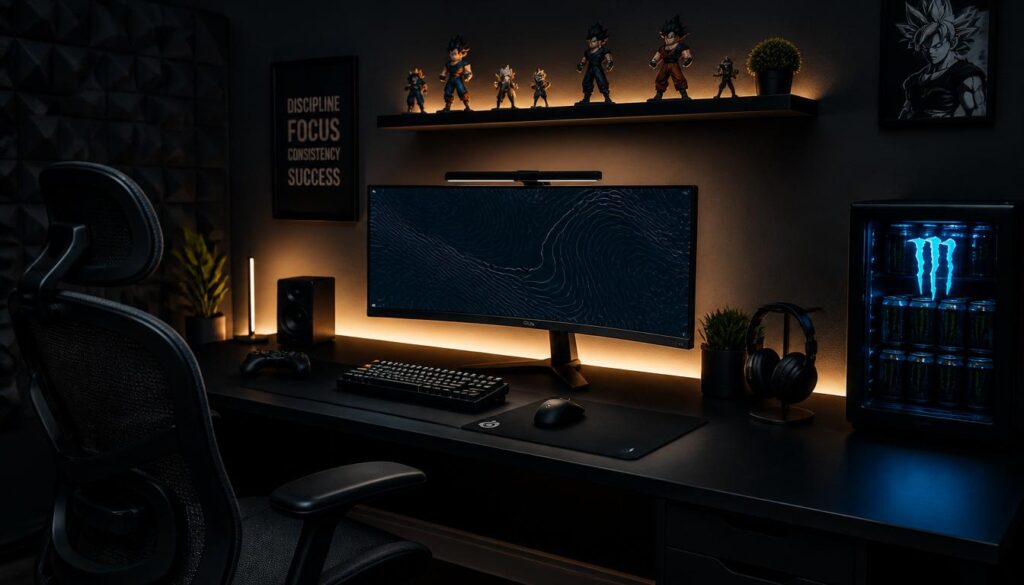
A great gaming room has to do two jobs at once, and most setups only nail one of them. Plenty of rooms look incredible in photos but feel exhausting to actually sit in for three hours straight. Others are comfortable but visually forgettable, just a couch and a TV with no real personality. I’ve built gaming setups that needed to look genuinely good on camera and still feel right during a long weekend session, and the difference always comes down to a handful of specific, practical choices.
This isn’t about chasing the most expensive RGB everything or copying a streamer’s backdrop. It’s about lighting that doesn’t wreck your eyes, seating that doesn’t wreck your back, and a layout that actually works for how you game. These 13 ideas come from rooms I’ve personally built and lived in, with the real details, distances, brightness levels, cable tricks, that separate a gaming room people actually use daily from one that just looks good for five minutes.
1. Choose Bias Lighting Behind Your Monitor to Reduce Eye Strain
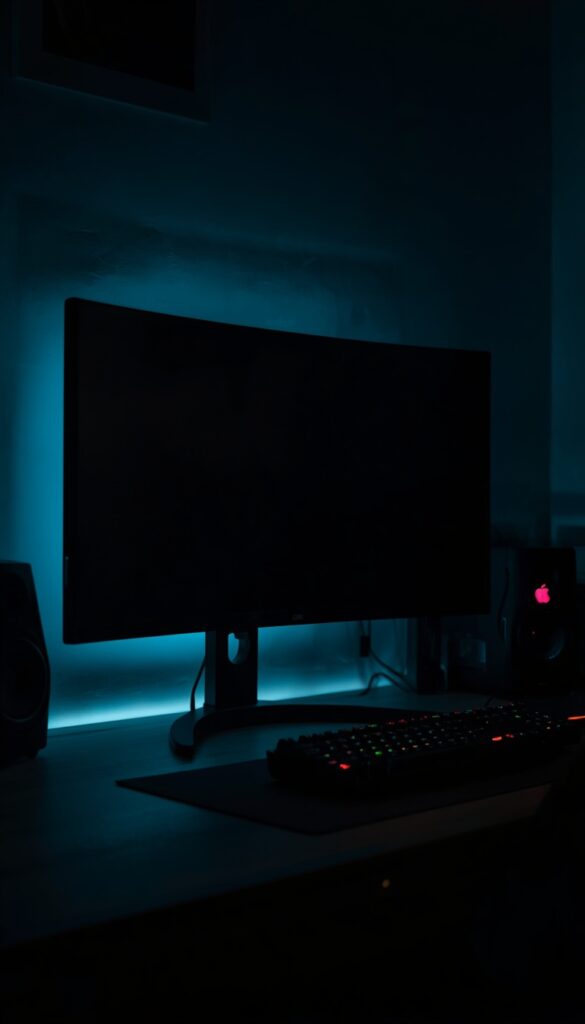
Bias lighting, a soft LED strip mounted directly behind your monitor or TV, reduces the contrast between a bright screen and a dark room, which genuinely cuts down on eye fatigue during long sessions. I always recommend a neutral white light around 6500K specifically for this purpose, since color shifting RGB strips look fun but actually work against the goal of reducing visual strain behind the screen.
Brightness matching matters more than people realize when setting this up correctly. The bias light should sit at roughly ten percent of your screen’s peak brightness, bright enough to soften the contrast but not so bright it competes with the actual content on screen. I test this by glancing away from the screen for a few seconds; if the wall behind suddenly feels jarring either way, the brightness needs adjusting.
Adhesive LED strips with a USB connection make installation simple, mounting directly to the back of most monitors or the wall just behind a TV. I run the cable along the bottom edge and tuck it behind the stand, since a visible cord undercuts the clean look this lighting trick is otherwise meant to add to the whole setup.
2. Add an Ergonomic Gaming Chair with Real Lumbar Support
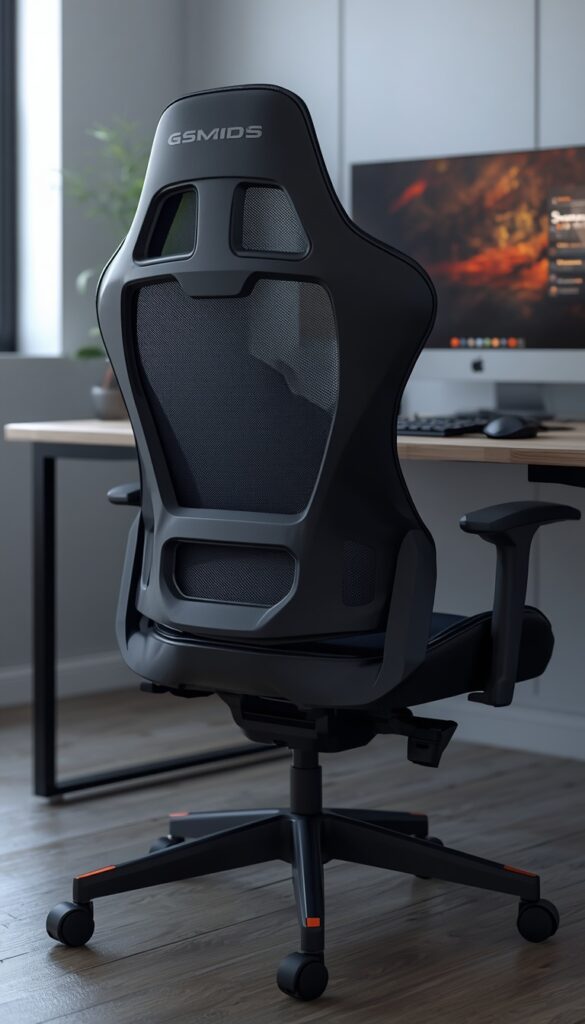
A genuinely ergonomic gaming chair matters more than nearly anything else on this list if you’re spending multiple hours seated daily, and the difference between a real ergonomic chair and a flashy looking budget option becomes obvious fast once your back is involved. I look specifically for adjustable lumbar support, not just a built in curve, but an actual adjustable pad you can move up, down, and in toward your spine.
Seat depth and armrest adjustability matter just as much as the backrest itself. I always sit in a chair, or at minimum check detailed measurements, before buying, since a seat that’s too deep puts pressure behind your knees, while armrests that don’t adjust in height force your shoulders into an awkward, hunched position after even a short session.
Breathable fabric or mesh beats full PU leather for anyone gaming in a room without strong air conditioning, since leather traps heat and becomes genuinely uncomfortable after an hour or two. I’ve switched several clients from leather racing style chairs to mesh backed alternatives specifically for this reason, and the comfort difference during long sessions is immediately noticeable.
3. Install Cable Management Trays Under Your Desk
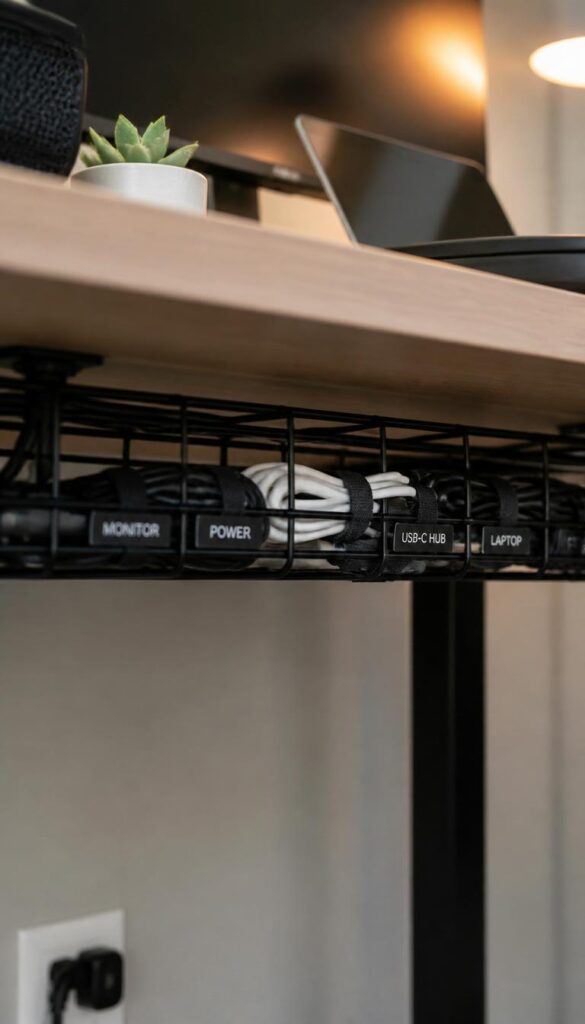
Tangled cables under a gaming desk create both a visual mess and a genuine tripping hazard, and a simple under desk cable tray solves this more effectively than zip ties alone ever could. I mount a tray directly to the underside of the desk near the back edge, routing power strips and cable bundles into it so everything sits off the floor and out of sight completely.
Velcro cable ties, rather than permanent zip ties, make a real difference for anyone who upgrades or rearranges gaming gear regularly, which is most gaming setups eventually. I use velcro specifically because it lets me add or remove a cable without cutting and re-trying everything else in the bundle, saving real time during the inevitable next upgrade.
Color coding or labeling cables at both ends, the device and the power strip, solves a frustrating problem during future troubleshooting or rearranging. I label mine with small adhesive tags directly on each cable, since reaching blindly under a desk trying to identify which cord belongs to which device wastes far more time than the few minutes labeling takes upfront.
4. Use a Floating Desk to Maximize Floor Space
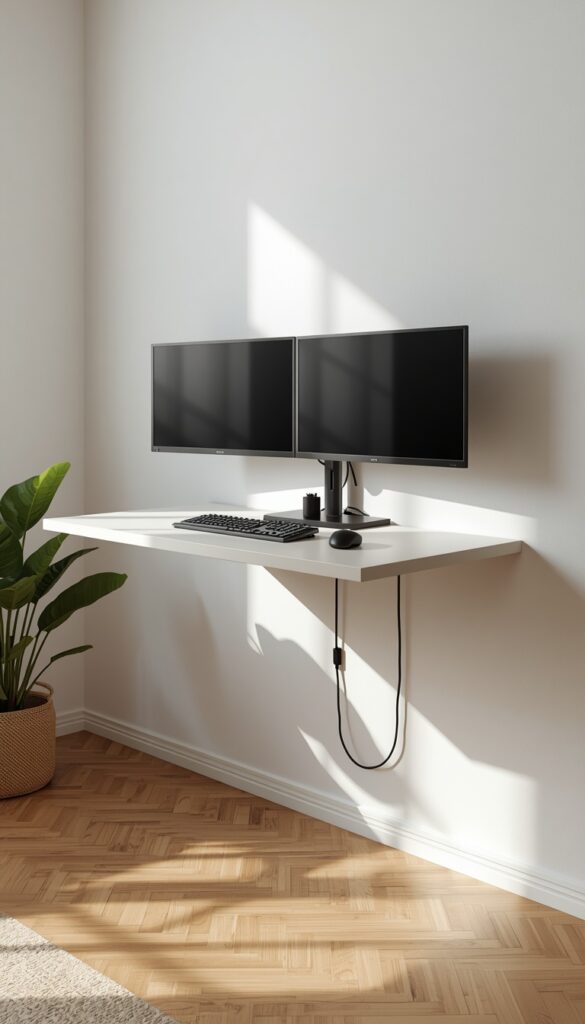
A wall mounted floating desk frees up genuine floor space in a gaming room, which matters enormously if the room doubles as a home office or guest space and needs to feel less permanently committed to gaming gear alone. I install these directly into wall studs with heavy duty brackets, since a gaming desk holding multiple monitors and a PC tower carries real weight that drywall anchors alone can’t safely support.
Depth matters more than width when choosing a floating desk specifically for gaming setups. I recommend at least 24 inches of depth to comfortably fit a keyboard, mouse, and reasonable monitor distance, since a shallow floating desk forces your screen too close to your face, which contributes to eye strain over long sessions regardless of how good your bias lighting setup is.
Cable routing requires extra planning with a floating desk, since there’s no traditional desk frame to hide wiring behind. I drill a small grommet hole near the back edge specifically for this purpose, running cables down through the hole and along the wall into a vertical cable raceway, keeping the whole wall mounted setup looking clean and intentional.
5. Add Acoustic Panels to Improve Sound Quality
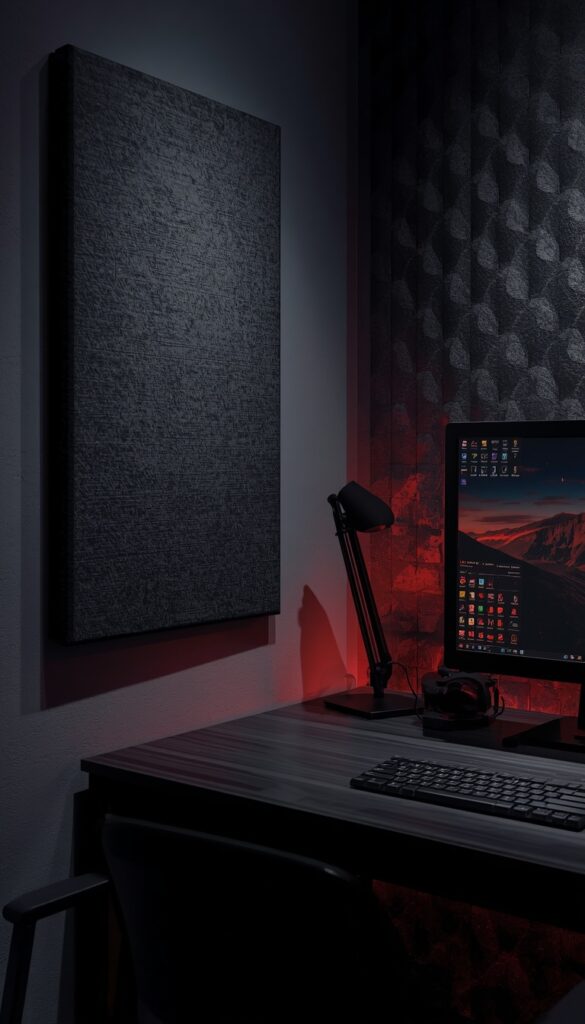
Acoustic foam or fabric wrapped panels genuinely improve both your gaming audio experience and any voice chat or streaming clarity, especially in a room with hard, flat walls that cause sound to bounce and echo. I install panels specifically at first reflection points, the spots on side walls where sound from your speakers would bounce directly back toward your ears, rather than covering walls randomly.
Panel thickness affects performance more than most people expect when shopping for these. I recommend at least two inches of thickness for genuinely noticeable sound absorption, since the thinner, cheaper foam panels marketed for gaming rooms often look the part visually but do very little to actually dampen echo or improve audio clarity in the room.
Fabric wrapped panels, rather than exposed foam, blend more naturally into a styled gaming room and come in colors that can actually complement your room’s broader palette. I’ve used charcoal and deep navy fabric panels specifically because they read as intentional design choices rather than obvious acoustic treatment, while still delivering the same genuine sound dampening function underneath.
6. Build a Display Shelf for Collectibles and Game Cases
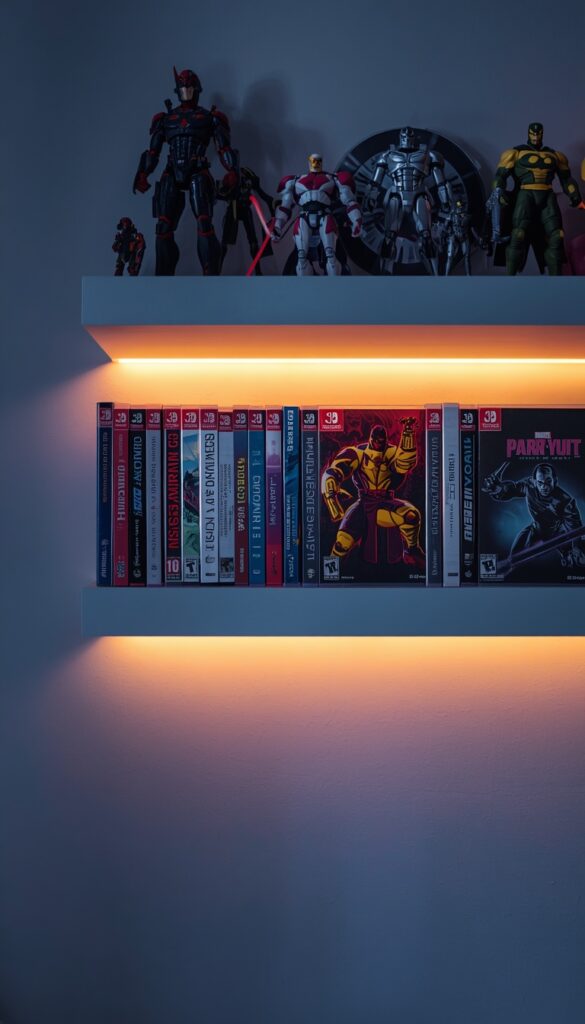
A dedicated display shelf turns a collection of game cases, figures, or controllers into genuine decor rather than clutter scattered across a desk. I use floating shelves with a small lip or edge, roughly half an inch raised along the front, specifically to prevent lighter items from sliding off during normal room vibration, like walking past or closing a nearby door.
Lighting this shelf separately from the room’s main lighting elevates a collection significantly. A thin LED strip mounted along the underside of each shelf, angled slightly downward, highlights collectibles without creating harsh glare or reflections off glass cases. I always test this lighting angle before permanently mounting the strip, since even a slight miscalculation creates an annoying glare across glossy game cases.
Grouping items by color or franchise, rather than placing things randomly as you acquire them, makes the display read as intentional rather than accumulated by accident. I rearrange these shelves every few months as new items come in, since a fixed, never updated display starts feeling stale fast, even with genuinely great individual pieces sitting on it.
7. Choose a Curved or Multi Monitor Setup for Immersive Play
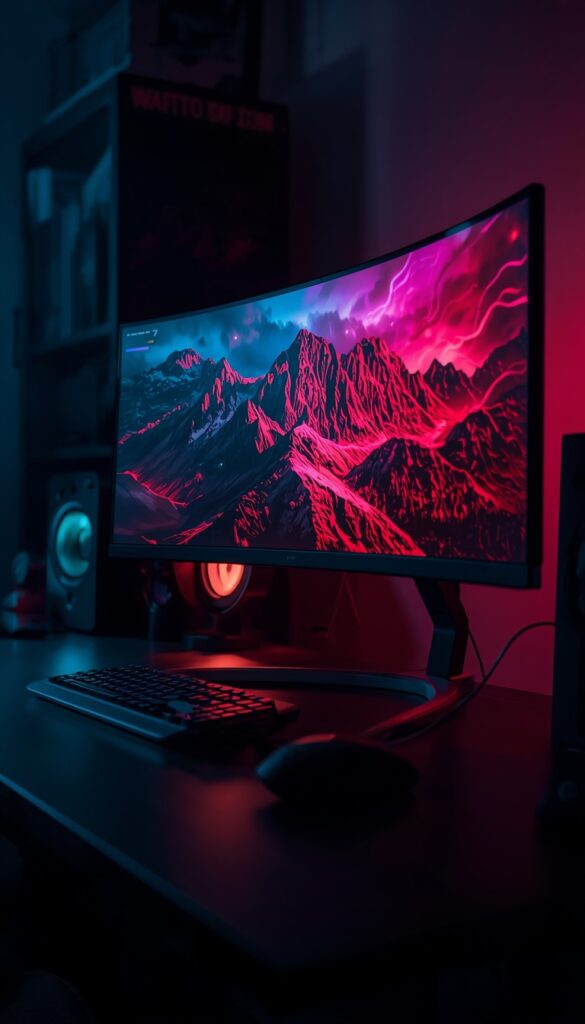
A curved monitor, or a multi monitor array angled slightly inward, creates a more immersive field of view than a single flat screen, genuinely changing how games feel during actual play rather than just looking impressive in photos. I recommend a curve radius of 1800R or tighter specifically for desk distances under three feet, since a gentler curve barely registers visually at typical gaming desk distances.
Monitor height and distance matter more than the curve itself for comfort during long sessions. I set the top of the screen at or slightly below eye level, roughly 20 to 28 inches from your face depending on screen size, since an improperly positioned curved monitor can actually strain your neck more than a flat screen positioned correctly would.
Multi monitor setups require careful angling to avoid distracting reflections between screens. I angle side monitors inward by roughly 20 to 25 degrees, testing the actual viewing angle while seated rather than guessing, since the right angle keeps peripheral screens usable without creating an uncomfortable, sharply angled neck turn during regular gameplay.
8. Add a Mini Fridge or Beverage Station Within Reach
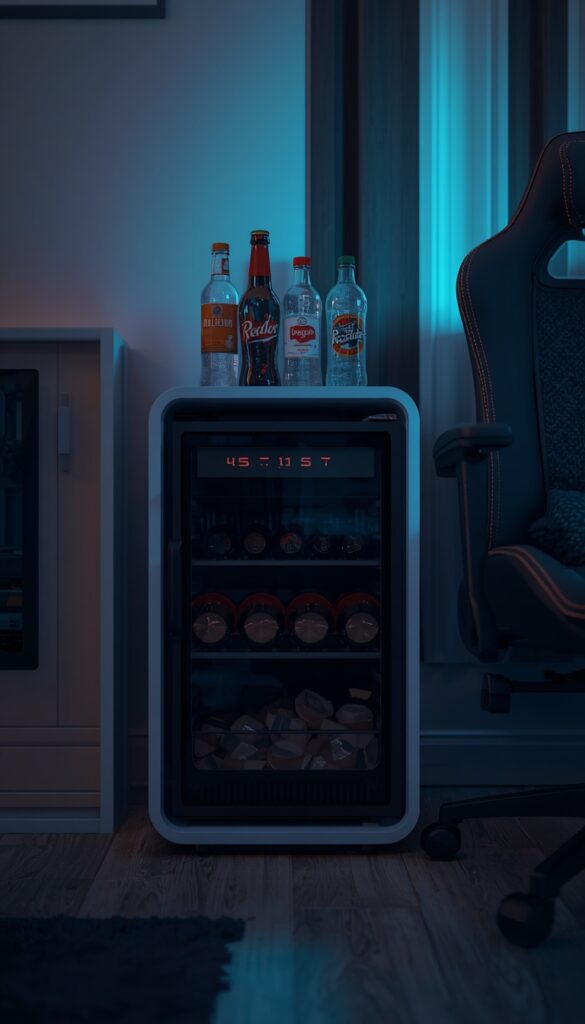
A small mini fridge or a simple beverage station near your gaming setup solves the real, common problem of constantly getting up mid session for a drink, which breaks immersion and wastes genuine playing time during longer sessions. I place mine within arm’s reach of the gaming chair specifically, rather than across the room, since the whole point is eliminating unnecessary interruptions.
Noise level matters more than people expect when choosing a mini fridge for this specific location. I always check the decibel rating before buying, since a loud compressor cycling on and off every few minutes becomes genuinely distracting during quiet, tense gaming moments. Look specifically for models advertised as quiet operation, typically under 40 decibels.
Styling the beverage station to match your room’s broader aesthetic keeps it from looking like an obvious dorm room afterthought. I tuck mine into a small side table with a matching finish, or build it into a custom cabinet alongside other gear, rather than letting a mismatched white fridge sit awkwardly against an otherwise carefully styled dark room.
9. Use Blackout Curtains to Control Glare and Light Reflection
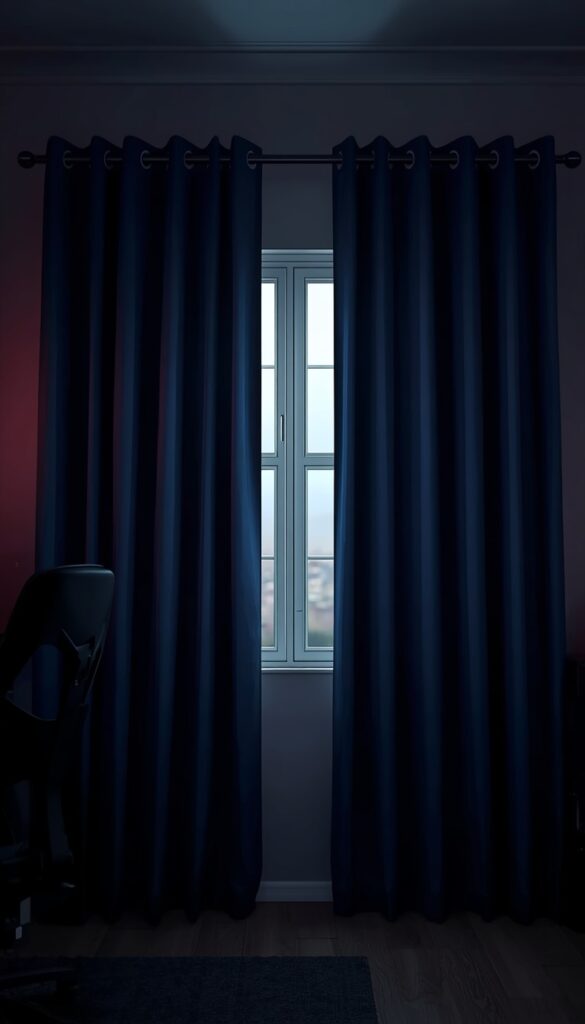
Blackout curtains solve a genuine practical problem for daytime gaming, blocking outside light that creates distracting glare and reflection across monitor screens, which matters significantly more in gaming rooms than in most other living spaces. I check the actual blackout lining quality before buying, since some curtains marketed as blackout still let a noticeable amount of light leak through around the edges.
Mounting these slightly wider and higher than the window frame itself improves both light blocking performance and the room’s overall visual proportions. I extend the rod a few inches beyond each side of the window and mount it close to the ceiling, which minimizes light leakage around the edges while also making the window appear larger within the room.
Color choice for these curtains should support your room’s broader aesthetic rather than feeling like a purely functional afterthought. I lean toward deep charcoal, navy, or forest green for gaming rooms specifically, since these darker tones both block light effectively and contribute to the moodier, more focused atmosphere many gaming setups are going for overall.
10. Add a Standing Desk Converter for Movement During Long Sessions
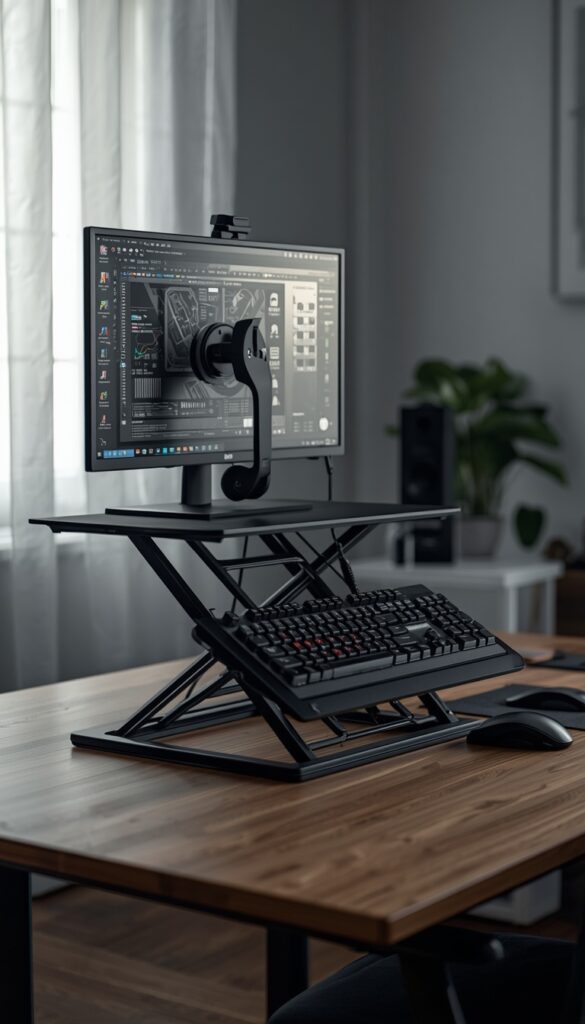
A standing desk converter, placed on top of your existing gaming desk, lets you shift between sitting and standing during long sessions, which genuinely helps circulation and reduces the stiffness that builds up from hours of continuous sitting. I recommend a converter rated to hold your specific monitor and keyboard weight combined, since underestimating this rating leads to a wobbly, unstable platform during actual use.
Height range matters significantly for genuine usability here. I measure your standing elbow height first, then check that the converter’s maximum height actually reaches that measurement comfortably, since many budget converters fall several inches short for taller users, making the standing position genuinely uncomfortable rather than a real ergonomic improvement.
Cable management becomes slightly more complex with a converter that moves up and down regularly. I use a flexible cable sleeve with enough slack built in specifically for this movement, since cables pulled too taut between a stationary desk and a rising platform will eventually strain connectors or pull plugs loose during regular height adjustments.
11. Incorporate a Comfortable Secondary Seating Option
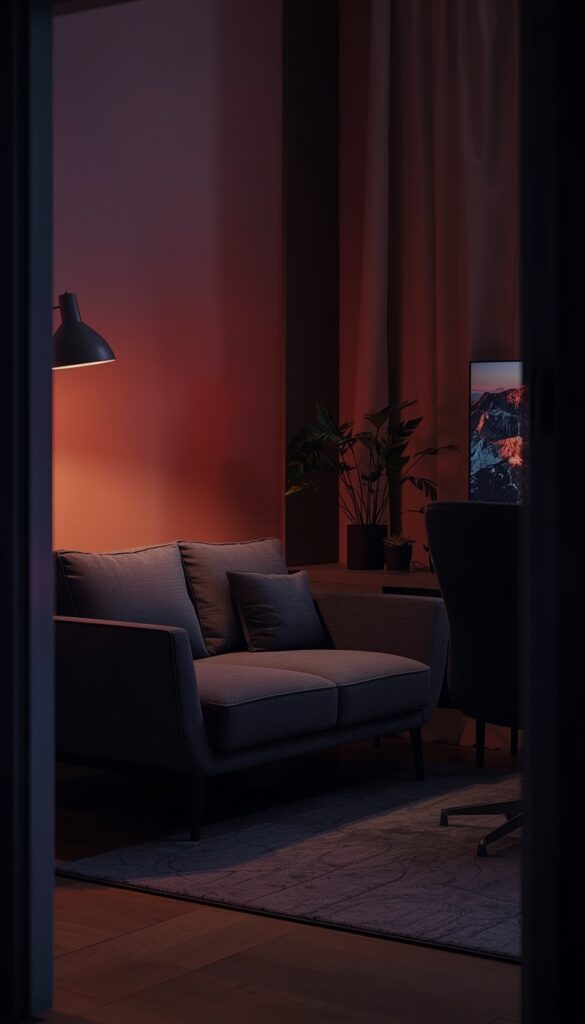
A secondary seating spot, a small loveseat, a bean bag, or a floor cushion setup, gives a gaming room real flexibility for co-op sessions, watching someone else play, or simply taking a break from the main gaming chair without leaving the room entirely. I place this seating at a slight angle facing the main screen, rather than directly straight on, which keeps sightlines comfortable without crowding the primary gaming setup.
Fabric choice should prioritize durability here over delicate materials, since secondary gaming seating tends to see more casual, frequent use than a formal living room sofa might. I recommend a performance fabric or a tightly woven cotton blend specifically, both of which clean up easily after the inevitable spilled snack or drink during an intense session.
Distance from the main screen affects this seating’s actual usability more than people initially consider. I keep secondary seating within a comfortable viewing distance, roughly one and a half times the screen’s diagonal measurement, since seating too far back makes it genuinely hard to follow fast paced action during co-op or spectator moments.
12. Use Wall Mounted Speakers to Save Desk Space
Wall mounted speakers free up genuine desk space compared to traditional bookshelf speakers sitting directly on the desk surface, while often improving actual sound quality once positioned correctly at ear height rather than below it. I mount mine using adjustable brackets that let me angle the speakers slightly downward toward the gaming chair, which matters significantly for accurate sound staging during actual gameplay.
Speaker spacing and height require some genuine calculation rather than guessing. I position speakers at roughly ear height when seated, spaced apart by about the same distance as your seated position from the screen, creating an even stereo image rather than sound that feels lopsided or concentrated on one side of the room.
Cable routing for wall mounted speakers benefits from planning before drilling any holes. I run speaker wire through the wall itself when possible, using in-wall rated cable specifically, or along a paintable cable raceway if running wire through drywall isn’t an option, keeping the finished look clean rather than draped with visible wire across the wall.
13. Add a Themed Accent Wall Behind Your Setup
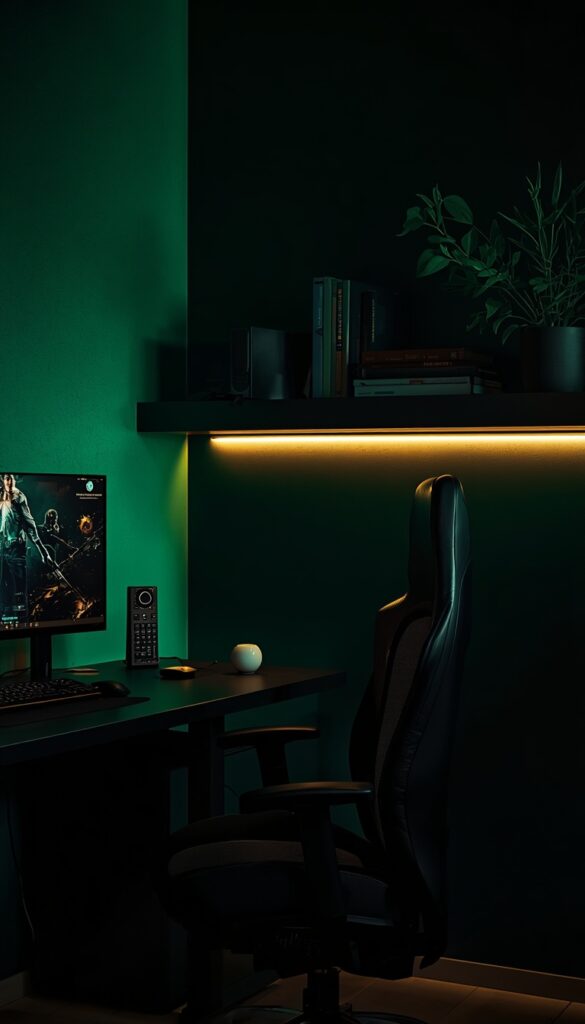
A themed accent wall behind your gaming setup creates a genuine visual anchor for the whole room without requiring matching everything else in the space to a single aesthetic. I’ve built these using deep, moody paint colors paired with a single piece of art or a backlit panel, rather than going overboard with multiple competing decorative elements that compete with your actual gaming gear for visual attention.
Backlighting this wall with an LED strip behind a floating shelf or art piece adds genuine depth without requiring elaborate, expensive installation work. I run a single addressable LED strip along one edge, connected to a small controller, which lets you shift the wall’s accent color to match your mood or even sync subtly with on screen action during certain games.
Texture additions, like a slatted wood panel section or a single piece of textured wall art, keep this accent wall from feeling flat under both natural and artificial lighting. I generally recommend committing to one strong textural or color choice here rather than layering multiple competing elements, since restraint reads as more intentional in a room that already has plenty of visual stimulation from screens and lighting elsewhere.
Bringing It All Together
A genuinely great gaming room balances how it looks with how it actually feels to sit in for hours at a time, and the best setups never sacrifice one for the other. Real ergonomic support, thoughtful lighting, and a layout that respects your actual gaming habits matter more in the long run than any single flashy gadget or trend. Every idea here comes from rooms I’ve built and used myself, adjusted after living with the first version and learning what genuinely mattered versus what just looked good in a photo. You don’t need to do all thirteen at once. Pick one or two that solve your room’s biggest current frustration, and build outward from there.
Frequently Asked Questions
Q: What lighting is best for a gaming room to reduce eye strain? A: Neutral white bias lighting behind your monitor, set around 6500K and roughly ten percent of your screen’s peak brightness, genuinely reduces eye fatigue during long sessions. Avoid bright overhead lighting directly above your screen, since it creates glare and reflection that competes with on screen content and strains your eyes further.
Q: How far should I sit from my gaming monitor? A: Most gaming monitors work best at 20 to 28 inches from your face, depending on screen size and resolution. Larger or curved monitors sometimes need slightly more distance to avoid an overly immersive, neck straining field of view. Testing a few distances while seated normally helps you find your actual comfortable range.
Q: Do I need an expensive ergonomic chair for gaming? A: Not necessarily expensive, but genuinely ergonomic matters more than flashy racing style design. Look for adjustable lumbar support, seat depth, and armrest height specifically, since these features affect comfort during long sessions far more than aesthetic details like color or stitching pattern on a budget chair.
Q: How do I hide cables in a gaming setup without drilling holes? A: Under desk cable trays, velcro ties, and a paintable cable raceway along the wall all manage wiring without requiring permanent wall modifications. Floating desks need a bit more planning, but even rental friendly setups can look genuinely clean using these removable, non permanent cable management solutions.
Q: What color works best for a gaming room accent wall? A: Deep, moody tones like charcoal, navy, or forest green create the focused, immersive atmosphere most gaming rooms aim for, while also reducing screen glare better than bright white walls. Pairing this darker wall with warm accent lighting keeps the room feeling cozy rather than cave like or oppressive.
Q: Should I use blackout curtains in a gaming room? A: Yes, especially if you game during daytime hours, since they significantly reduce glare and reflection across your monitor screen from outside light. Choosing a quality blackout lining, rather than just a dark colored curtain, makes the real functional difference here beyond simply matching your room’s color palette.
Q: How can I make a small gaming room feel less cluttered? A: A floating desk and wall mounted speakers both free up genuine floor and surface space compared to traditional furniture. Display shelves for collectibles also keep items organized and intentional rather than scattered across your desk, which makes even a small room feel noticeably more open and considered.