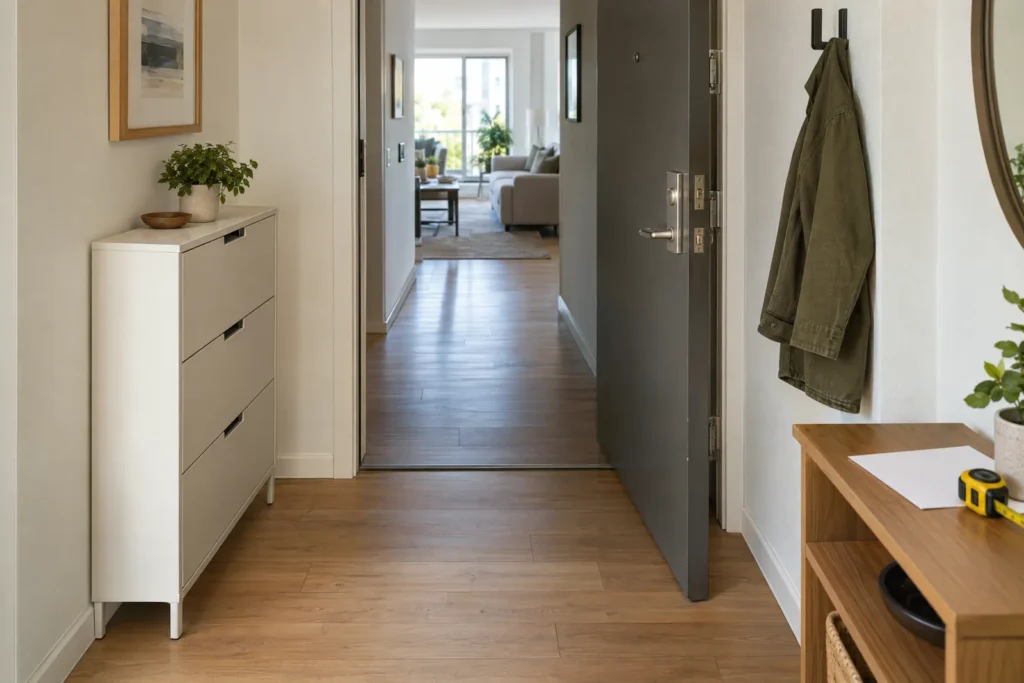
A small entry can look like an unused strip of wall until the door opens, the handle reaches its farthest point, a cabinet door swings out, and someone arrives carrying groceries. That is why a small apartment entryway layout should be planned as a working route, not as an empty rectangle waiting for decor. The useful question is not simply whether a console or shoe cabinet fits against the wall. It is whether the door, furniture, people, and everyday belongings can share the space without making arrival awkward.
This guide offers a six-step household planning method. You will record the fixed conditions, run the complete door movement, mark a candidate furniture footprint, test every part that opens, walk the route with real loads, and choose a smaller or no-floor-furniture solution when the test fails. The measurements are planning inputs, not automatic fit rules. This is not an ADA, Fair Housing, building-code, egress, fire-safety, or structural certification. Do not treat a 36-inch rule of thumb, or any passage number here, as a legal, accessibility, or safety standard for your building. It does not tell you to replace a door or alter its swing.
If you want styling ideas after the route works, 12 Entryway Decor Ideas That Impress is a separate decor-inspiration resource. This article addresses the less photogenic question of what still works when the door and furniture are in use.
Why the apparent wall is not the available wall
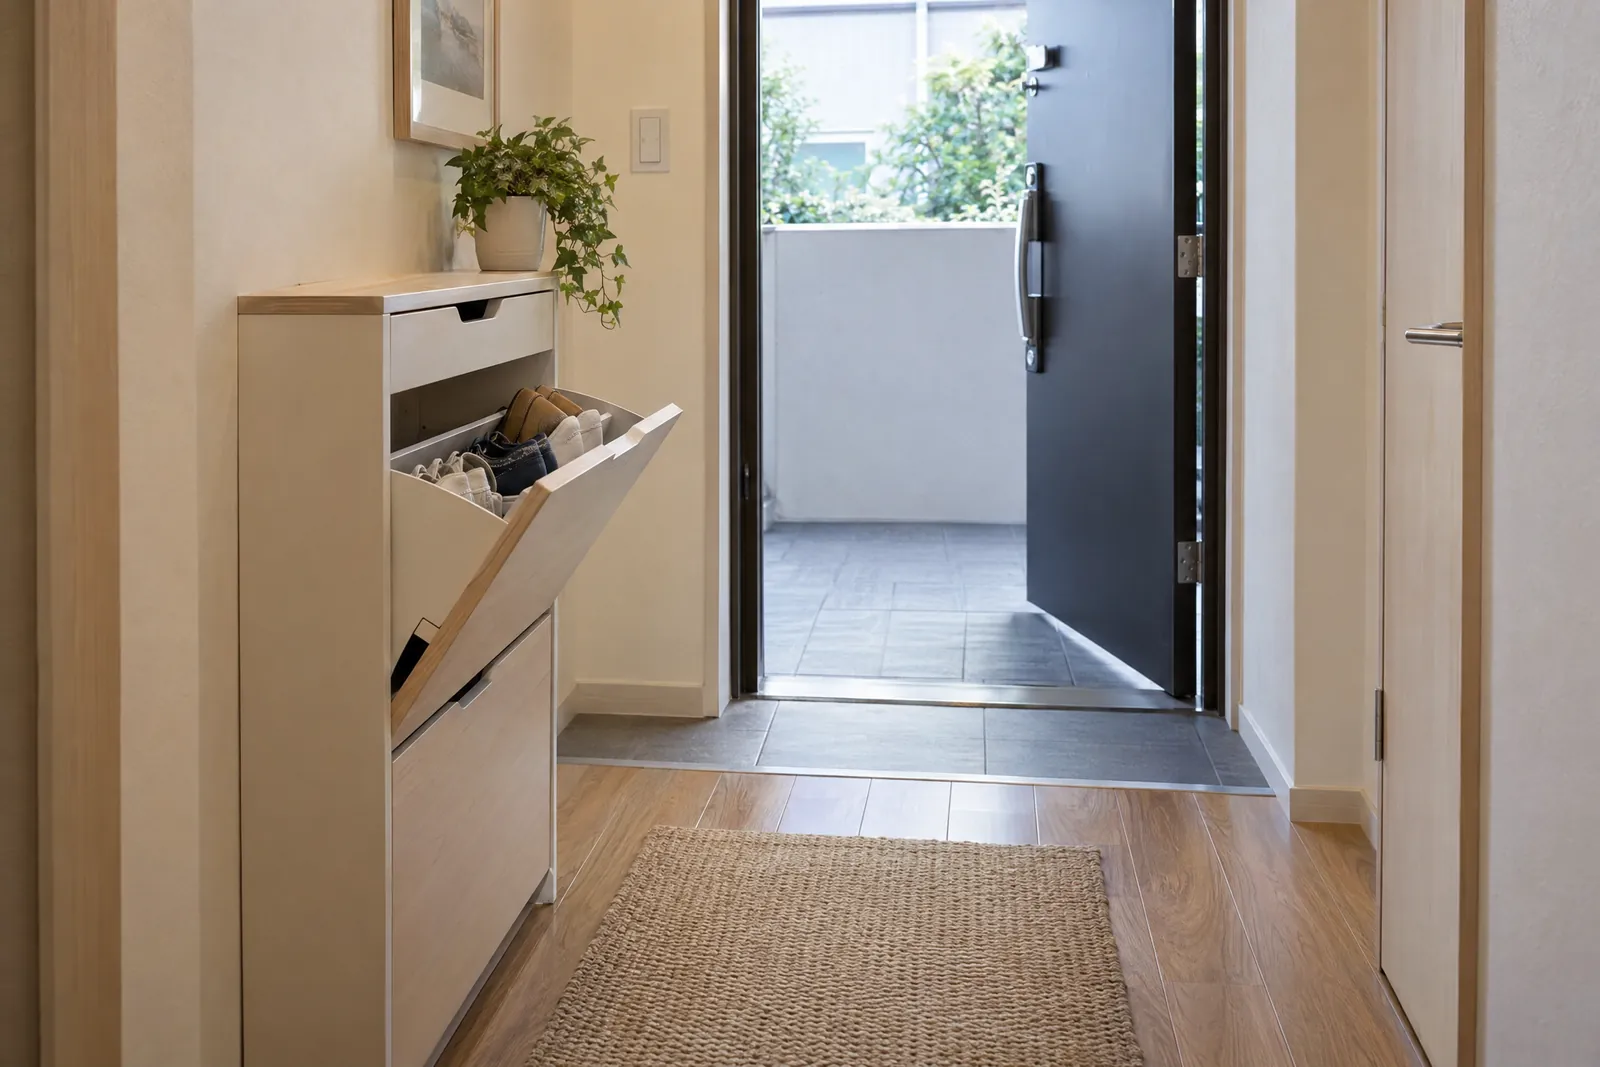
Start by looking at the entry as a sequence of movements. The entry door may overlap the wall when open. A casing, baseboard, radiator, vent, outlet, or switch may reduce the useful wall segment. A nearby closet, bathroom, bedroom, or laundry door may need to operate at the same time. A shoe cabinet that looks shallow when closed can need substantially more room when its drawers, baskets, or doors are open.
The six-step method for a small apartment entryway layout
Step 1: Record the entry, wall, and openings
Measure the finished conditions where the furniture might go and at every point where the route changes. Record the clear wall beside the door, not just the total wall length. Note the floor shape, baseboards, trim, outlets, vents, radiators, controls, corners, and any change in level. Include nearby openings and their operating paths.
Record the door slab, hinge or pivot side, handle or knob, threshold, casing, stop, and normal closed position. Note whether the door swings inward, outward, or in another arrangement. Observe where people enter from and where they go next. A measurement taken only along the wall can miss the door’s intrusion into the route.
Use this worksheet while standing in the apartment. Write actual observations in the blank cells, and add a row if your entry has an unusual obstruction. It is a household record for layout planning, not a legal or accessibility determination.
| Entryway item to record | Your measurement or observation | When to recheck |
|---|---|---|
| Finished entry width at each relevant cross-section | ______ | With door closed, partly open, and fully tested open |
| Narrowest clear route with no new furniture | ______ | While a household member walks the route |
| Clear wall segment beside the entry door | ______ | Include trim, baseboard, outlets, and vents |
| Door slab width, thickness, and hinge or pivot side | ______ | Compare inside and outside views |
| Door swing direction and normal closed position | ______ | Confirm the position used every day |
| Normal opening stop and fullest opening you can safely test | ______ | Do not assume a particular angle |
| Handle or knob farthest projection and moving path | ______ | Mark the outermost point on the floor |
| Threshold, casing, trim, and stop projections | ______ | Check for pinch points and changes in level |
| Nearby doors, closets, and their operating paths | ______ | Operate interacting doors together |
| Outlets, switches, vents, radiators, controls, and fixtures | ______ | Include anything furniture could cover |
| Destinations served by the route | ______ | List living areas, stairs, elevator, or rooms |
| Household users and loads to test | ______ | Include bags, packages, coats, pets, or mobility aids when relevant |
Step 2: Run the complete door cycle
Painter’s tape, removable paper, or flattened cardboard can make an invisible movement easier to see. With the entry empty, close the door and mark the leaf and threshold position. Open it through the normal movement until it reaches its actual stop, then return it to closed. Do not use a convenient snapshot and assume the door always stops at a standard angle.
Watch the entire leaf, the handle or knob, the trim, the stop, and the threshold. Mark the handle’s outermost path, not only the edge of the slab. Repeat the movement from the side of the door that household members use. If a person normally holds the door while entering with a load, include that behavior. The space occupied by the hand and handle can be the difference between a route that feels workable and one that repeatedly catches a shoulder or bag.
Never change the swing, remove the door, or alter the door assembly because a furniture arrangement looks tight. A lease, landlord, property manager, condo or homeowners association rule, building condition, local requirement, or fire and egress concern may control. If you are considering a door alteration, obtain independent guidance for that question.
When furniture, shoes, or packages could obstruct an exit, consult the U.S. Fire Administration’s home fire escape plan guidance. It advises households to include doors and windows in an escape plan, identify ways out, and keep doors and windows clear. That guidance does not create a universal furniture clearance or certify a particular layout.
Step 3: Tape the candidate’s closed footprint
Choose a real candidate only after the door cycle is visible. Use the manufacturer’s actual dimensions, including feet, legs, pulls, top overhang, doors, and any part that projects beyond the main box. If walls are uneven or a baseboard prevents the item from sitting flush, include the resulting gap. Note the delivery route too. A cabinet that fits the entry may still be impossible to bring through the apartment’s turns or openings.
A floating shelf or wall-mounted hook zone is not automatically a free pass. It still needs a suitable mounting surface, reachable placement, load awareness, and permission when drilling or anchoring is involved. Ask the landlord or property manager before making holes, changing walls, hardwiring, or securing anything to the building. Verify the wall type and utilities using appropriate local or professional guidance.
For tall or heavy storage, follow the product instructions and resolve anchoring permission before purchase. The U.S. Consumer Product Safety Commission’s Anchor It campaign urges anchoring furniture such as dressers and bookcases and avoiding tempting items high up for children. A renter should not treat an unanchored tall piece as a safe substitute simply because drilling is inconvenient. If anchoring is not permitted, select a genuinely appropriate alternative or keep the floor clear.
Step 4: Test the furniture in use
The taped box is only the closed footprint. A cabinet, dresser, bench, or console has an operating envelope around it. Open each drawer to the point needed to retrieve an item. Swing each door to the position needed to reach the interior. Pull every basket far enough to see and remove its contents. Test a lid, flap, sliding panel, or pull-out shoe rack if the candidate has one.
Stand where a person would stand while using the storage. Turn, bend, remove shoes, pick up a dropped item, and close the furniture again. If the item is a bench, sit on it with the usual footwear or a bag in hand, remove shoes, stand up, and let another household member pass. Test the occupied bench, not only the empty bench.
Record what happens in this table for each serious candidate. The point is to capture a repeatable observation rather than to trust a listing photograph.
| Furniture feature to test | What to mark on the floor or observe | Pass note or failure note |
|---|---|---|
| Closed width, depth, height, feet, legs, and top overhang | ______ | ______ |
| Distance from wall after baseboards and trim | ______ | ______ |
| Drawer pull-out and handle projection | ______ | ______ |
| Cabinet door swing or flap opening | ______ | ______ |
| Basket or shoe tray pull-out | ______ | ______ |
| Space for a person to stand and reach contents | ______ | ______ |
| Bench approach, sitting position, knee and foot space | ______ | ______ |
| Stand-up movement and another person’s passing route | ______ | ______ |
| Coats, bags, packages, cords, mirrors, or items left on top | ______ | ______ |
| Mounting or anchoring need and permission status | ______ | ______ |
| Delivery path through doors, turns, and elevator or stairs | ______ | ______ |
Step 5: Walk the actual household loaded route
Run the test at an ordinary arrival time, not only when the apartment is staged. Walk in with the coat you normally wear and the bags you normally carry. Add a grocery load, backpack, work bag, package, umbrella, mail, or dog leash when relevant. Have another person enter or pass if that happens in daily life. Include a stroller, pet, child, cane, walker, wheelchair, or other mobility aid when relevant to the household.
Leave the door in the positions people actually use. Ask the person carrying the load to open and close the door, reach the drop zone, hang or place belongings, remove shoes, and move onward. Test a second person waiting behind them. If the entry serves an elevator landing, shared corridor, stairs, or a narrow turn, consider the transition into the apartment as well, while recognizing that shared building areas may have separate rules.
If a mobility device or a particular access need is involved, use the actual device and the actual user’s movements. Do not substitute a generic number or assume that a design preference establishes an accessibility result. Applicable accessibility, Fair Housing, fire, egress, building, and local requirements require qualified interpretation for the specific home and situation.
Step 6: Choose smaller furniture, move storage, or buy nothing
Use the table below only after the door cycle, closed footprint, operating envelope, and loaded route have been tested. A failed candidate is useful information. It tells you what to change rather than inviting a more forceful version of the same purchase.
| Arrival need | Candidate direction | What must pass | If it fails, no-new-furniture fallback |
|---|---|---|---|
| Keys and mail only | Wall shelf, ledge, or existing surface | Reach, projection, door path, mounting permission, and tidy drop behavior | Use an existing shelf, counter, or lidded container in another room |
| Coats and bags | Wall hooks, reversible hooks, or existing closet | Load, reach, impact zone, door movement, and household access | Rotate seasonal items into an existing closet and keep the floor clear |
| Shoes with a place to sit | Bench, stool, or storage ottoman | Approach, occupied sitting, shoe removal, stand-up movement, and passing route | Sit elsewhere to put on shoes and store footwear in an existing closet |
| Concealed shoe storage | Cabinet, drawers, cubbies, or baskets | Closed footprint, every opening, standing user, door cycle, and loaded route | Relocate shoes, use an existing closet, or reduce the shoe collection at the entry |
| Decorative landing surface | Narrow console, shelf, or wall-mounted ledge | Full footprint, handle path, top items, cords, and arrival behavior | Use art, a mirror, or an empty wall without adding floor furniture |
| Tall or heavy storage | Approved, appropriately secured unit | Product instructions, anchoring permission, stability, child safety, and route | Choose permitted lower storage elsewhere rather than leaving a risky unit unsecured |
| No candidate survives | No new floor furniture | Door operation and real household route remain usable | Keep the entry open and relocate overflow to storage already available |
Prioritize the route and door operation over the desire to fill a blank wall. Reduce projection before reducing the route. Replace a closed cabinet with a low-projection wall solution only if the household can reach and use it. Move seasonal overflow to an existing closet or another room. Remove a bench, console, or shoe cabinet when its presence makes arrival harder. A clear entry is a complete solution.
Two fictional calculations, measured at one cross-section
The following examples are transparent planning exercises. They are not recommendations, minimum dimensions, comfortable-clearance rules, legal standards, accessibility determinations, or safety certifications. Each example uses measurements taken at the same relevant cross-section, and each household would still need to test the actual door and furniture with real users.
Scenario A: a shallow piece leaves a remaining route
Suppose a fictional apartment has a measured entry width of 48 in at the cross-section where the candidate furniture and door movement overlap. The candidate furniture has a closed depth of 12 in. At that same cross-section, the taped door and handle movement occupies a separate 4 in strip. The illustrative arithmetic is:
48 in width - 12 in furniture depth - 4 in door and handle intrusion = 32 in remaining route
The result is 32 in in this fictional calculation. It is not a universal comfortable, legal, accessible, or safety threshold. The household still needs to open the door through its real cycle, open the storage, stand at the drop zone, and walk with coats, bags, packages, another person, and any relevant mobility device. If those real movements fail, the furniture fails even though the subtraction looks favorable.
Scenario B: the open cabinet changes the result
Now imagine a different fictional apartment with a measured width of 42 in at the same relevant cross-section. A closed cabinet projects 10 in, and the door and handle intrusion at that cross-section is 6 in. Closed, the illustrative calculation is:
42 in width - 10 in closed cabinet - 6 in door and handle intrusion = 26 in remaining route when closed
When the cabinet is opened for use, an additional 8 in of cabinet opening projects into the same cross-section. Before accounting for a standing person, the open calculation becomes:
42 in width - 10 in closed cabinet - 6 in door and handle intrusion - 8 in extra cabinet opening = 18 in remaining route when open
The 26 in and 18 in results are not universal comfortable, legal, accessible, or safety thresholds. They do not describe every cabinet or entry. The standing person, the user’s body movement, bags, coats, and the rest of the door cycle still have to be tested. This example shows why a closed product can appear to fit while its in-use route does not. A shallower option, relocated storage, or no new floor furniture may be the better decision.
Renter-friendly choices when the route is tight
Permission is part of the layout. Ask before drilling, anchoring, hardwiring, removing trim, changing a door, or making another alteration. Check the lease and building-management rules, and identify the wall type and possible utilities before mounting. Reversible hooks can be useful, but they still need a suitable surface, an appropriate load, and a placement that does not interfere with the moving door.
Do not treat an open arch, curtain, removed door, or switch from inward swing to outward swing as a default small-space trick. Those are separate alteration questions with possible lease, building, fire, security, weather, accessibility, and local implications. This article provides no door replacement or swing-alteration instructions.
A quick pre-purchase test
Before paying for any entryway item, run this short final check with painter’s tape and the actual household user:
- Mark the item’s full closed footprint, including feet, pulls, and overhangs.
- Move the entry door from closed to its normal stop and back, marking the leaf, handle, trim, stop, and threshold interaction.
- Open every drawer, cabinet door, basket, flap, or lid to the position needed for real use.
- Walk the route with a coat, bags, and a package, then repeat with another person or a relevant household mobility aid.
- If any movement, door operation, standing position, or exit path fails, do not force the purchase. Choose a smaller or wall-based option, relocate the storage, or keep the floor clear.
A successful small apartment entryway layout is not the one that fills the most wall. It is the one that still lets the household enter, put things away, open the door, and move onward when the apartment is being lived in. Test first, style second, and let a failed measurement save you from furniture that only works in a photograph.