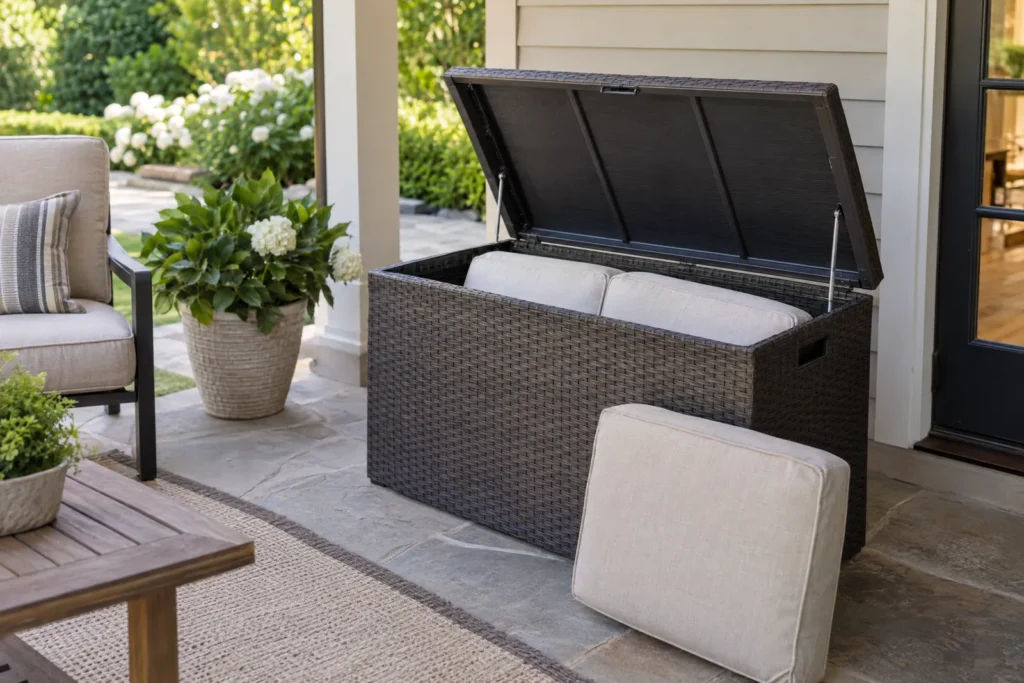
If your outdoor cushions are wet right now, move them to a dry, airy spot. Open up the arrangement so air can reach more than the exposed face, and keep the cushions there until the entire assembly is fully dry. Do not close wet or even damp cushions in a deck box, storage bin, plastic bag, furniture cover, or closet. A cover that feels dry can still hold water around a seam, inside piping, beneath a zipper, or in the foam or other filling.
That one rule is the starting point for how to store outdoor cushions safely. The right next step depends on whether the cushion just caught rain, was washed and is still damp, is completely dry for a few days, or is being put away for winter. It also depends on the care label, the construction of the cushion, and the actual conditions in the proposed storage space. Use the guide below as a practical decision system rather than as a universal recipe for every fabric and insert.
First, identify the cushion’s current state
Use the row that describes the cushion now. If a cushion seems to fit more than one row, choose the wetter or less certain condition and continue drying. “Dry to the touch” is a useful screening observation, not proof that a thick interior is dry.
Use a local U.S. forecast to choose the drying window
Before leaving cushions outside to dry, check your ZIP-code forecast for the next several hours and overnight. If rain or measurable precipitation is likely before the cushion can dry, move it to a covered or indoor place with dry airflow. A cool, cloudy, still, or humid forecast means drying may take longer, so use airflow and keep checking instead of relying on a clock. If wind is increasing, secure the setup so cushions cannot blow or fall. Bring them in before overnight dew or a new shower when the core is not confirmed dry. Recheck after the weather changes because a forecast window is not proof that the cushion is dry.
| Current condition | Next action | Do not do this |
|---|---|---|
| Wet after rain | Move it to a protected, airy location. Stand or arrange it so both broad faces, edges, and underside can receive airflow. Turn it as the construction allows, and continue until the assembled cushion is fully dry. | Do not put it in a closed box or bag, stack it tightly, or assume a weather-resistant container will finish drying it. |
| Just washed and still damp | Follow the applicable care directions for the cover and insert separately. Keep air moving around every permitted component, and recheck thick areas, seams, and the underside. | Do not seal it in plastic, close a deck box around it, or use heat, a dryer, or direct sun unless the relevant instructions expressly allow that method. |
| Completely dry for short-term storage | Use a clean, protected, dry location. Arrange cushions loosely, keep them elevated where needed, and choose a breathable cover or container that protects from dust without creating a moisture trap. | Do not overpack, compress, or treat a storage cover as permission to put away a cushion that later becomes damp. |
| Completely dry for winter | Clean and inspect according to the applicable instructions, then store in a dry, protected place with room to remove and check each cushion. Revisit the location during a long storage period and recheck before use. | Do not store against a damp wall, on a moisture-prone floor, beneath heavy items, or in a container that only sounds waterproof on its label. |
A care label is more important than a generic cleaning tip
Before cleaning, look for the sewn-in product or care label. Then check the cushion or furniture maker’s instructions, followed by the fabric maker’s directions when they apply. Only after those checks should you select a general cleaning method. The label and the construction control what is safe.
A removable cover and a foam insert are not the same cleaning problem. A cover may have a zipper and a washable label, while the insert may not be designed to be soaked, machine washed, twisted, or dried with heat. In some designs, removing a casing can also affect fit or a protective treatment, so follow the furniture maker’s directions before taking it apart. If the cover is removable, that does not automatically mean the complete cushion can go into a washer.
Likewise, an instruction for a specific fabric brand is not a universal rule for all outdoor cushions. Use a brand’s directions only when the cushion actually uses that fabric and construction, and keep the stated limits intact. Do not generalize a fabric maker’s bleach, washer, or mildew directions to a different cover or insert.
The same boundary applies to the insert. Read any insert tag or furniture documentation, and look for information about the type of fill, whether the core can be separated, and whether the cushion should be cleaned in place. Never mix household cleaners. Do not assume bleach, detergent, vinegar, borax, a pressure washer, a fabric protector, or a clothes dryer is compatible simply because another cushion tolerated it. If the label is missing, use a conservative approach and ask the manufacturer or a qualified upholstery professional before using a strong or irreversible treatment.
Clean without creating a bigger drying problem
Seasonal storage is a good time to remove loose dirt and inspect the cushion, but cleaning should not turn into blind saturation. Start by removing leaves, grit, and surface debris with a soft brush or an upholstery vacuum if the care directions permit it. Check the fabric, stitching, zipper, ties, underside, and insert for damage before adding water. A small tear can change what the manufacturer considers a safe method.
Use only a mild, label-compatible method. If the directions call for rinsing, rinse thoroughly enough to remove residue, then plan the drying stage before you begin. A cushion left wet in a laundry area, on a damp concrete floor, or inside a closed sunroom is not finished just because the surface looks cleaner.
If a removable cover is approved for machine washing, the label still controls the cycle, water temperature, detergent, spin setting, and whether it may go into a dryer. Air drying may be required. A cover can finish before the insert, so keep the parts together only when the construction and care directions call for that arrangement. If the insert was exposed to substantial water, give it its own drying plan rather than assuming the cover will pull moisture out of the core.
How to dry outdoor cushions all the way through
There is no honest universal drying time for every cushion. Weather, humidity, airflow, fabric, thickness, density, seams, and construction all change the result. A thin seat pad on a dry, breezy day is different from a thick boxed cushion in cool, cloudy weather. Treat elapsed time as a condition that varies, not as a promised number of hours.
Use this stepwise dry check:
- Set up airflow. Move the cushion to a dry, airy place. Elevate it on a clean rack, chair slats, drying rack, or another surface that allows air underneath. Do not lay it directly on damp concrete, wet soil, or another moisture source.
- Expose more than one face. Arrange the cushion so air can reach the front, back, edges, and underside. Turn thick cushions as the shape and maker’s instructions allow. Do not bend a structural cushion just to make it stand upright.
- Separate only when allowed. Unzip or separate a cover and insert only if the construction and manufacturer permit it. Keep small components together so they are not misplaced, but do not leave a damp core hidden inside a cover simply to preserve the appearance of the set.
- Inspect the seams and piping. Look closely at seam lines, piping, corners, folds, and areas where fabric overlaps. These details can retain water longer than a broad, exposed panel.
- Check the zipper and underside. Open or examine the area around zippers when permitted, and inspect the bottom face that was closest to the chair or ground. Pay attention to places where air could not circulate freely.
- Assess the core without overclaiming. Notice whether the cushion remains unusually cool, heavy, clammy, or musty compared with a known dry area. This is a practical screening check, not proof that touching has found every hidden pocket of moisture. A dry-feeling cover does not demonstrate that the interior is dry.
- Allow conditions to do the work. Give the assembly additional drying time in cool, cloudy, still, or humid weather. Do not invent a cutoff based on the calendar. Continue until the whole construction passes the visual and practical checks, and investigate any lingering odor or damp area instead of packing it.
- Use heat only by permission. Do not use a dryer, heater, hair dryer, or other heat source unless the relevant label or manufacturer specifically permits it. Do not assume direct sunlight is safe for every color, fabric, foam, or finish.
If any part remains uncertain, the correct storage decision is to keep drying. A closed container can hide the problem rather than solve it.
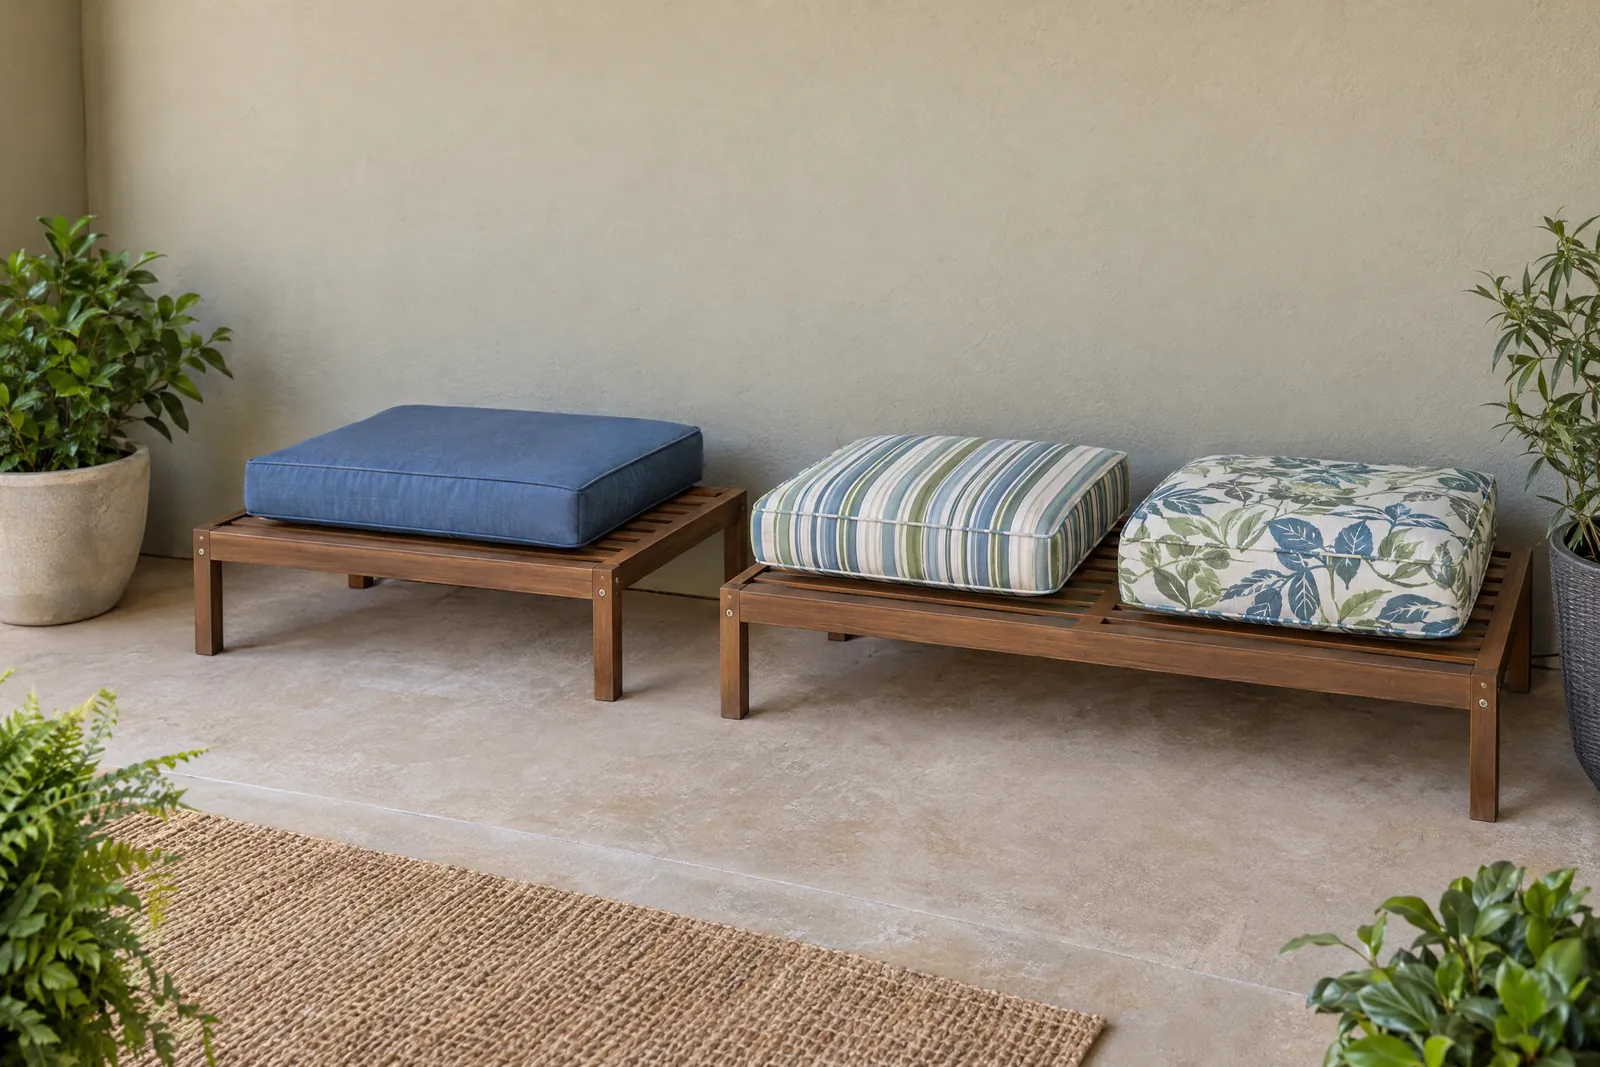
Choose a storage location by its actual conditions
The best location is not automatically the most convenient one. It should be dry, protected from leaks and floor moisture, reasonably ventilated, and accessible enough that you can remove and inspect the cushions. Keep cushions away from condensation-prone walls and avoid placing them where a leak, pest issue, or damp floor can go unnoticed.
Closet or spare room
An indoor closet or spare room can be a good short-term or winter option when it is clean and dry. Leave enough practical space to remove the cushions without dragging or crushing them. Do not cram them against an exterior wall that feels damp, and do not block a doorway, stair, hall, or required exit route. If the only available closet is humid or has a history of condensation, it is not made suitable by adding a closed bag.
Dry garage or shed
A garage or shed can work if the particular space stays dry and protected from leaks, condensation, pests, and rising or wicking floor moisture. Elevate cushions off concrete or another floor that can transmit dampness. A shed exposed to wind-driven rain or a garage that becomes humid during seasonal swings may need a different storage plan. Check the space itself, not only the storage container.
Deck box or storage bench
A deck box consolidates storage and can be useful for already-dry cushions, especially on a compact patio. But “weather resistant” does not automatically mean waterproof, condensation-free, or a drying chamber. A lid can limit rain entry while still allowing humid air to condense inside. A liner, seal, or bag can also trap residual moisture if the cushion was not completely dry first.
Before using a box, read its instructions, inspect the interior, check for water entry and condensation, and confirm that the cushions fit without force. Do not rely on a nominal capacity number. Use the box only for clean, fully dry cushions, and leave practical room for access and the container’s own walls and lid path. If the location periodically becomes damp, a different dry indoor arrangement may be safer for winter.
Breathable bags and furniture covers
A breathable storage bag or cover can protect a dry cushion from dust while allowing some vapor movement, depending on the material and design. It is not a license to package a damp cushion. Avoid tight plastic wrapping when residual moisture could be trapped. A furniture cover protects furniture that remains outdoors, but it does not replace drying, and it does not transform a wet cushion into a stored one.
Pack for fit, airflow, and shape retention
How to store outdoor cushions also depends on how they are arranged. Keep cushions loosely packed rather than tightly crammed. Avoid folding, bending, or compressing them when the construction does not permit it. Do not put heavy objects on top for months. Uneven pressure and prolonged stacking can flatten fill, create awkward creases, or leave some surfaces inaccessible for inspection.
Flat storage is often practical for long-term storage when the cushion’s construction supports it, but it is not a universal command. Upright storage can save space if the cushion will not bend, slump, or become a hazard, and if its care instructions allow that orientation. Keep items stable and easy to retrieve. The goal is a clean arrangement with enough practical air space and access, not a precise universal clearance number.
Fill in a cushion inventory before choosing a container
Measure the cushions you actually own, not the dimensions from a furniture listing. Record the longest, widest, and thickest points, including unusual corners or attached features. Use the same unit for every measurement. Quantity matters because several cushions may fit individually but not as a set.
| Cushion or item | Quantity | Length | Width | Thickness | Stored orientation | Notes |
|---|---|---|---|---|---|---|
| Seat cushion | ||||||
| Back cushion | ||||||
| Chaise or deep-seat pad | ||||||
| Other |
Fill in the storage fit and location check
Measure the usable interior length, width, and height of the box, bench, shelf area, or closet. Account for the walls, hinges, lid path, opening, handles, and any interior supports. A container may have generous outside dimensions but a smaller usable opening. Confirm that you can place and remove the cushions without forcing them.
| Storage option | Usable interior L x W x H | Lid path and wall clearance checked? | Dry inside? | Humidity, condensation, and air movement notes | Fits without compression? | Opening access checked? |
|---|---|---|---|---|---|---|
| Deck box or bench | ||||||
| Closet or shelf | ||||||
| Shed or garage rack |
Nominal gallons or a seller’s broad size category are only rough comparisons. They do not guarantee that a particular set will fit. If the measured interior is too small, use another location or store fewer items there. Never force a cushion into a box, shut the lid on a bulge, or compress the fill to make the measurement work.
Example: check the dimensions with arithmetic
Illustrative example, not a product recommendation: suppose four seat cushions each measure 24 in L x 24 in W x 5 in thick, and two back cushions each measure 24 in L x 18 in W x 4 in thick. A flat seat stack is 4 x 5 = 20 in high. A separate back stack is 2 x 4 = 8 in high. In a box with a measured usable interior of 52 in L x 44 in W x 24 in H, place the stacks side by side: 24 in L is less than or equal to 52 in L, 24 in W + 18 in W = 42 in W is less than or equal to 44 in W, and the taller stack is 20 in H, less than or equal to 24 in H. The simple bounding check leaves 2 in of width and 4 in of height. It still does not prove the cushions fit the opening or have usable air and access space, so check the lid path, hinges, walls, and actual shape before relying on it. If the usable interior were 52 in L x 30 in W x 24 in H, the side-by-side width would fail because 42 in is greater than 30 in. Stacking both groups would also fail because 20 in + 8 in = 28 in is greater than 24 in. Choose another arrangement or location instead of compressing them.
Small patios, apartments, and rental homes
Small-space outdoor cushion storage starts with the drying phase. Even if the final home is a deck box, begin by drying the cushions in a clean, airy place where they can be spaced apart. Measure the path through the door and the storage opening before moving a bulky cushion. This prevents a dry cushion from becoming wedged in a hallway or box opening.
For an apartment or rental, consider a dry indoor closet, a permitted storage room, a shelf under a bed if the cushion shape and airflow allow it, or a compact container placed where it does not obstruct an exit. Vertical storage can be useful only when it will not bend or damage the cushion. Avoid turning a narrow balcony into a makeshift drying or storage enclosure, and do not block an exit or shared egress route.
If you are considering a deck box on a balcony or shared patio, check the container instructions, its footprint, lid clearance, and the building or property rules that apply to your space. The correct placement depends on the actual site and local requirements. Do not assume a generic weather-resistant box is suitable for every exposure, or that it can safely hold cushions that are not fully dry.
If the box will share a compact patio with seating, use the patio furniture fit worksheet to test its footprint, open lid, and walking route before choosing a location.
For design inspiration after the cushions are already dry, you can browse small patio ideas from She Is Modern. Use that page for layout and styling context, not as a substitute for this wet-to-dry storage process.
If a cushion smells musty or shows possible mold
Pause before placing a suspect cushion with clean, dry cushions. Separate it from the rest, avoid spreading debris through the room, and check the product and fabric instructions. Do not promise that every cushion can be saved with home washing or deodorizing, and do not assume that a fabric described as mildew resistant cannot support mold when dirt, seams, foam, or retained moisture are involved.
General household mold guidance treats absorbent or porous materials cautiously: mold can be difficult or impossible to remove fully, and an affected item may need to be discarded. That broad principle does not replace product-specific cushion directions. A porous insert with visible growth, persistent odor, or deep contamination should not be treated as automatically salvageable.
Do not mix cleaners or improvise a chemical recipe. For persistent, extensive, or uncertain contamination, seek an appropriate professional assessment. If the cushion was exposed to floodwater or sewage, professional help is the prudent next step rather than a home laundering experiment. Keep potentially contaminated items away from clean stored cushions until you have decided how to handle them.
Before you close the storage door
A practical routine has several parts: identify the current condition, follow the sewn label and applicable manufacturer instructions, dry the assembled cushion rather than only the cover, inspect the proposed location, and pack without compression. A deck box, bench, closet, or bag is a storage choice, not a drying system. Once cushions are stored, check the space again during a long season and repeat the dry and odor check before putting them back outside.
Final action checklist
- Move wet cushions to a dry, airy, elevated setup now.
- Separate cover and insert only when their construction and instructions permit it.
- Check seams, piping, zipper areas, underside, and the core before packing.
- Measure both the cushions and the storage location’s usable interior dimensions.
- Store only clean, fully dry cushions, with access and airflow that suit the location.
- Stop and reassess any musty, moldy, flood-exposed, or sewage-contaminated cushion.