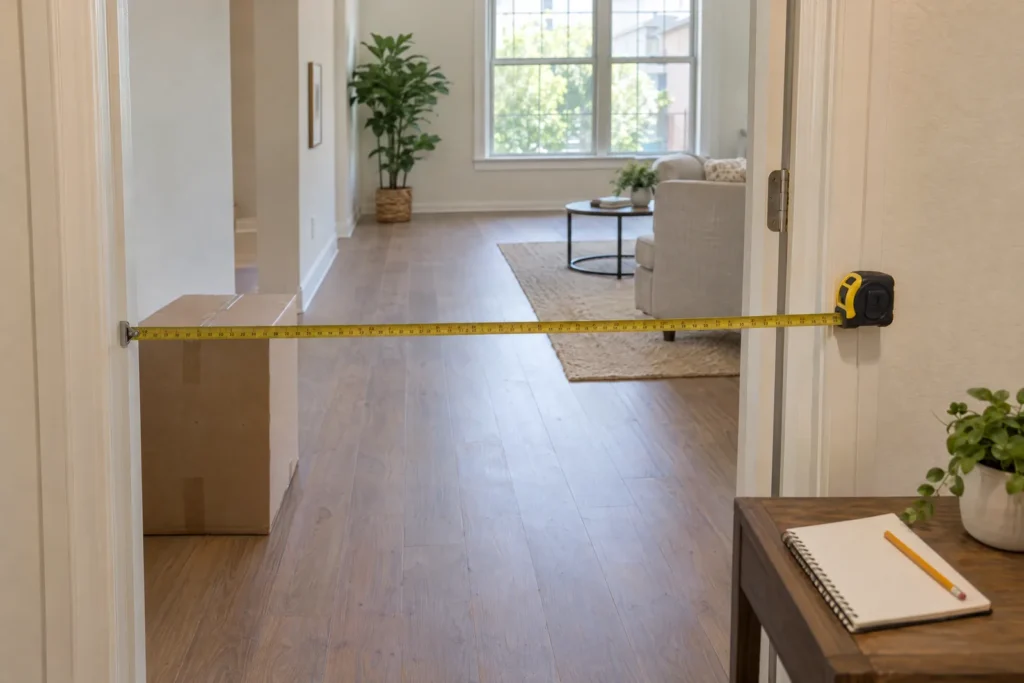
The sofa may fit the living room and still fail before it reaches your apartment. A narrow lobby turn, elevator opening, stair landing, or unit door can change the delivery plan. Before you buy or book a move, record the item in the state it will travel, measure the whole route, and check the building’s actual move-in procedures.
Use the blank furniture and route tables below during a walkthrough. They help you spot missing facts and share useful measurements with a delivery provider or mover. They do not guarantee that a rigid piece can pivot through a building or that an alternate route is permitted.
Start with the product state, not the room
Before you measure an apartment doorway, identify what will actually arrive. A furniture listing may show the dimensions of an assembled sofa, bed, cabinet, or table, while the delivery team may bring one or more cartons, a modular section, or a partly assembled item. Those are different objects to move through the building.
Write down whether each piece is expected to arrive assembled, in cartons or components, or in another state confirmed by the seller or delivery provider. Record both sets of dimensions when they are available. The assembled measurements help you plan the final footprint. The carton or component measurements describe what first has to travel from the loading area to the room. Do not treat an online assembled width as a shipping dimension, and do not assume that one product arrives in one box.
This apartment move in measuring checklist follows the entire route:
- loading area and truck to building path
- building entrance and security door
- lobby and common path
- elevator or stairs
- hallway turns and other pivots
- unit door
- interior or room door
- final footprint
At each stage, record the usable opening, the space needed to approach or rotate, and any obstacle or permission issue. The route, not the room, decides what needs further checking. A beautiful floor plan does not help if a carton cannot clear the lobby door or an assembled headboard cannot turn onto the unit hallway.
Use three conservative decision states throughout your notes:
- Unknown means an essential product, carton, route, building, or service detail is missing or uncertain.
- Pass candidate means the documented comparisons show no immediate conflict, but the route still needs professional judgment for handling, turns, and delivery conditions. It never means the item is proven to fit.
- Stop & consult mover means a route point is marginal, blocked, unverified, restricted, unusually heavy, fragile, oversized, or dependent on disassembly or an alternate route.
A worksheet can reveal a problem early. It cannot certify three dimensional passage through a turn.
Record the furniture before measuring the apartment
Create one record for every large or awkward item. Include a sofa, sectional, mattress, bed frame, dresser, bookcase, dining table, desk, cabinet, mirror, appliance, or any item whose shape could affect its route. Use the manufacturer’s page, assembly instructions, carton label, and delivery confirmation when available. Save the date you checked the information because listings and service details can change.
Record the maximum relevant points, not only the most attractive dimensions shown in a product title. Arms, feet, handles, fixed hardware, headboards, overhangs, curves, cushions, and decorative parts can become the widest or tallest point during handling. Note whether a measurement describes the item as assembled, folded, nested, or packed.
| Furniture record field | What to record | Your notes |
|---|---|---|
| Item and model | Item name, model, SKU, and number of sections | |
| Assembled width, depth, and height | Manufacturer listed dimensions at the widest and tallest relevant points | |
| Carton or component dimensions | Width, depth, and height for every carton or component | |
| Number of cartons or components | Count each box, section, panel, base, or frame | |
| Expected delivery state | Assembled, boxed, modular, or another state confirmed by the provider | |
| Maximum protrusions | Arms, handles, feet, hardware, overhangs, curves, and fixed parts | |
| Removable parts | Legs, feet, bases, shelves, drawers, doors, or sections only if authorized | |
| Weight and handling notes | Published weight and any provider handling requirement | |
| Source and date checked | Product page, instructions, carton label, seller, or delivery provider | |
| Decision | Unknown, Pass candidate, or Stop & consult mover |
For a sofa, look for the widest arm to arm measurement, the depth of the body, and any published diagonal depth. For a tall cabinet or headboard, note the tallest point and any published diagonal height if the manufacturer provides it. These extra dimensions can help a mover understand the item, but a diagonal comparison alone does not prove that the piece can enter, rotate, and clear a route.
Do not decide to remove legs, doors, shelves, drawers, bases, or sections just because a measurement looks close. Use removable parts only when the manufacturer’s instructions or the delivery provider authorizes that step. Confirm who will perform disassembly and reassembly, whether hardware will be protected, and whether the item’s warranty or safe handling instructions place limits on the work. Never plan to remove an apartment door, railing, light, fixture, sprinkler, or other building component without property permission and an appropriate professional plan.
Build a route ledger in physical order
Measure the route in the order a delivery team will use it. A nominal door label is not enough. Record the opening with the door positioned as it will be used, including the threshold, trim, hinges, handles, security hardware, and anything that cannot move. Measure the narrowest usable point and separately document the space before and after it.
The route ledger below is designed to copy into a notes app or print for a walkthrough. Leave the blank cells open for actual measurements and confirmations. If a property representative, seller, delivery provider, or mover gives you information by phone, record the person’s name and the date in the evidence field.
| Sequence | Route segment | Usable opening or interior measurement | Pivot, turn, approach, and obstacle notes | Evidence, permission, or contact | Decision |
|---|---|---|---|---|---|
| 1 | Loading area and truck to building path | ||||
| 2 | Building entrance, security door, and lobby | ||||
| 3 | Elevator or stair decision point | ||||
| 4A | Elevator door and cab | ||||
| 4B | Stairs, landings, and stair doors | ||||
| 5 | Hallways and every turn | ||||
| 6 | Unit door | ||||
| 7 | Interior or room door | ||||
| 8 | Final footprint and circulation |
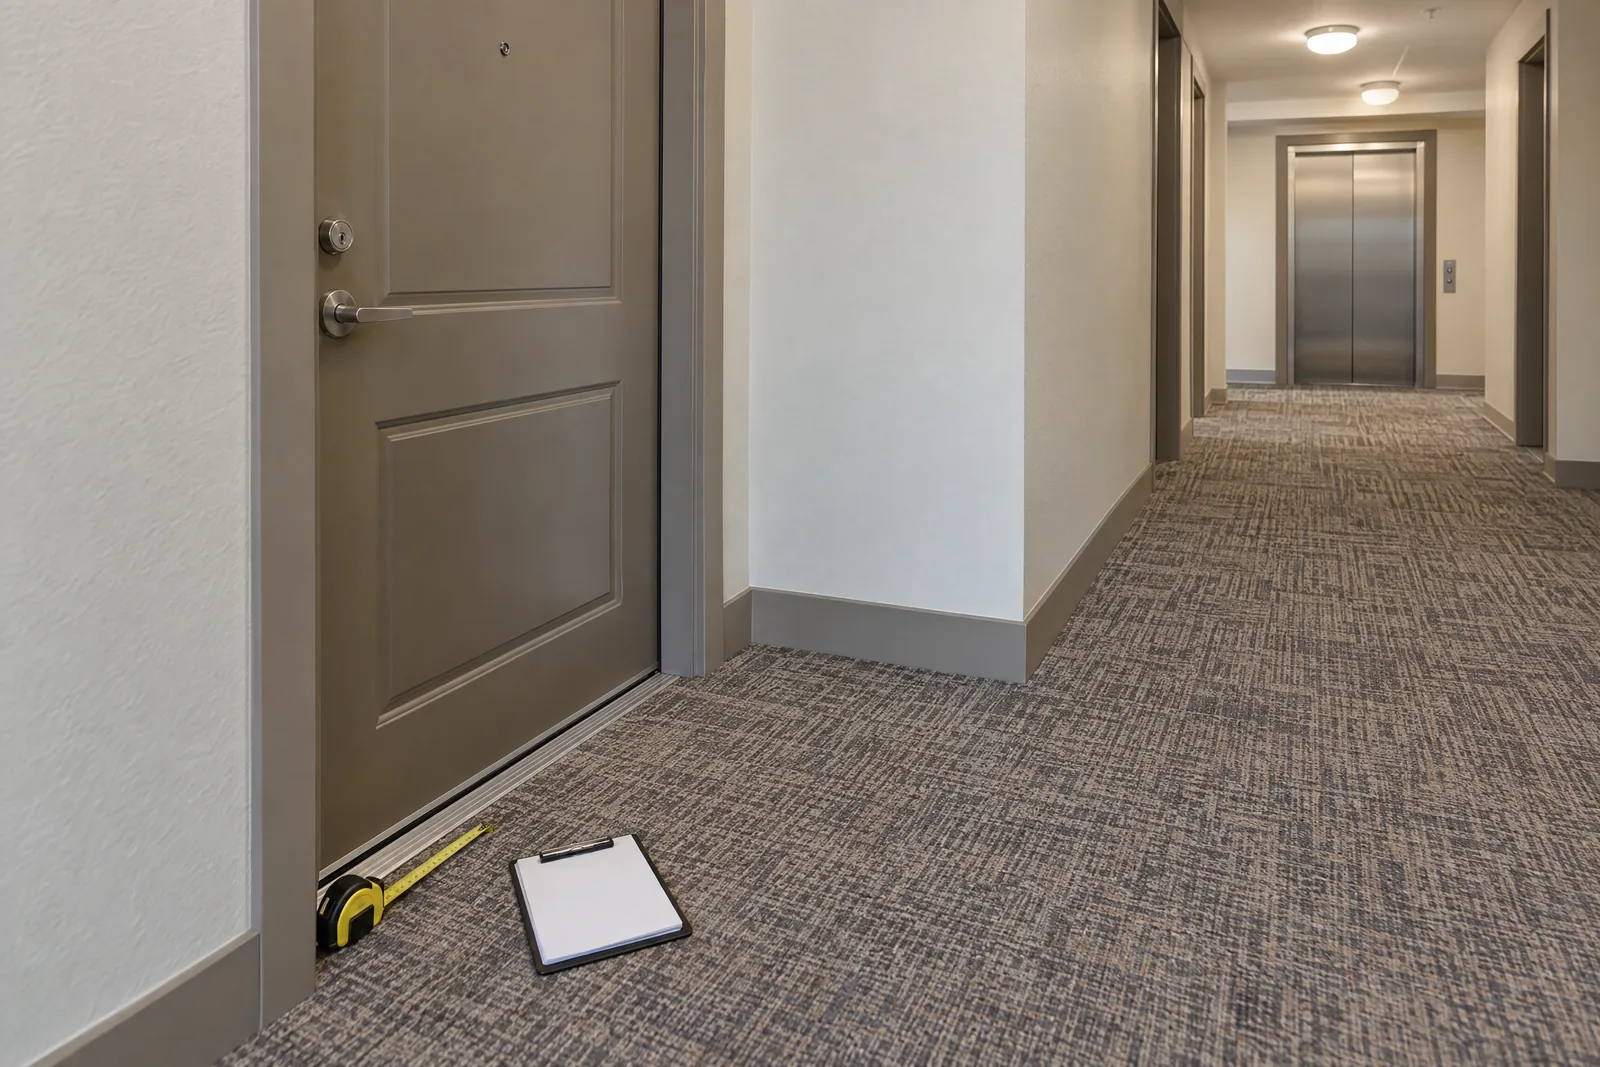
A blank field is not a favorable measurement. Mark it Unknown until it is checked. If an opening is accessible only during a scheduled move, ask management how the delivery team can measure or verify it before delivery day. Do not block a shared hallway, stair, landing, exit door, or building equipment while taking measurements.
Check loading access and the building entrance
Begin where the item leaves the truck, not where it will sit. Note the approved loading area, truck approach, parking or carry distance, gates, ramps, exterior stairs, uneven surfaces, weather exposure, and the path to the first door. A large carton may be easy to carry on a straight sidewalk but difficult to turn through a gate or across a narrow threshold.
Measure the building entrance with the door open in the practical delivery position. Record the usable width and height, threshold height, door swing, hinges, handles, trim, closer, security panel, and the straight ahead space beyond the opening. A door that appears wide from the sidewalk may have less usable space once it is opened against a wall or when a person must hold it open while guiding the item.
Ask whether a security desk, intercom, key, badge, gate, or delivery appointment affects access. Note lobby furniture, columns, mailboxes, floor protection, or wall protection that narrows the path. Give the mover a truthful picture of the tightest points and handling sequence.
Ask the building manager these questions
Every property has its own procedures. Some buildings may require a reservation, protection plan, documentation, or a Certificate of Insurance, often called a COI. None of those requirements should be assumed to apply everywhere. Ask management or the property’s designated contact:
- What are the approved move in and delivery hours, and is an appointment required?
- Is a freight or service elevator available, and does it need a reservation?
- Where may the truck load, park, or wait, and are there gates, security checks, or access codes?
- Does the property require mover documentation or a COI?
- Who provides elevator padding, door protection, and floor protection?
- Are there restricted doors, common area rules, quiet hours, or route limitations?
- If the elevator route does not work, which alternate route is approved?
- What measurements or photos should be sent to the mover or delivery provider before arrival?
Keep the answers with the route ledger. A building’s approval is a separate question from whether an item can physically pass. If an alternate entrance, garage, patio, service door, or other route seems larger, do not schedule around it until the property confirms that it is available and permitted for this delivery. Do not infer that a balcony or a service entrance is an acceptable route simply because it looks spacious.
Measure elevators, stairs, landings, and turns
Straight openings and maneuvering space are different problems. A carton can be narrower than an elevator door and still be difficult to feed through the opening, rotate into the cab, or bring back out at the destination. A tall item can clear a doorway while striking a ceiling, light, sprinkler, rail, or soffit when tilted. Write these conditions in separate fields instead of reducing them to one width comparison.
For an elevator, record the door opening width and height, the cab width, depth, and height, and the distance available outside the doors to approach and turn. Note the threshold, handrails, lights, control panels, mirrors, protective padding, and any other fixed features. If management provides a cab diagonal or another measurement, record it as information for the mover, not as proof of entry or rotation. Ask whether the elevator is a service or freight elevator, whether it can be reserved, and whether the delivery team has permission to use it.
For stairs, measure the usable width between walls, rails, or other permanent boundaries. Record stair ceiling or soffit height at tight points, railing position, every landing width and depth, the distance from the stair to the wall, and the doors at the top and bottom. Photograph the route from both directions. A landing can be wide in one direction and restrictive when the item must change orientation. A door at the top of the stairs can also require space that is not visible from the first step.
For every hallway turn, record the narrowest width, the length available before the corner, the length after it, ceiling height, wall projections, pipes, lights, sprinklers, radiators, baseboards, and door swings. Include the area where the item would pivot. If the item needs to be tilted, note the height it would reach and what could contact the ceiling. A long object may need more room to rotate than its shortest side suggests.
Why a diagonal is only one clue
A diagonal measurement describes one line through an object or opening. It does not describe every orientation the item must take. A rigid piece still needs room to approach, tilt, rotate, clear the frame, avoid obstacles, and settle into the next segment. The person carrying it also needs a safe position and enough space to control the item.
Use a diagonal supplied by the manufacturer as a useful record for a conversation with the delivery provider. Do not use it as a universal formula. The same caution applies to a narrowest width, an apparent margin, or a retailer’s general recommendation. These comparisons can flag a concern or support a Pass candidate label when the key facts are confirmed. They cannot change an unverified turn into a proven fit.
Measure the unit door, room door, and final footprint
At the unit entry, measure the usable width and height with the door positioned for delivery. Note the threshold, hinge side, trim, handle, door closer, opposite wall, and the distance available to continue straight into the unit. If the approach requires an immediate turn, measure that turn rather than recording only the door opening.
Repeat the process for every interior door the item must cross. Include bedroom, office, bathroom, closet, and narrow passage doors if the item will pass them. Record the swing direction, clear space on both sides, ceiling height, built in shelves, radiators, vents, outlets, switches, windowsills, and any fixture that could catch a corner. A room door can be wide enough while the nearby wall prevents the item from being aligned with it.
Then tape the intended final footprint on the floor when practical. Use the assembled width and depth, not the carton size, for this step. Mark the direction of drawers, cabinet doors, bed access, chair pull out, and walking paths. Check that closets, windows, vents, radiators, outlets, switches, and doors remain usable. Consider whether the item blocks the only practical path through the room or makes a future move impossible.
A piece may enter the apartment and still be a poor placement. The final footprint should leave the room functional, not merely occupied. If the intended location is close to an exit door or window, review the arrangement before delivery rather than trying to solve it with the item in hand.
A hypothetical arithmetic example, not a fit guarantee
Hypothetical example, not a fit guarantee: Suppose a carton is recorded as 78 in long × 30 in wide × 24 in high, and the narrowest straight doorway opening is measured at 32 in. The simple comparison is 30 in < 32 in, leaving a 2 in apparent width difference. That difference is only an arithmetic comparison for one orientation. It does not promote two inches as a threshold or prove that the carton can enter. The elevator entry and pivot are unverified, and permission to use the service elevator is also unverified. The carton could strike the door frame, threshold, wall, ceiling, handrail, or another obstacle while being guided through the route. The item remains a Pass candidate only after the missing approach space, orientations, door swing, elevator conditions, obstacles, handling plan, and service permission are confirmed by the appropriate people. Otherwise mark it Unknown or Stop & consult mover.
This example shows why a measurement difference is not a delivery promise. If the product is delivered assembled, the relevant object may have different dimensions and a different center of balance. If it arrives in several components, each component needs its own route record.
Match the decision state to the evidence
Use Unknown when any essential information is missing. Examples include an unpublished carton size, an unclear delivery state, an unmeasured hallway turn, an elevator that management has not confirmed, an obstacle hidden by a closed door, or a required disassembly step without instructions. Unknown is a useful result because it identifies the next question.
Use Pass candidate only when the product and route facts are documented, the expected delivery state is confirmed, no immediate dimensional conflict appears, and building access is arranged or confirmed as needed. Even then, pass candidate means ready for professional confirmation. It never means fits, guaranteed, or approved for every handling method.
Use Stop & consult mover when the item depends on a tilt or pivot that has not been evaluated, a turn is tight or unclear, a landing is not verified, packaging changes the relevant dimensions, the item is heavy or fragile, an alternate route is needed, or management or provider permission is still outstanding. Contact the seller, delivery provider, or qualified mover before placing the order when possible. Send them the complete route record rather than one doorway number.
Confirm the delivery service level
Service names do not solve physical access. One provider may deliver to the threshold. Another may unpack, assemble, place the item in the room, remove packaging, or offer a room of choice service. The exact scope is provider specific. Ask what the team will do, what they will not do, and what information they need before arrival.
Confirm whether the delivery team will handle cartons or assembled pieces, whether it will perform only manufacturer approved assembly, whether it will remove packaging, and where the item will be placed. Ask whether the team evaluates difficult turns in advance or expects the customer to provide measurements. Do not assume that a premium or white glove service will force an item through a route, modify a building component, remove an interior door, or accept responsibility for an unverified fit.
If a removable leg, base, shelf, or section changes the route, send the relevant manufacturer instructions to the provider. Confirm who will remove and reinstall it. If a seller offers a fit review, provide the route ledger, carton labels, photos, and the exact product model. Keep the response with your records.
What to photograph and send
Photos are most useful when they show scale, direction, and the surrounding space. Take a straight on photo of each door with a tape visible when possible. Take a second photo from the approach side and another from the exit side. Photograph the threshold, hinge side, handle, trim, ceiling, and the space immediately beyond the opening.
For hallways and turns, take pictures from both directions and include the distance before and after the corner. Photograph railings, landings, low ceilings, wall projections, light fixtures, sprinklers, radiators, security doors, and elevator interiors. Include a simple marked floor plan if the camera cannot show the full sequence.
Send the delivery provider or mover:
- the furniture record with model and source date
- assembled and carton or component dimensions
- carton count and published weight when available
- the complete route ledger
- photos labeled by route sequence
- the expected delivery state
- manufacturer instructions for any authorized removable part
- building instructions, reservation confirmation, and service elevator information when applicable
- the final footprint and room access notes
Ask the recipient to confirm which facts need an in person review. If a response addresses only the unit door, the route is still incomplete.
Recheck before delivery day
Walk the route again close to the appointment. Temporary construction, stored packages, protective padding, parked vehicles, or a changed access code can alter the practical path. Confirm the approved delivery window and make sure the provider knows about the tightest turn, not just the product page.
Do not stage the furniture in a common area while waiting or wedge open a fire door. Coordinate any necessary access to security doors with the property. Do not remove a door, fixture, railing, or building equipment as a last minute experiment. If a required condition changes, stop and consult the property and mover instead of improvising.
When the item arrives, compare the delivered cartons or components with your record before the team begins. If packaging is larger than expected, the state is different from what was confirmed, or the route has changed, mark the item Unknown and ask for a decision. Do not let the pressure of an appointment turn a missing fact into a guessed approval.
Complete the final safety check
After placement, open and close nearby doors and windows. Check that furniture does not block an exit path, window, vent, radiator, outlet, or required access point. Keep shared corridors, stairs, landings, and exit doors clear while measuring, staging, and unloading.
For emergency planning, follow the scope of the U.S. Fire Administration’s home fire escape guidance. It advises keeping doors and windows unblocked and tells high rise residents to use exit stairs during a fire rather than elevators unless directed by the fire department. That is emergency safety guidance, not a furniture delivery clearance rule and not a substitute for the building’s instructions.
Once the furniture is inside, plan the room
Access and arrangement are separate decisions. First confirm that the item can travel through the building and land in the intended room. Then evaluate circulation, zones, sight lines, storage, and the way doors and drawers work around it. For ideas on how to plan the layout once the furniture is inside, use the one bedroom apartment guide as an interior planning followup, not as a delivery measurement source. If you are arranging a studio, use the studio apartment layout ideas guide to create zones after the route and final footprint have been verified.
The best time to discover a route problem is before the order is scheduled. Start with the real delivery state, measure every segment from loading area to room, document turns and obstacles, confirm the building’s procedure, and label uncertainty honestly. A Pass candidate is useful, but it is not a promise. When the route depends on a pivot, missing carton information, an alternate access point, or permission that has not been confirmed, choose Unknown or Stop & consult mover and resolve the question before delivery day.