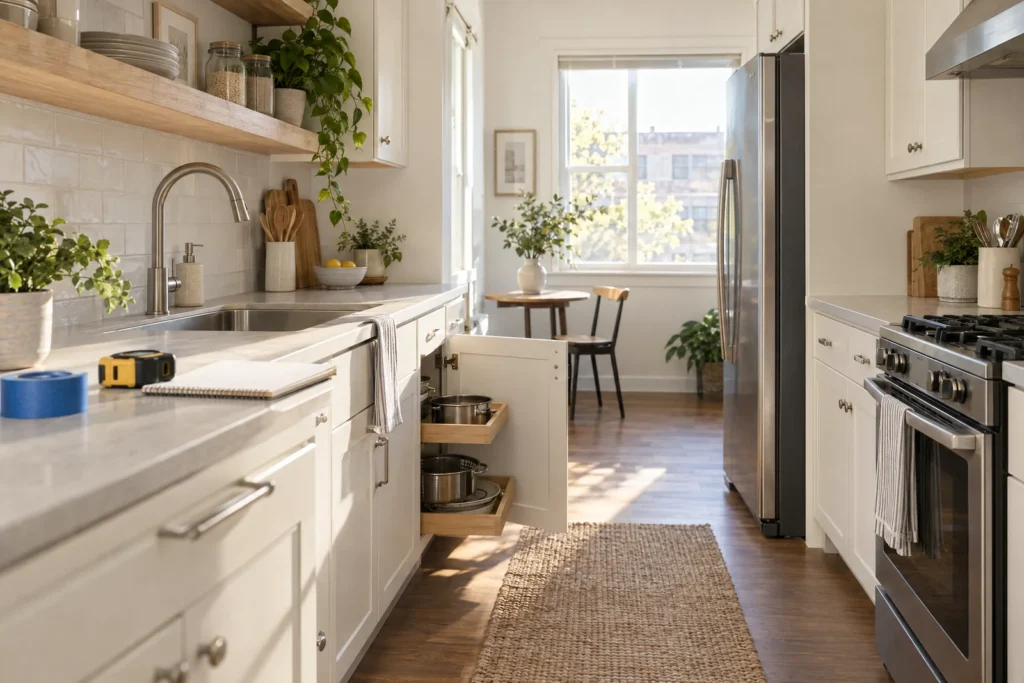
Small kitchens rarely run out of storage all at once. More often, a pan handle catches on a hinge, a bin will not clear the cabinet opening, or a frequently used item disappears behind something else. The useful question is not “How can I add more storage?” It is “What can this item safely occupy, and can I still reach it?”
This small kitchen storage audit gives you a tape-measure-first way to answer that question before buying an organizer. Inventory what you keep, label each storage location, measure the usable interior and opening, test access, assign items by use and risk, then verify the setup for a week.
If you want visual small-kitchen ideas once you know what you actually need to store, see small kitchen layout and storage ideas. Use the measurements below to decide whether a specific container works in your own cabinet.
Why the cabinet is not the whole storage space
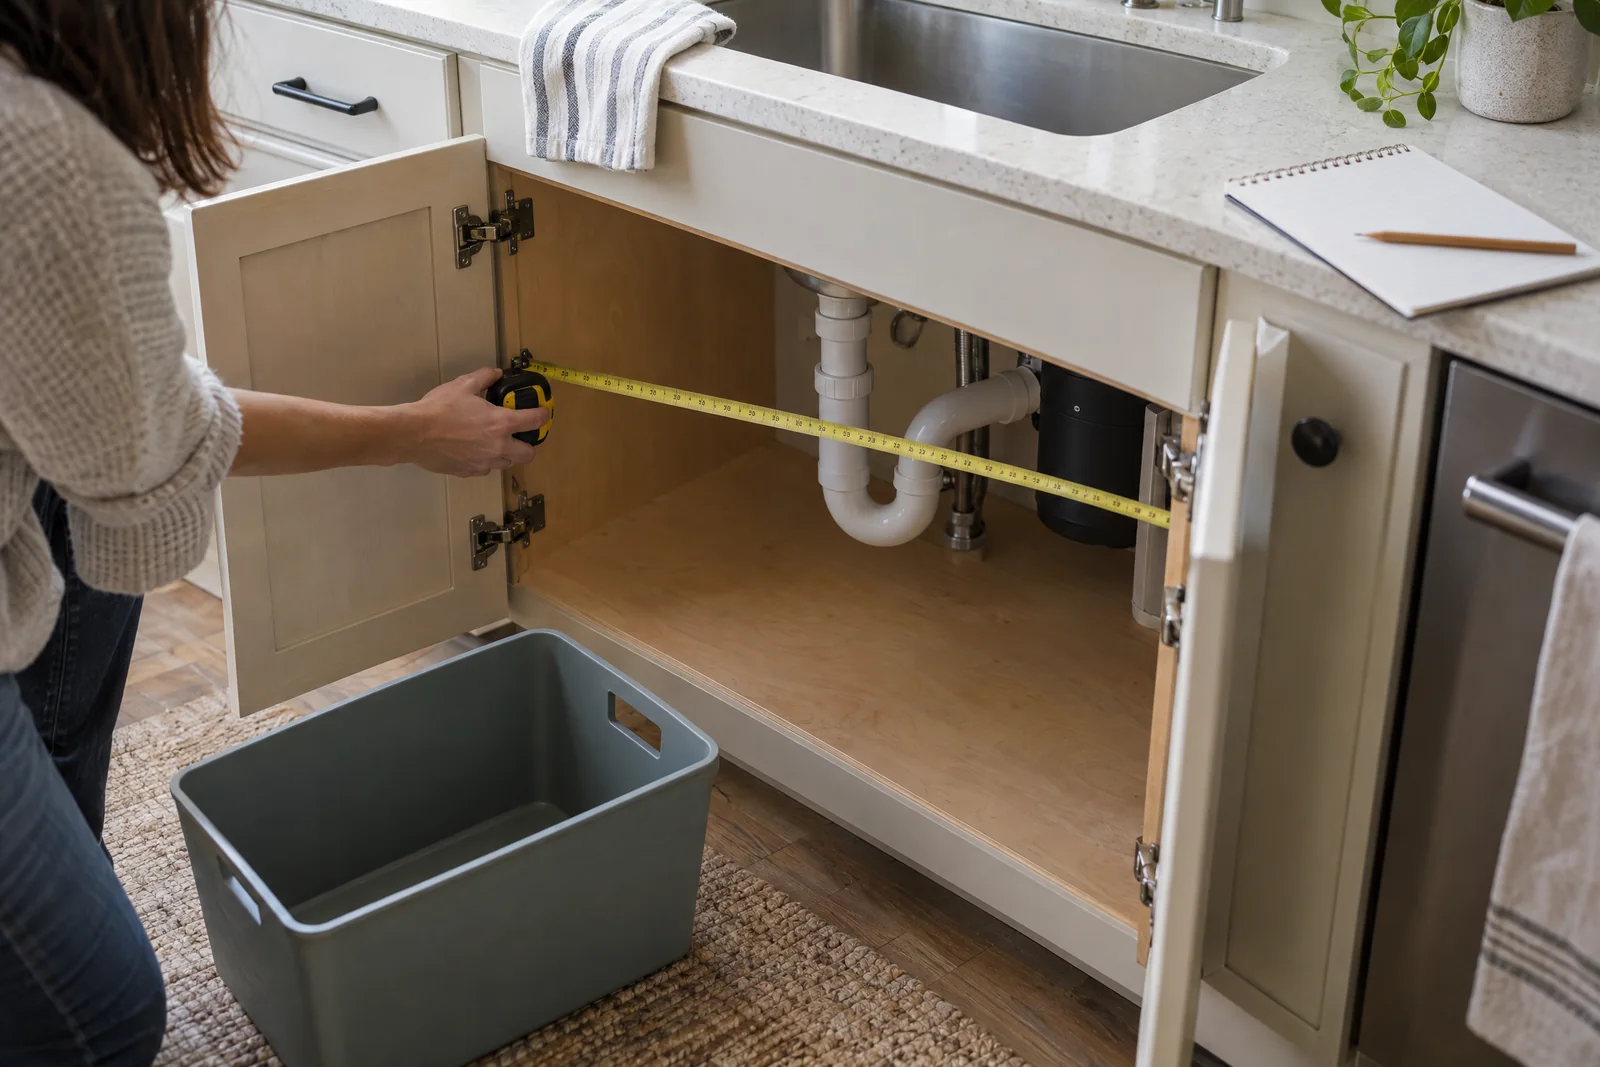
A cabinet label does not tell you what will fit. The usable storage envelope is limited by the narrowest part of the opening and its obstructions. A face frame can reduce entry width, hinges can occupy a corner, and a shelf lip can stop a tall bin. Under a sink, a drain pipe can divide an apparently empty cabinet.
Record two different things:
- The clear opening: the largest width and height through which an item must pass.
- The usable interior: the tightest width, depth, and height where the item will rest after it is inside.
Also look at retrieval. A container that fits but cannot be lifted or seen without removing other items is not delivering its full practical capacity. For drawers, measure the drawer box and note its extension. For doors, check the hinge side, door thickness, neighboring handles, and possible collisions.
There is no single universal cabinet measurement that makes an organizer safe or useful in every kitchen. The product’s exterior dimensions, instructions, load limit, and mounting requirements still need to be checked against your location.
Step 1: Inventory what you actually keep
Begin outside the cabinets. Group items by what they do, not by the organizer you hope to buy. Include appliance cords, pot handles, lids, cutting boards, bulk packages, cleaning products, and backstock.
You do not need to measure every spoon. Measure bulky or limiting pieces such as a blender base, stockpot, food processor bowl, tall bottle, or boxed appliance. For packaged food, note the outside size you will actually store.
Use “daily,” “weekly,” or “occasional” instead of guessing an exact number of uses. For weight, “light,” “medium,” or “heavy” is enough for an initial sorting pass, but check the organizer’s stated load limit before placing anything on it.
| Category or item | Count | Largest outside footprint or package size | Use: daily, weekly, occasional | Weight or fragility | Food, chemical, or other | Current home | Preferred task zone | Notes or conflict |
|---|---|---|---|---|---|---|---|---|
| __________ | __________ | __________ | __________ | __________ | __________ | __________ | __________ | __________ |
| __________ | __________ | __________ | __________ | __________ | __________ | __________ | __________ | __________ |
| __________ | __________ | __________ | __________ | __________ | __________ | __________ | __________ | __________ |
| __________ | __________ | __________ | __________ | __________ | __________ | __________ | __________ | __________ |
| __________ | __________ | __________ | __________ | __________ | __________ | __________ | __________ | __________ |
| __________ | __________ | __________ | __________ | __________ | __________ | __________ | __________ | __________ |
A preferred task zone is more useful than a vague desire for “more room.” Write “near prep area,” “near coffee setup,” or “near sink” only when that location makes the item easier to use. Infrequent items may suit a higher, deeper, or outside-the-kitchen location if they remain safely retrievable.
Keep food and cleaning chemicals in separate storage areas. If you move food to a new container, retain its label details, including allergens and dates. Keep cleaners in their original labeled containers, follow their storage directions, and put them where children and pets cannot reach them. A cleaner should never go into a food container just to make it fit.
Step 2: Give every cabinet and drawer an ID
Assign each storage location a short ID. For example, use B01 for a base cabinet, D01 for a drawer, U01 for an upper cabinet, P01 for a pantry area, and R01 for a refrigerator zone. The label only needs to make your notes unambiguous.
Measure in inches at the tightest points. Record opening width and height separately from interior width, depth, and height. For a drawer, use the inside drawer-box dimensions. If the measurement changes front to back, record the smaller number and where it occurs.
Remove loose contents and use the actual obstruction as the boundary. Note hinges, plumbing, shelf pins, shelf thickness, face frames, drawer slides, outlets, baseboards, fixed dividers, and neighboring doors. Mark whether a change is reversible or subject to an owner or building restriction.
| ID | Location or type | Clear opening W x H | Usable interior W x D x H | Obstruction or shape change | Door or drawer access note | Current contents | Permission or installation status | Candidate use |
|---|---|---|---|---|---|---|---|---|
| __________ | __________ | __________ x __________ | __________ x __________ x __________ | __________ | __________ | __________ | __________ | __________ |
| __________ | __________ | __________ x __________ | __________ x __________ x __________ | __________ | __________ | __________ | __________ | __________ |
| __________ | __________ | __________ x __________ | __________ x __________ x __________ | __________ | __________ | __________ | __________ | __________ |
| __________ | __________ | __________ x __________ | __________ x __________ x __________ | __________ | __________ | __________ | __________ | __________ |
| __________ | __________ | __________ x __________ | __________ x __________ x __________ | __________ | __________ | __________ | __________ | __________ |
| __________ | __________ | __________ x __________ | __________ x __________ x __________ | __________ | __________ | __________ | __________ | __________ |
| __________ | __________ | __________ x __________ | __________ x __________ x __________ | __________ | __________ | __________ | __________ | __________ |
| __________ | __________ | __________ x __________ | __________ x __________ x __________ | __________ | __________ | __________ | __________ | __________ |
A phone photo of each empty location can help you remember an offset pipe, hinge, or shelf pin when shopping. Do not assume a product described as “fits most cabinets” fits yours without checking its stated exterior dimensions.
Step 3: Test fit before buying
Start with the product’s outside dimensions, not its advertised capacity. Compare the organizer’s width, depth, and height with both the clear opening and the usable interior. Then check the path the organizer takes as it enters, turns, slides, or lifts into place.
Here is a hypothetical calculation, checked step by step:
- Clear opening width: 16 inches
- Organizer exterior width: 15 inches
- Nominal side-to-side margin: 16 minus 15 equals 1 inch total
- Arithmetic check: 15 plus 1 equals 16 inches
That 1 inch is a combined nominal margin, not a guarantee of fit. It may be split unevenly, and hinges, a face frame, or a pipe can reduce it at the point where the organizer needs to pass. If the organizer is 15 inches deep but a drain pipe leaves only 13 inches of usable depth, it fails the depth check even though the width calculation works. If a tall bin fits through the opening only when the door is fully open, confirm that the door can reach that position without hitting a neighboring handle or wall.
For a pull-out or door-mounted basket, test the complete sequence: open the door, extend or swing the organizer, see the rear contents, and lift the heaviest routine item out. Include the loaded depth and confirm that the door can close with the shelf and contents in place.
A simple before-buy test
You can make a temporary model without drilling or ordering anything. Cut cardboard to the organizer’s outside footprint, or use a box with the same maximum height. Do not load the model with heavy items.
- Measure the model and write the dimensions on it.
- Try to pass it through the actual clear opening.
- Place it where the organizer would rest, avoiding or representing pipes, hinges, and shelf lips.
- Open and close the door, or pull the drawer through its full available travel.
- Put one representative bulky item inside the model and practice lifting it out.
- Check visibility, reach, crouching, pinching, wobble, and collision with a neighboring door.
- Record the tightest point. If the model catches, do not round up the measurement to make the purchase work.
This test is especially useful for a deep bin that appears to fit on paper but makes the items behind it inaccessible. It is also useful for a door rack, where the loaded depth can matter more than the empty product dimensions.
Step 4: Assign storage by use and risk
Use frequency is a starting rule, not a reason to force everything into the most convenient cabinet. Daily items need an easy, repeatable retrieval path. Weekly items can tolerate a little more depth or a lift. Occasional items may live higher or farther back if they remain stable and retrievable.
| Item pattern | Preferred access test | Likely location choice | Watch for |
|---|---|---|---|
| Daily, light, and often handled | Can it be seen and removed with one simple motion? | Easy-reach drawer, shelf front, or open section that does not crowd the work area | Buried items, door collisions, and clutter in the cooking path |
| Daily, heavy or fragile | Can it be lifted without twisting or unstable reaching? | Lower, stable location with enough hand clearance | Overhead storage, overloaded racks, and slippery stacking |
| Weekly or occasional cookware | Can the whole stack be reached without unloading unrelated items? | Deeper cabinet or higher section if stable and accessible | Handles projecting into the opening and lids that slide |
| Knives or sharp tools | Is the storage secure, stable, and separated from casual contact? | A suitable secure drawer insert or stable block, according to the product instructions | Loose blades, child access, and unverified wall mounting |
| Cleaners or chemicals | Is it separated from food, heat, children, and pets? | A clearly distinct labeled area, following product directions | Decanting, mixing chemicals, and accidental food contact |
| Bulk or backstock | Can you see the oldest or soonest-needed item? | Deeper reserve space or a separate backstock zone | Expired items, unreadable labels, and overfilling |
Heavy cookware deserves special attention. A high basket may fit but be a poor choice if taking down a pot requires an unstable reach. Check the load and anchoring instructions for any tall freestanding unit, especially in a home with children. If the unit cannot be secured as instructed, choose a different storage spot. A heavy unit is not automatically stable.
Keep storage from narrowing the space where you prepare or cook. If a cart or new cabinet crowds the route, use the kitchen clearance worksheet to check it with appliance doors open. Do not put a frequently used item where getting it means reaching across hot cookware or moving a cart to open an appliance. An extra shelf is not worth making everyday cooking harder.
Step 5: Choose move, contain, modify, buy, or leave
Once each item and location has a record, make one decision per conflict. “Buy an organizer” should be one option, not the automatic outcome.
| Decision | Use it when | Evidence to record | Typical next action |
|---|---|---|---|
| Move | The item fits better in another audited location or task zone | Destination ID and access reason | Swap locations and retest both doors or drawers |
| Contain | The location works but loose pieces waste usable space | Container footprint, opening, and access check | Use an appropriately sized bin, divider, or lid holder |
| Modify | A reversible adjustment may solve the conflict | What changes, what remains fixed, and permission needed | Remove a loose shelf, reposition contents, or use a renter-appropriate freestanding solution |
| Buy | The organizer passes the footprint, obstruction, access, and load checks | Product exterior dimensions, instructions, load limit, and return terms | Purchase only after saving the measurements and testing the model |
| Leave | The change adds little value or creates a new access or safety problem | Reason for no change | Declutter, keep the current arrangement, or revisit after a week |
A renter might favor a no-cost swap, a correctly sized freestanding bin, or a removable divider. A homeowner might consider a pull-out or cabinet change, but plumbing, electrical conditions, structural attachment, and manufacturer instructions still need to be checked. If a modification requires drilling, cutting, or moving a fixed service, confirm permission and installation requirements first.
A one-wall or no-pantry kitchen may need a carefully chosen overflow location outside the cabinet footprint. If that is your configuration, the kitchenette ideas page can help you think about the type of zone you have. Return to this audit before buying: measure the proposed location, test the footprint, and confirm that the item will not obstruct cooking, walking, or access to another storage location.
Step 6: Test the setup for a week
The first placement is a trial. For seven days, note what you reach for, what you avoid, and what you have to move twice. A setup has passed only when it works with ordinary contents, not just an empty organizer.
Use this quick review at the end of the week:
- The cabinet door closes without pressure, scraping, or a new collision.
- The drawer opens as far as intended and does not catch on a neighboring front.
- The organizer remains stable during normal retrieval.
- The heaviest routine item is supported by the product’s stated load limit and instructions.
- Labels and food information remain visible and readable.
- Chemicals stay separated from food and are stored according to their labels.
- Daily items can be retrieved without unsafe reaching, twisting, or climbing.
- Restocking does not require emptying an unrelated category.
- The setup leaves the cooking and preparation area usable.
If a product fails the test, do not force the door closed or keep stacking until the organizer looks full. Relocate it, return it if the seller’s terms allow, or mark the location as a leave decision. A small amount of unused space can be more useful than a tightly packed cabinet that nobody wants to open.
Two practical paths
If you rent and have no pantry
Start with the inventory and cabinet IDs, then look for capacity that already exists but is blocked by poor placement. A no-cost category swap may solve more than a new rack. Use a cardboard before-buy model for any freestanding bin or cart. Keep cleaning products distinct from food, and treat a freestanding tall unit as a stability question, not simply an extra shelf.
When the cabinets cannot hold backstock, define a single overflow zone and audit it like a cabinet. Give it an ID, measure its footprint, and decide what belongs there. If that zone narrows a walkway or interferes with a door, it has not passed the access test.
If you own a small kitchen
You have more modification options, but more options do not remove the fit problem. Start with reversible changes and document the conflict before considering a pull-out, shelf change, or custom work. A proposed modification should state what it solves, what it might block, and what fixed services are nearby.
Keep a before-and-after measurement record. If the usable opening becomes smaller, the new storage only counts as an improvement if the intended items are easier to retrieve and the cabinet still closes normally.
Blank purchase-decision worksheet
Print or copy this table for each organizer you are considering. Fill in the manufacturer’s actual exterior dimensions and load information from the current instructions or product listing. Do not substitute a nominal cabinet label for a measured opening.
| Organizer or container | Target location ID | Product exterior W x D x H | Clear opening W x H | Usable interior W x D x H | Tightest obstruction | Load or mounting information to verify | Return option or permission note | Pass, revise, or reject |
|---|---|---|---|---|---|---|---|---|
| __________ | __________ | __________ | __________ | __________ | __________ | __________ | __________ | __________ |
| __________ | __________ | __________ | __________ | __________ | __________ | __________ | __________ | __________ |
| __________ | __________ | __________ | __________ | __________ | __________ | __________ | __________ | __________ |
| __________ | __________ | __________ | __________ | __________ | __________ | __________ | __________ | __________ |
For a final audit, record why the decision was made rather than just writing “fits.” The useful note might be “passes opening and pipe check, but daily bowl is hard to lift,” or “no purchase, because a category swap frees the lower shelf.” That explanation will help when the contents change or another person reorganizes the kitchen.
Small kitchen storage FAQs
Can I use a pull-out organizer under the kitchen sink?
Possibly, but measure the actual clear opening, the space around the drain and supply lines, and the room needed to extend the loaded organizer. Check for leaks and service access before placing anything beneath the sink. If the fit depends on moving plumbing or forcing a hinge, stop and review another location or consult the appropriate installer.
What if an organizer fits inside the cabinet but not through its opening?
It does not pass the fit test. Measure the narrowest part of the opening and try a cardboard model of the product’s outside shape. A diagonal entry only helps if the real organizer can be inserted and removed without damaging the door, hinges, shelf or nearby fixtures. Otherwise choose a smaller organizer or use the space differently.
Is a cabinet-door rack useful in a small kitchen?
Only when the rack, its contents and the door all work together. Measure door thickness, hinge clearance and loaded depth, then open the door fully and close it without pressure. Check the product’s mounting method and load instructions. If it hits an interior shelf or a neighboring handle, reject it rather than squeezing the door shut.
Is a deeper bin always better in a small cabinet?
No. A deeper bin can use more of the interior, but it may hide items, reduce hand clearance, or fail to pass the opening. Choose the deepest footprint that passes the opening, obstruction, retrieval, and visibility tests for the items you will actually store. If you cannot reach the back without removing the front contents, count the bin as a storage container only if that tradeoff suits an occasional category.
The result: a smaller list of better decisions
A successful small kitchen storage plan is not the one with the most containers. It is the one that connects each item to a measured location, a realistic access path, and a clear reason for being there. Inventory first. Label the spaces. Measure the opening and interior. Build a harmless model before buying. Then test the setup in daily use.
That process may lead to an organizer, a category swap, a reversible change, or no purchase at all. Each is useful when it prevents an item from being too large, hidden, heavy, or unsafe for the space.